

I am very happy that you found interesting yesterday's tutorial about painting Zvezda's #6115 37mm Russian A/A gun. It was easy to assemble the model, and as you saw, it was rather easy to paint it as well.
Following yesterday's custom and promise that I gave you, I will show you today, with a similar post the way to paint Russian soldiers, dressed in summer/early autumn uniforms.
For this reason I will use the figs from a kit a I bought just recently - ZVEZDA's Kit 6104 - Soviet MG "Maxim" with crew. I will paint the figs in the same colours, but I will use them for different terrain / battlefields. One (in a way I like to call it) 'Steppes Variant' and one 'City Variant'.
So....here we go!
Step 1.
After assembling the figs, I used some FOW War Spray (German Armour - Late), to prime them.

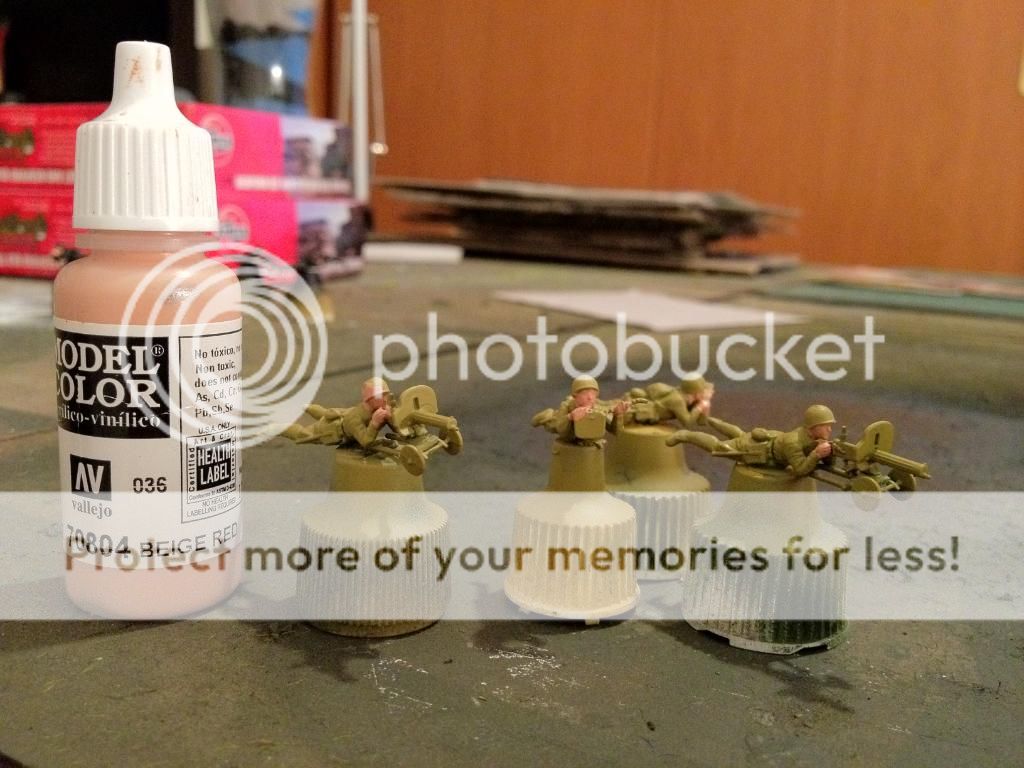
Step 2.
I used some VMC 70.804 Beige Red to paint the flesh parts of the figures.
Step 3.
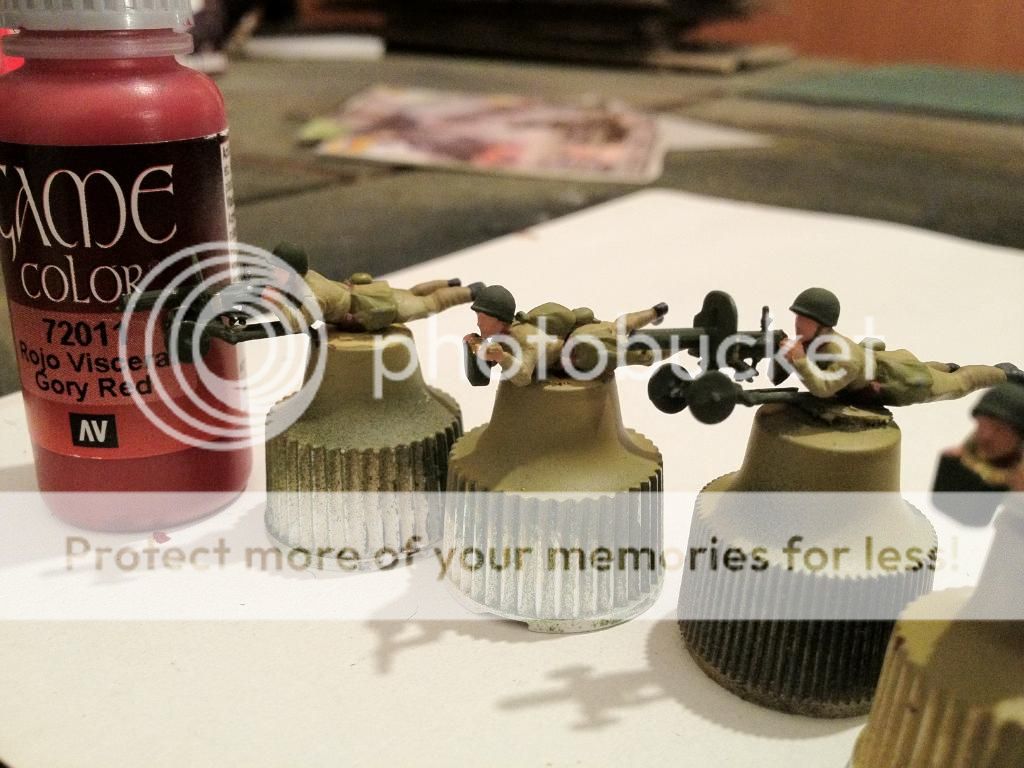
I used some VMC 70.894 Russian Green for the Maxim guns and the helmets.


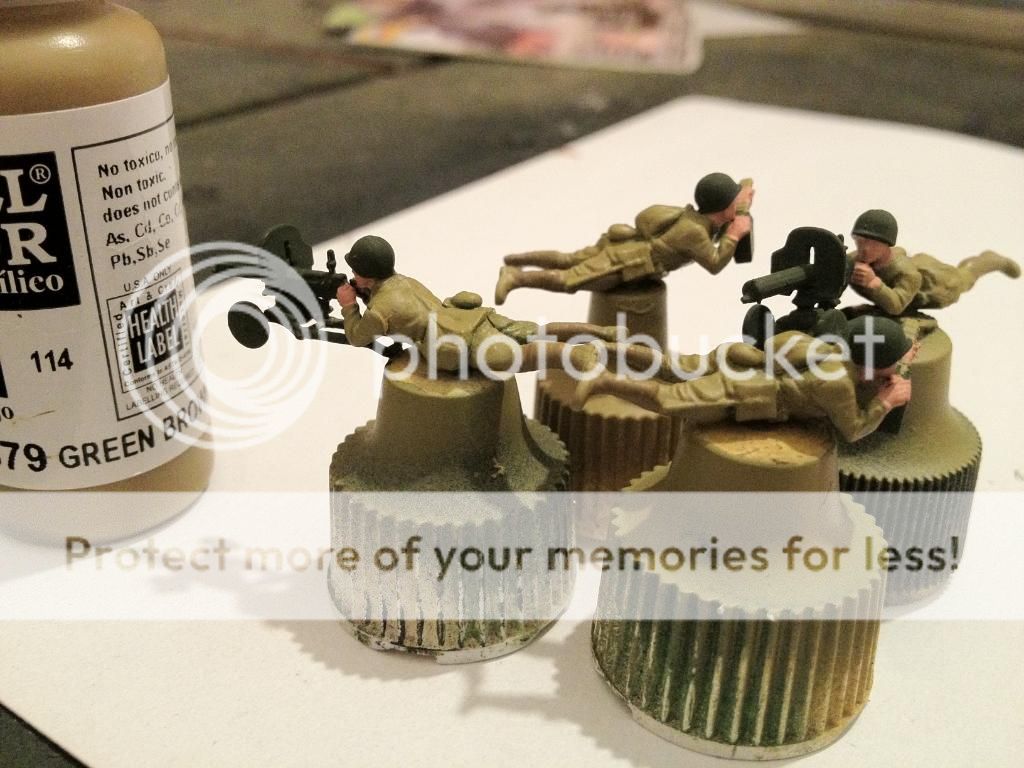
Step 4.
I used some VMC 70.879 Green Brown to paint the puttees.

Step 5.
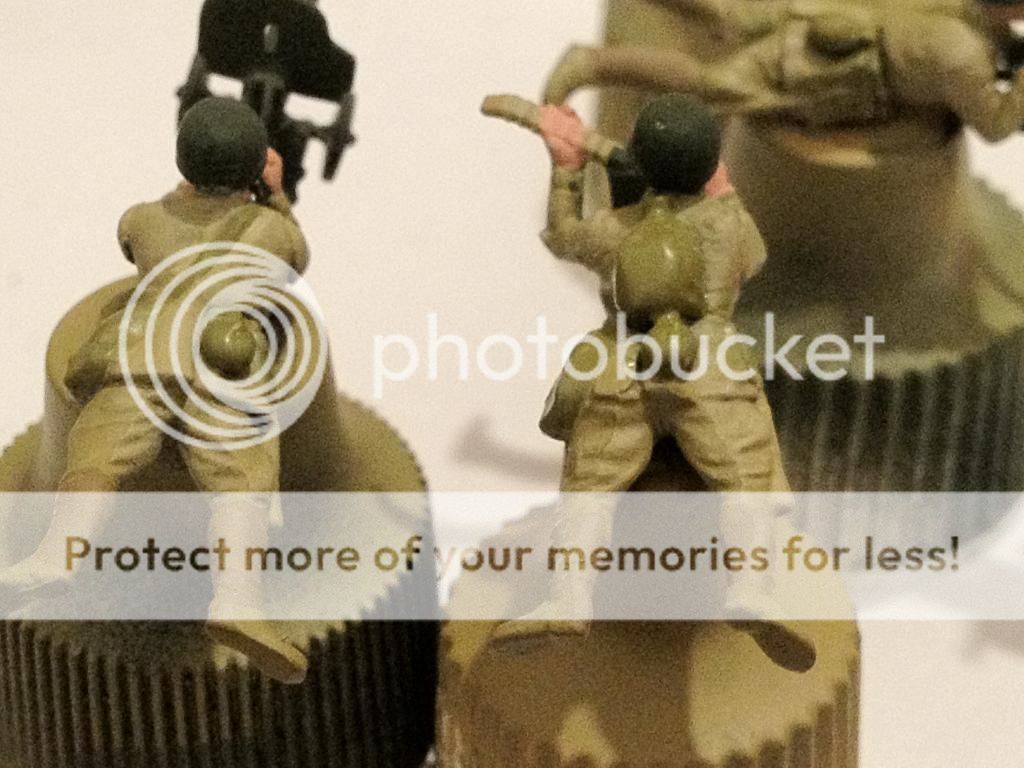
I then used some VMC 70.881 Yellow Green to paint the webbing.

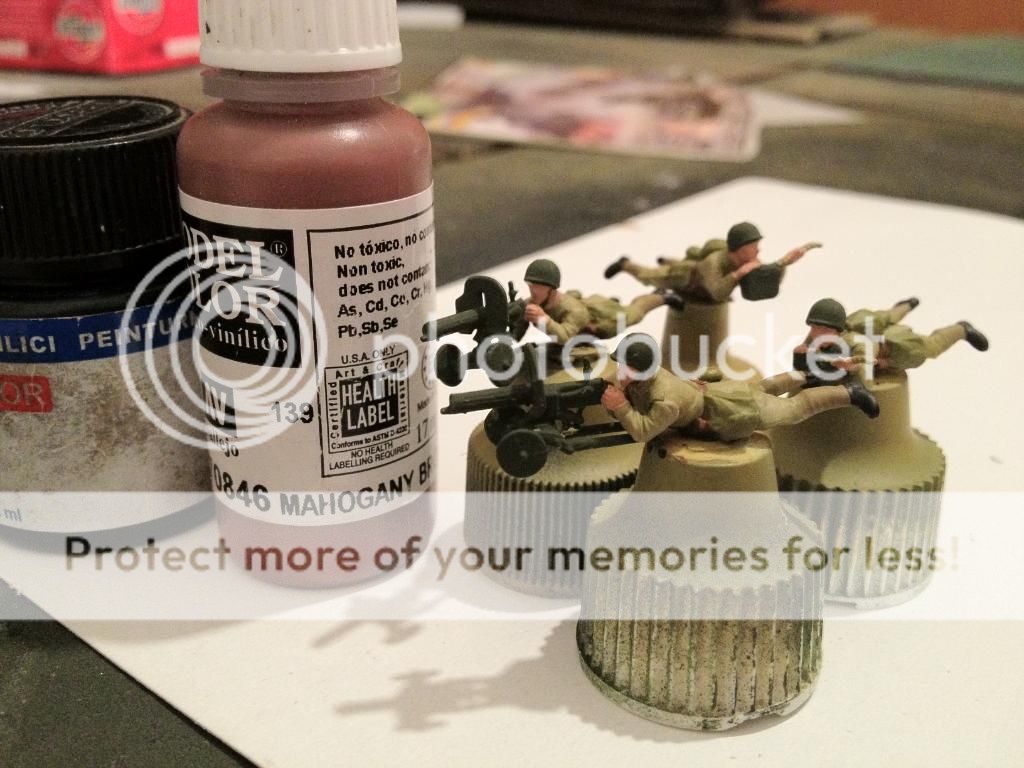
Step 6.
I used some Black (any matt balck would do) and VMC 70.846 Mahogany Brown to paint the boots and the belts accordingly.


Step 7.
I used some VMC 70.801 Brass to paint the ammo rounds.


Step 8.
I then used some VMC 70.862 Black Grey to highlight the boots.

Step 9.
I then used some VMC 70.875 Beige Brown to paint the shovels' wooden parts.


Step 10.
Take some red colour (any dark red would do - I used VGC 72011 Gory Red) to paint the collar pipings of the figures.

Step 11.
After that, I took my never-ending bucket of (water based) wood varnish (brown tone), that I got from my local hardware store - 'Praktiker' and with an old brush I applied the content on the figures. I took the 'excesses' off with a finer (but old nevertheless) brush.

Step 12.
That's about it really.....I then based them (before I applied the greenery) and sprayed them with some Army Painters' Anti Shine varnish.
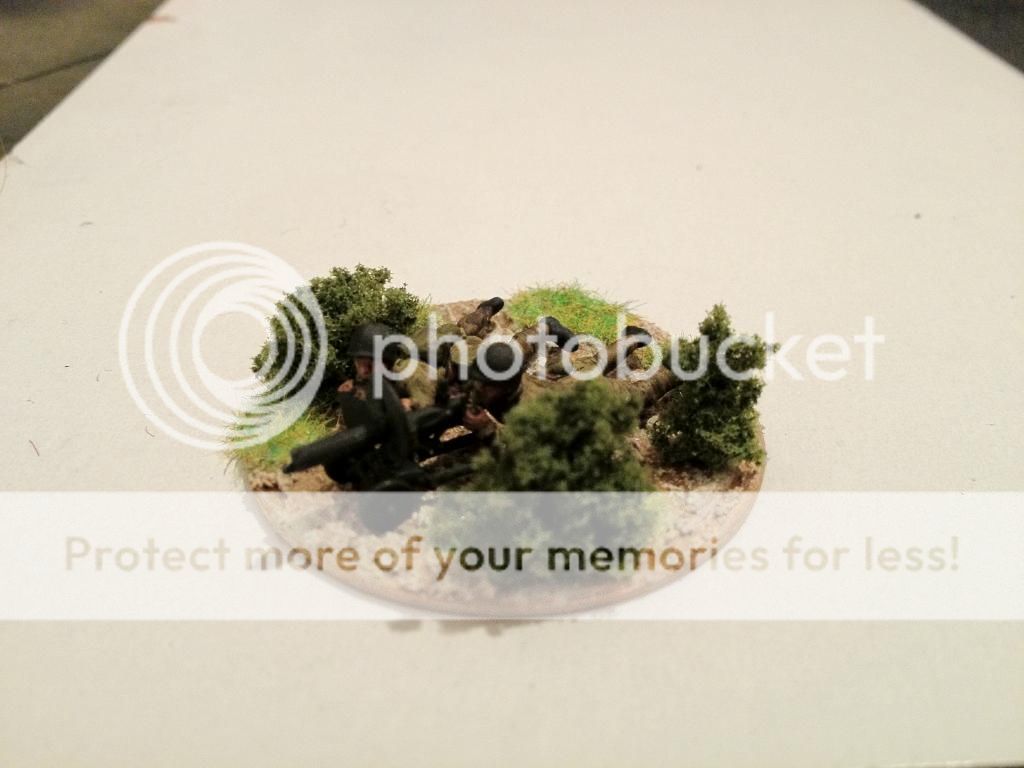
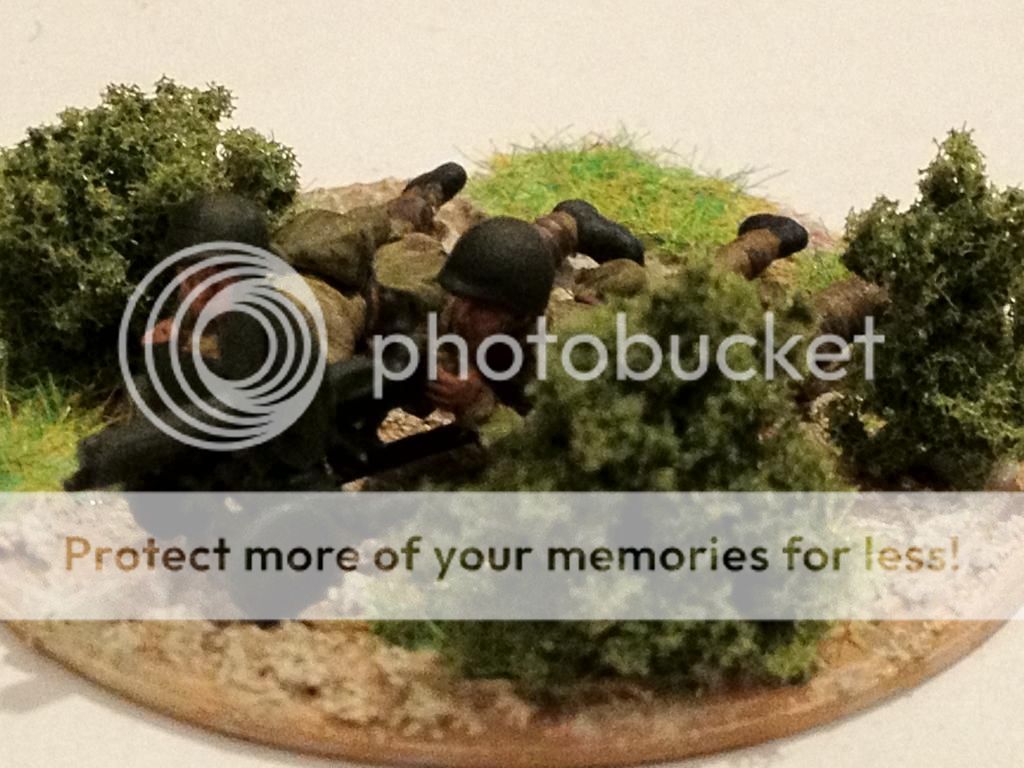
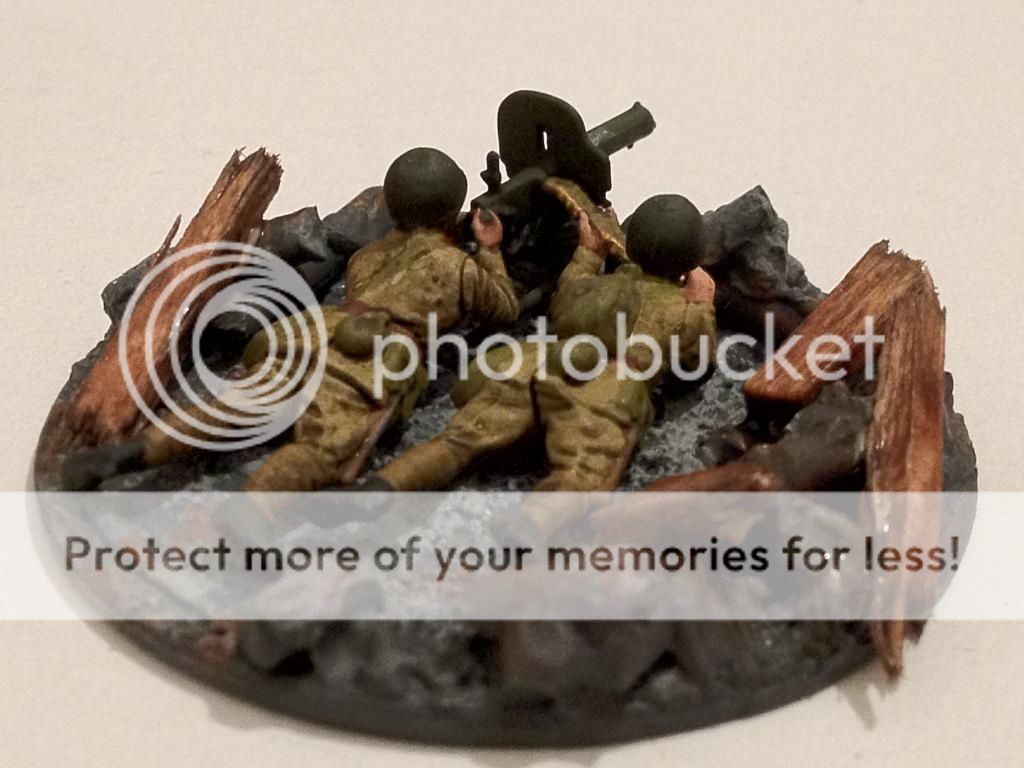
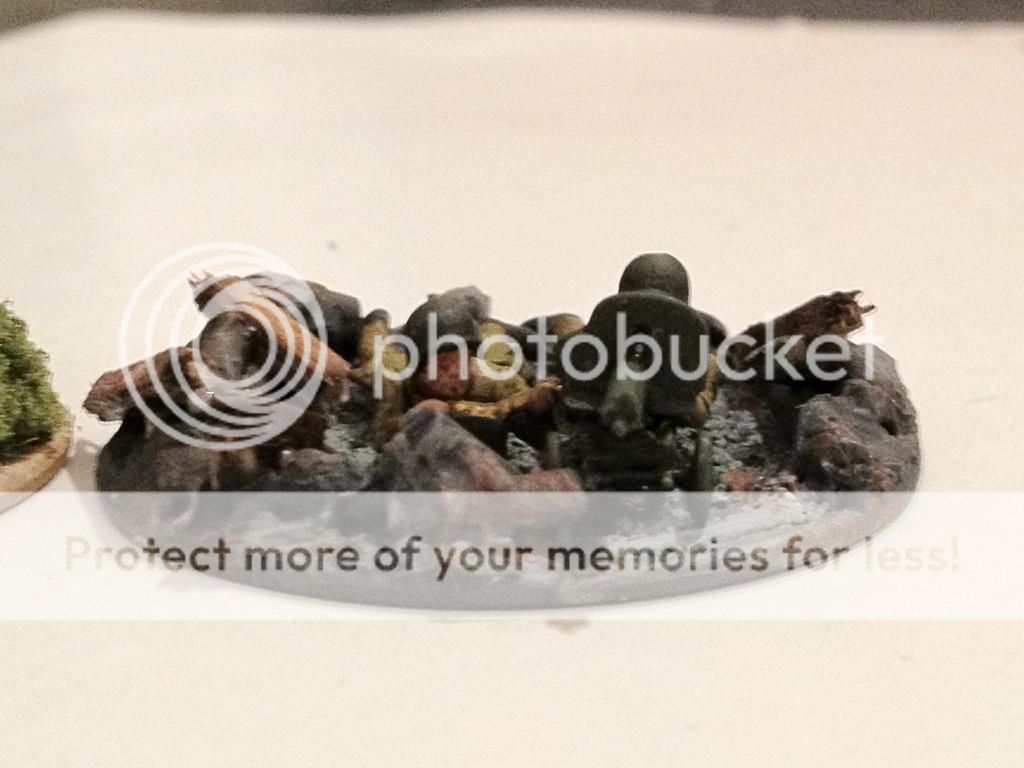
Below you will see the photos with the finished figures based in their two different bases.
The one is the 'Steppes Variant' base, enriched with some static grass and small pieces of cluster foliage (Light Green).

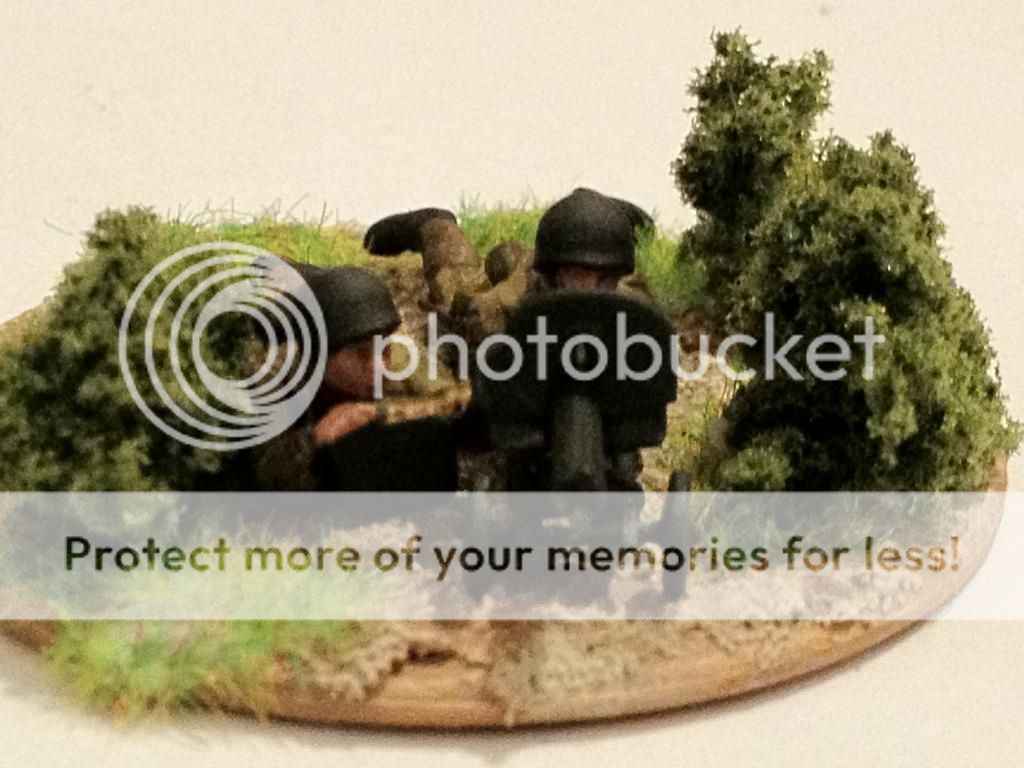


The other is the 'City Variant', where shades of grey were applied to the base's sand, and some parts of the figs' sprues that were cut, glued on the base and got a good amount of plaster on them, to represent debris.

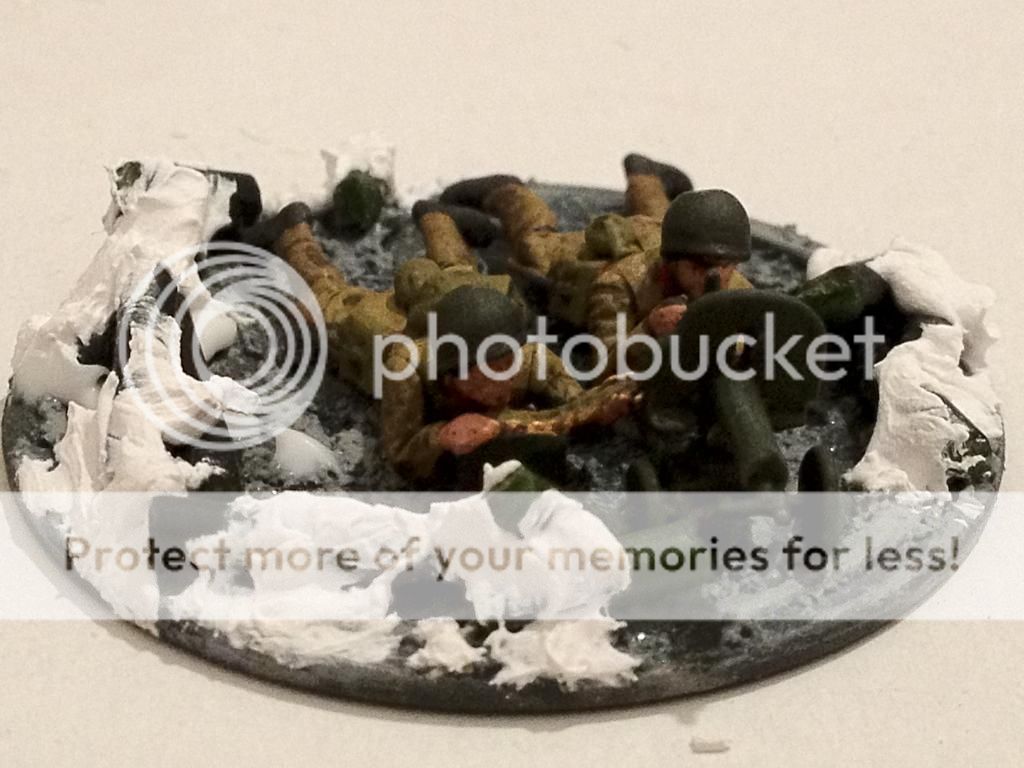

When this mixture got dry, I used the same shades of grey (one dark and one light), alongside with some Brick Red, to paint the scratch-built debris. After that, I glued some thin strips of balsa wood, on top of the debris, I then used some GW Devlan Mud wash, in order to enrich the debris with some floor/roof wood.


Some group photos for the finale:


As you probably have noticed, by using some lighter tones for the uniforms, I achieved some contrast with the varnish that I used and the bases that I based them in the end.
I hope you like them, and that you found this tutorial useful to use it for your little men! :-)
C&C are (as always) more than welcome.
Have a great day!
T.


Very nice! My local hobby shop carries Zvezda, I shall have to take a look next time I visit. Comment:It might be worth adding some putty, or GW Liquid Green Stuff around the waist of the gunner. In the photos there seems to be a bit of a gap there, not sure how pronounced it is in real life.
ReplyDeleteVery good tutorial. I too use the FoW dark yellow spray as undercoat for soviets.
ReplyDeleteYou certainly make it look very straightforward. Another great tutorial Thanos.
ReplyDeleteGreat tutorial and excellent basing!
ReplyDeleteGobsmacked! super work and some great bases!
ReplyDeleteWell done Thanos.
looks cool!
ReplyDeleteExcellent tutorial Thanos! I like the part with the wood varnish!
ReplyDeleteGreetings
Peter
http://peterscave.blogspot.com/
T, you are a master at figure painting and basing. Keep up the excellent work!
ReplyDeleteWell, I know where to go for advice if I decide to paint any Russians! Top work!
ReplyDelete