In case you haven't noticed, today it's Friday!
Because of that, I was in the appropriate mood yesterday night to finish my scratch built wooden road obstacles from bamboo skewers.
Below you will find the photos that deal with the painting of these model pieces and in the end, you'll find some additional photos of them, used in real time on the field of battle (well, it will be in 20mm scale, but you know what I mean - I hope). :-)
So,
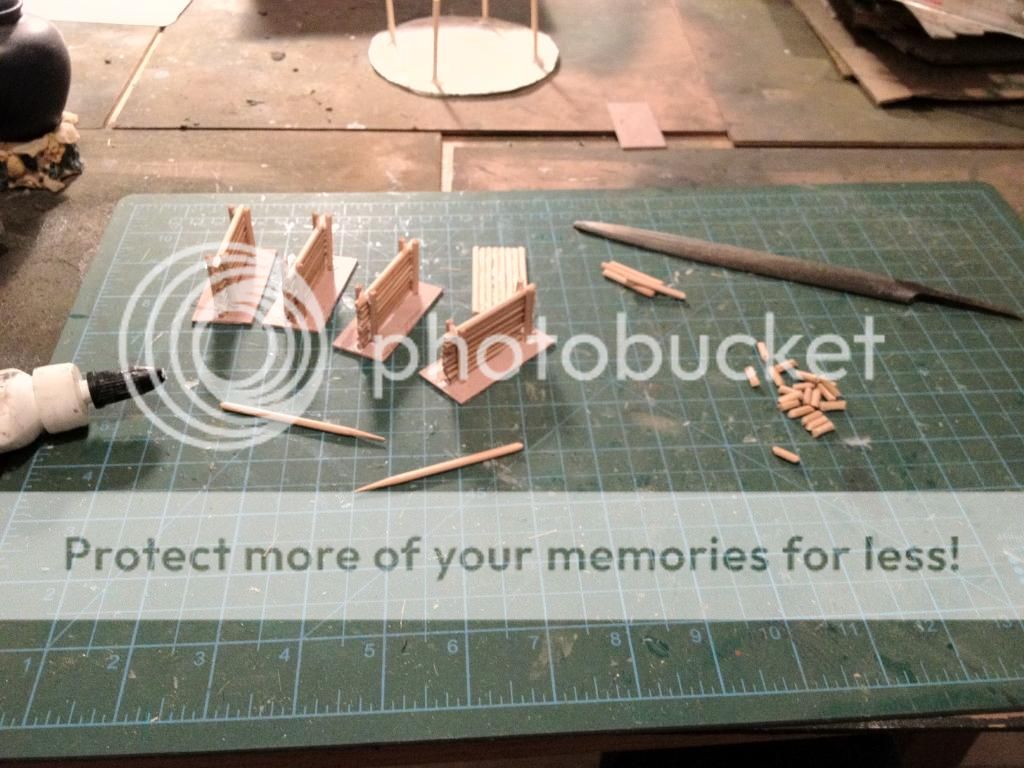
in my last post, you saw these road obstacles in their prime phase, only assembled and glued.


In the next phase, dark brown emulsion paint was applied on the models (and their bases too). The bases (vinyl tiles) were covered with PVA glue and fine sand (I don't have a photo - I apologize for that).

Next, some lighter brown (again emulsion) paint was applied on the bases only, with the drybrush method.


After that, some tan (emulsion) paint was applied again on the bases - drybrush (light).


For the models, I used some Vallejo's Panzer Aces' 310 Old wood paint, and again, by drybrushing them, I started highlighting the extreme surfaces of the wood trunks.


The last and final step of painting the models (dark brown - old wood), was to use some VMC Green Grey. Again with the drybrush method (but only lighter this time), I gave the final highlight on the wood trunks. I repeat, - light drybrushing.

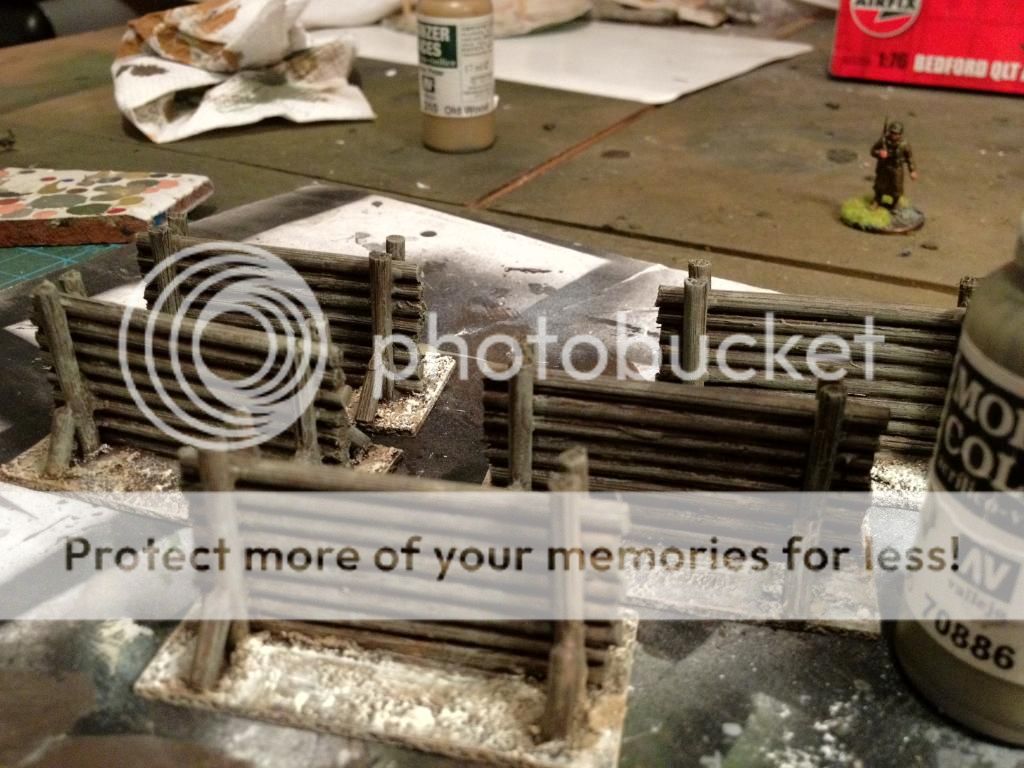


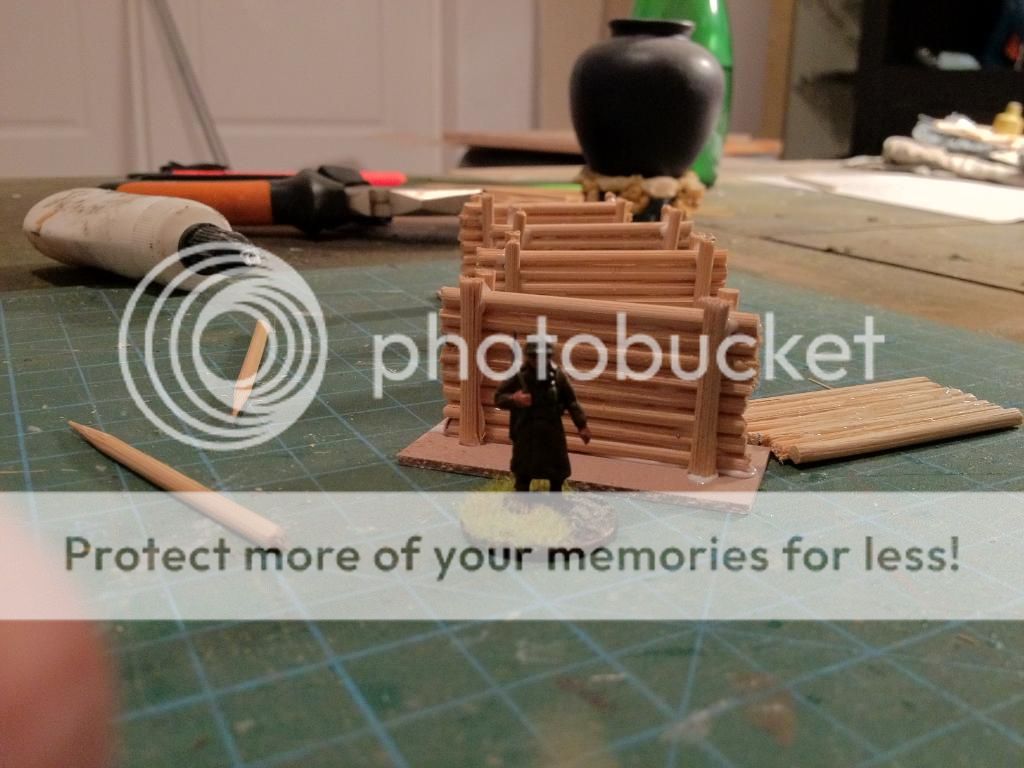
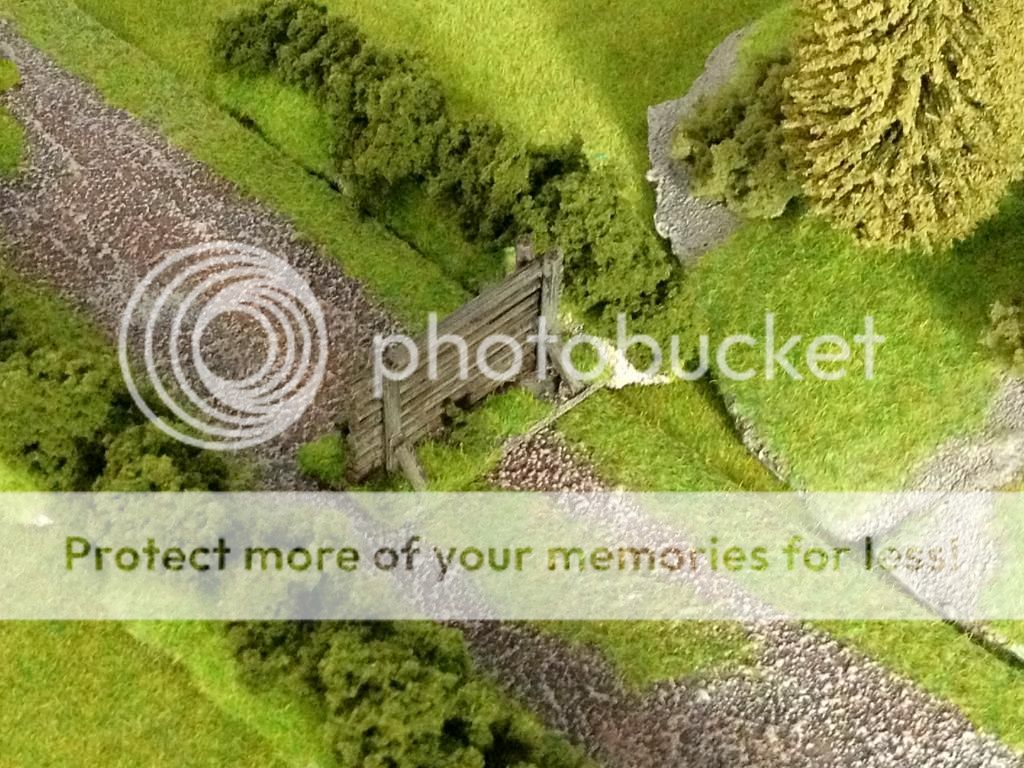
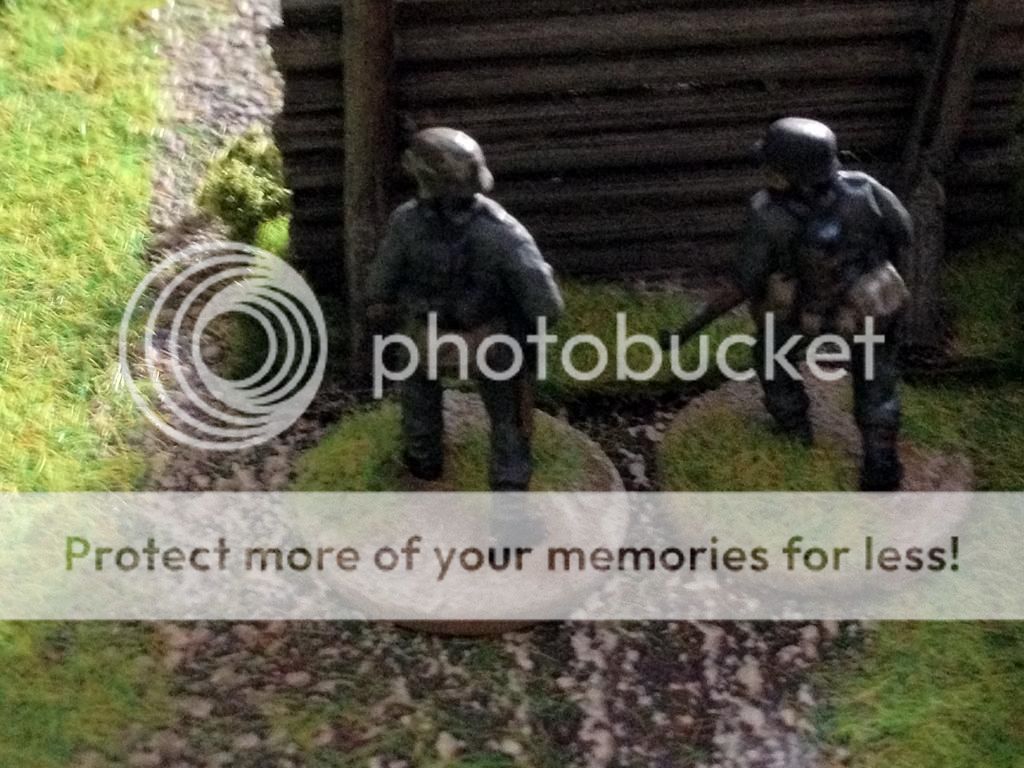
Well, that was it...I now had to add some greenery on the bases and in the end, this is how they turned out:

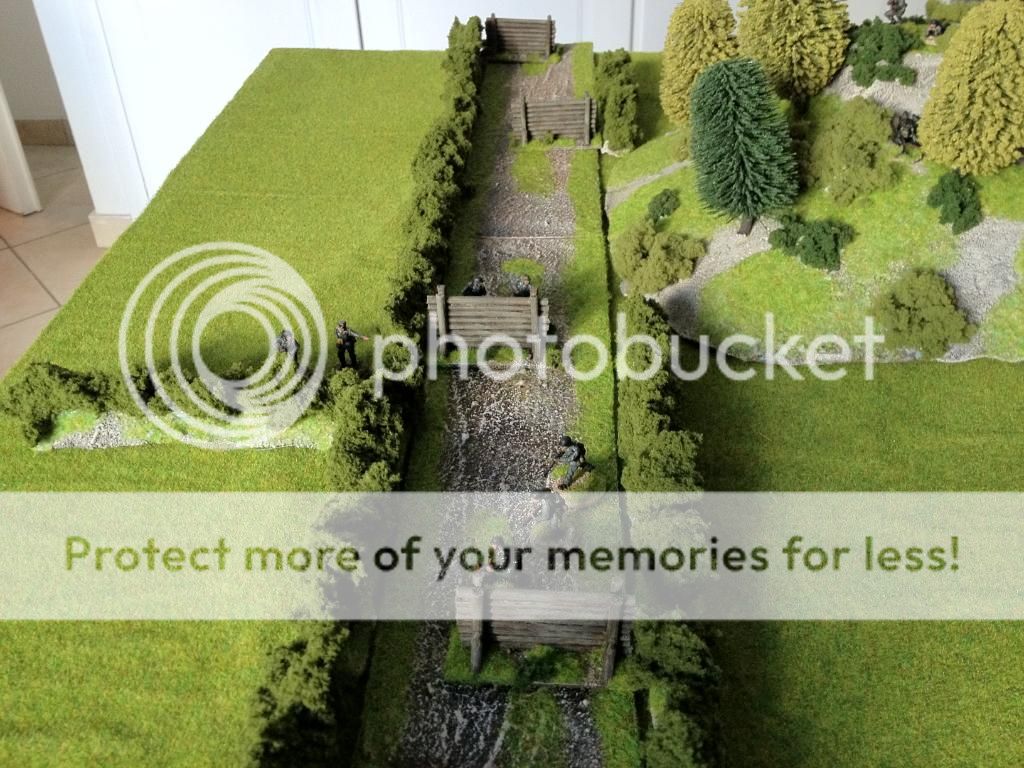


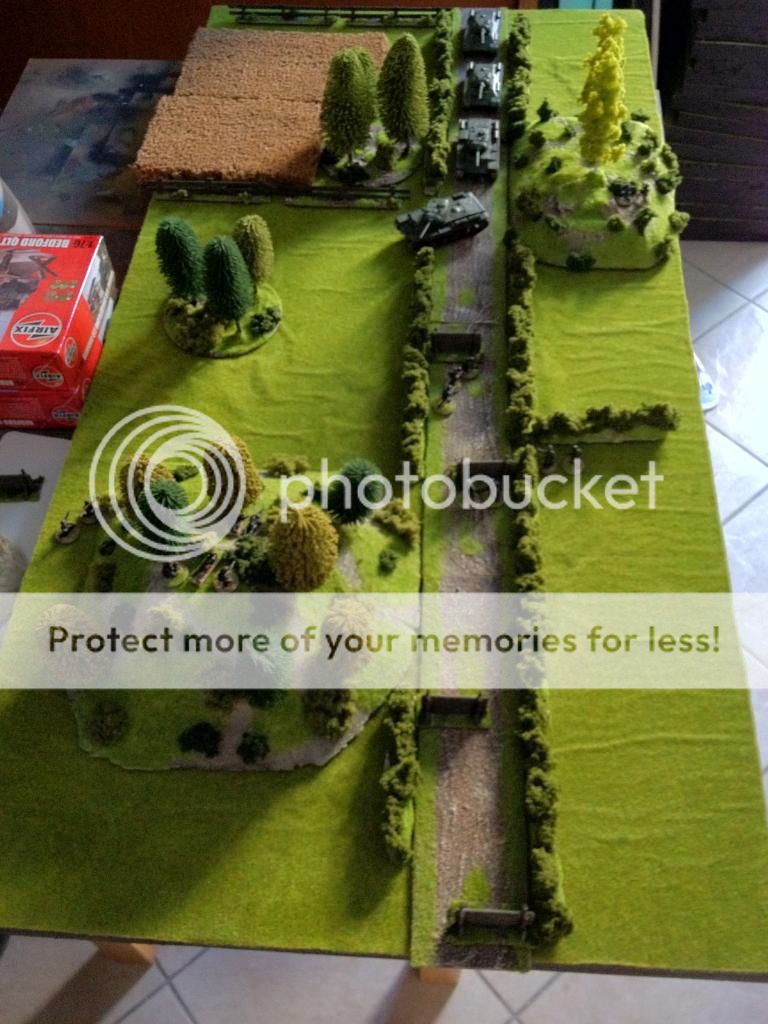
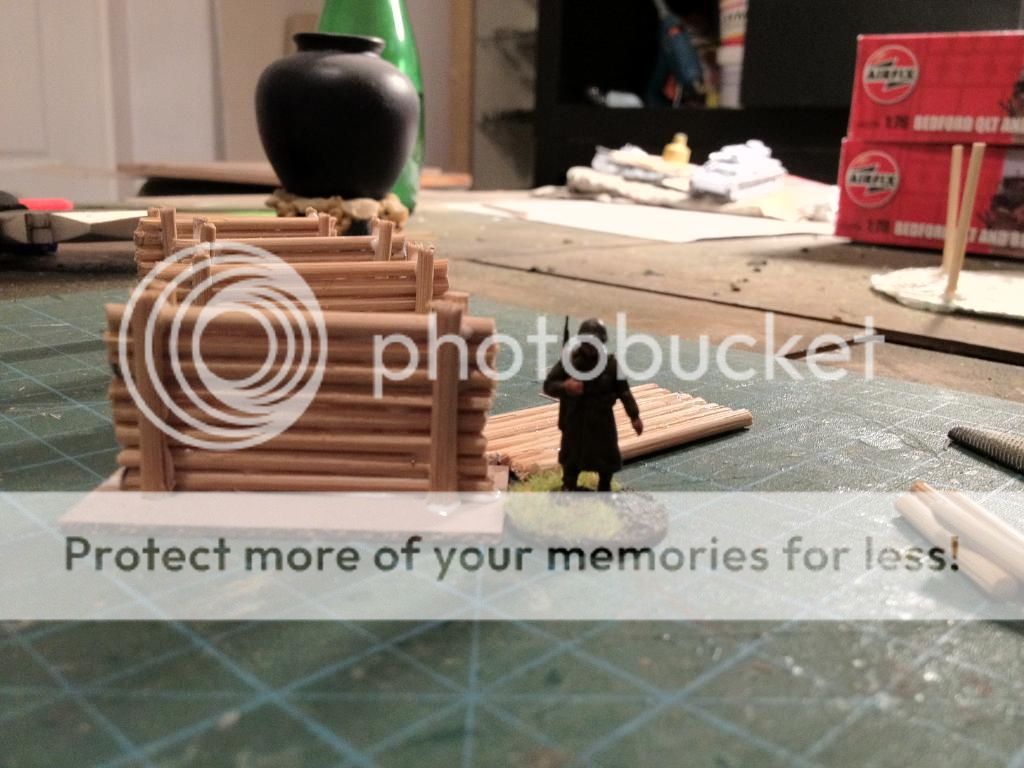
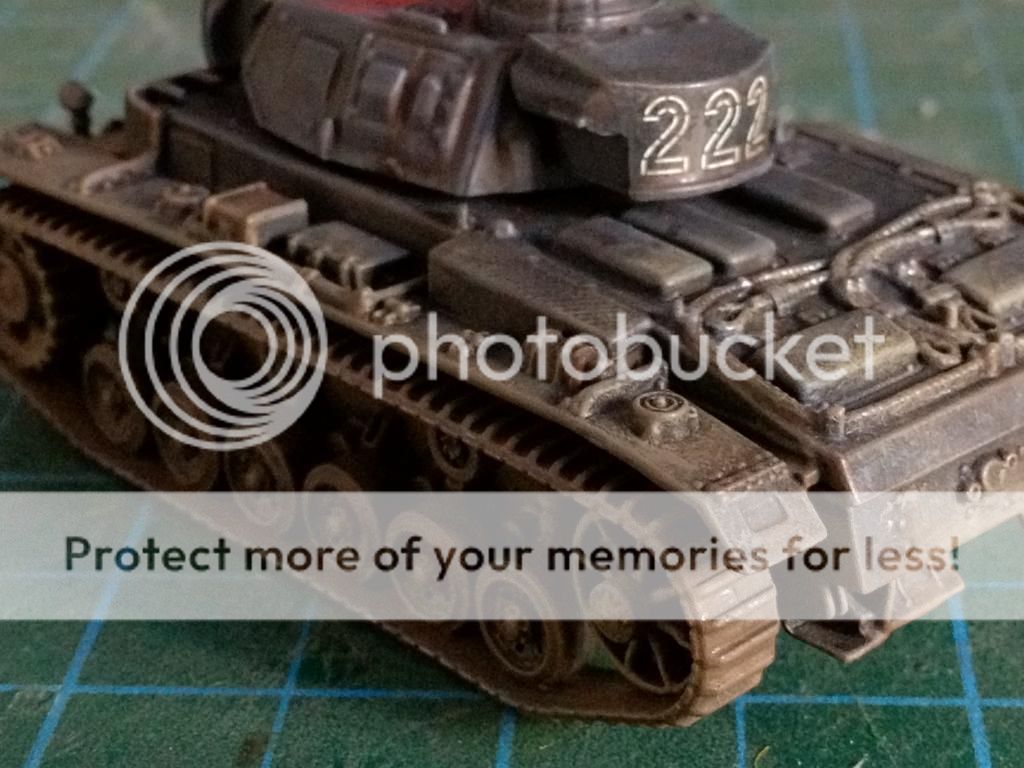
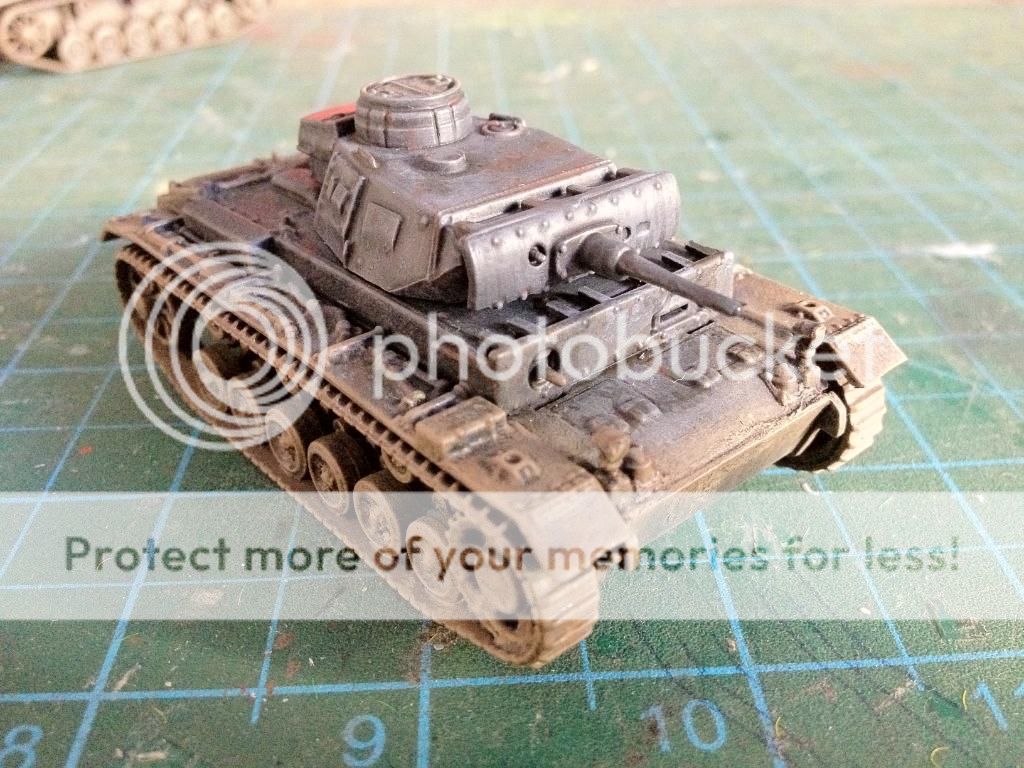
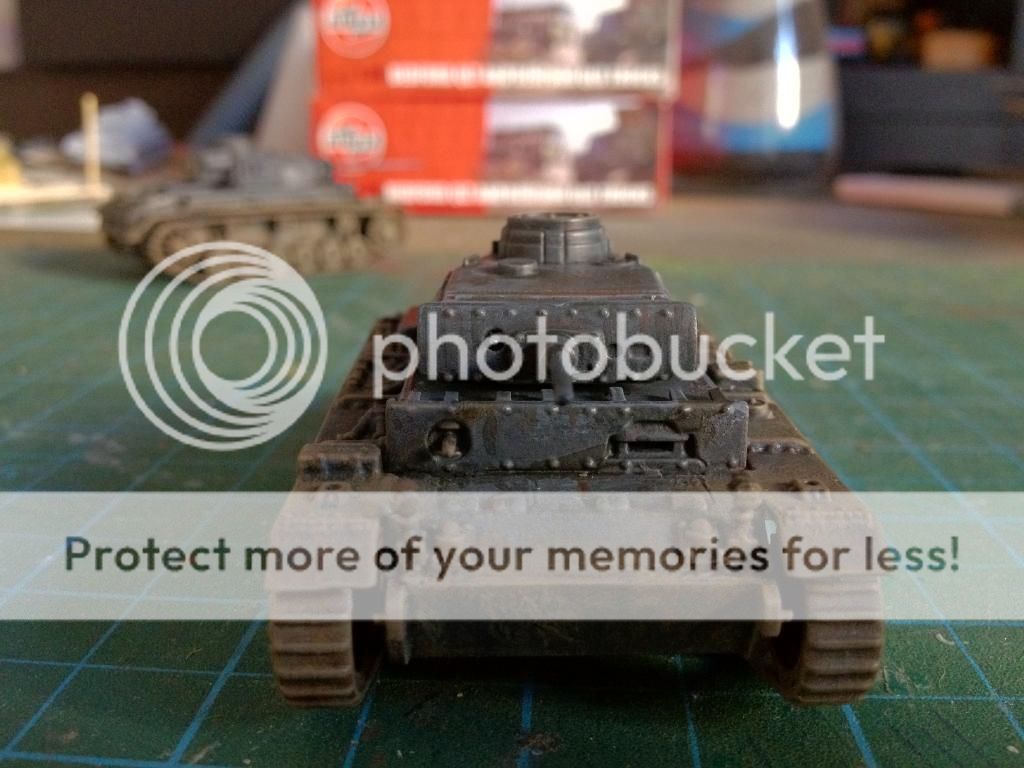
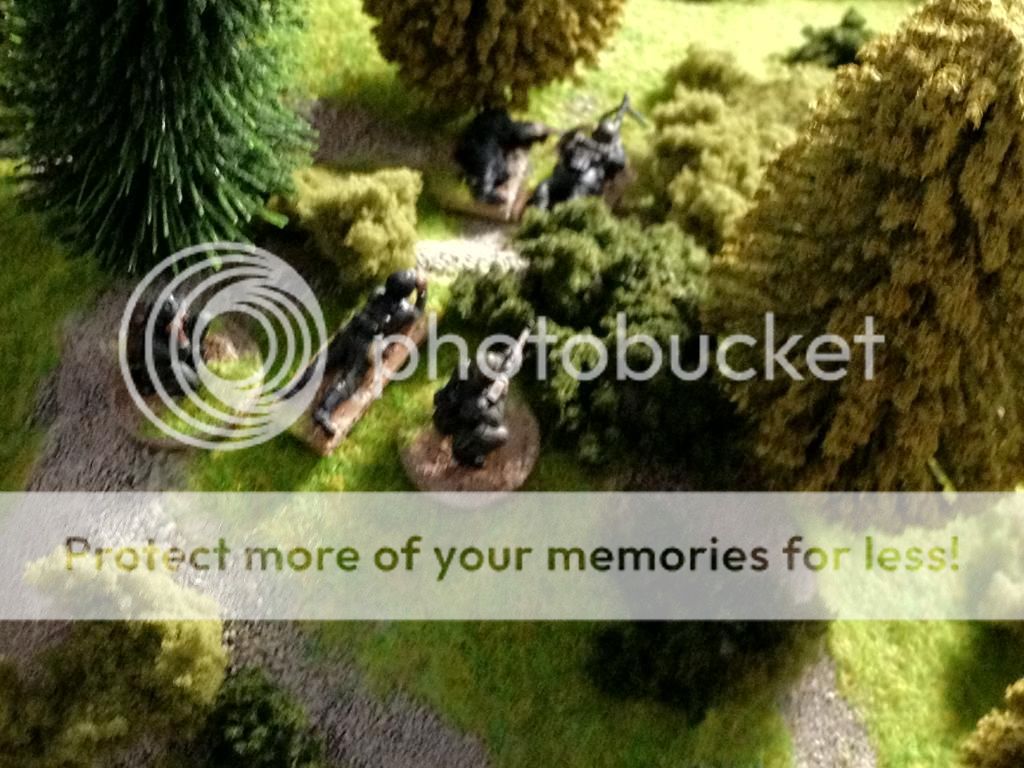
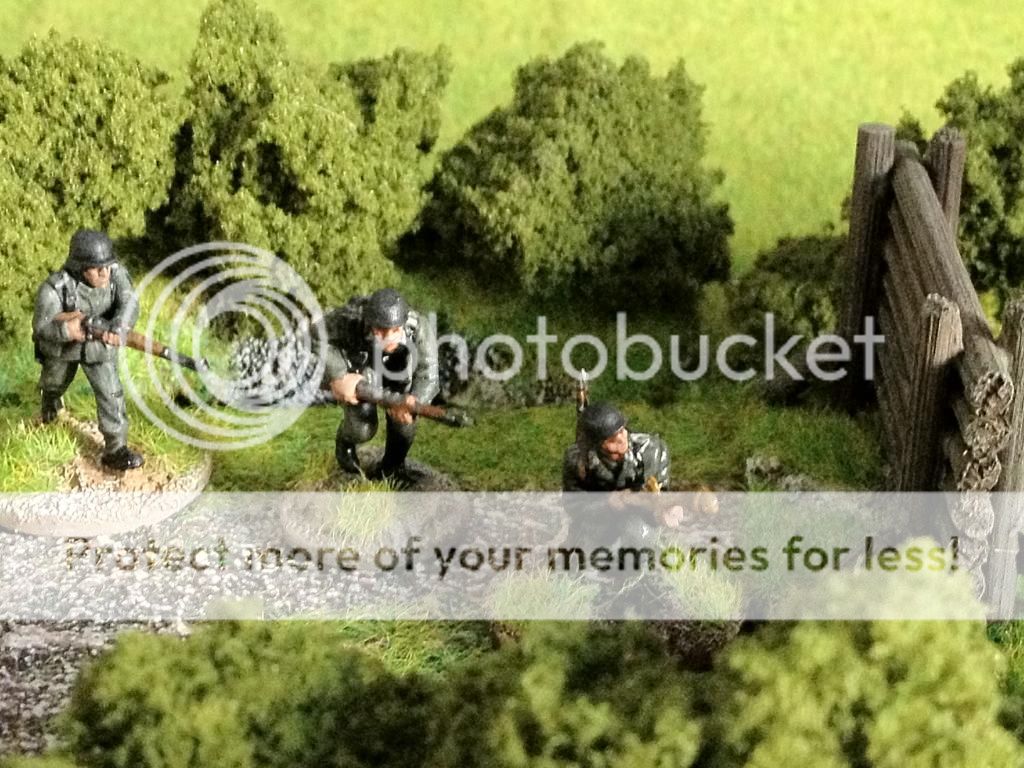
The Germans have placed these obstacles on the road, in order to divert the route of the Russian Armor phalanx. The Russians could perhaps, overcome these obstacles with the KV-1's, alongside with the T34-76's but they didn't want to take the chance of confronting Germans equipped with Panzerfausts....
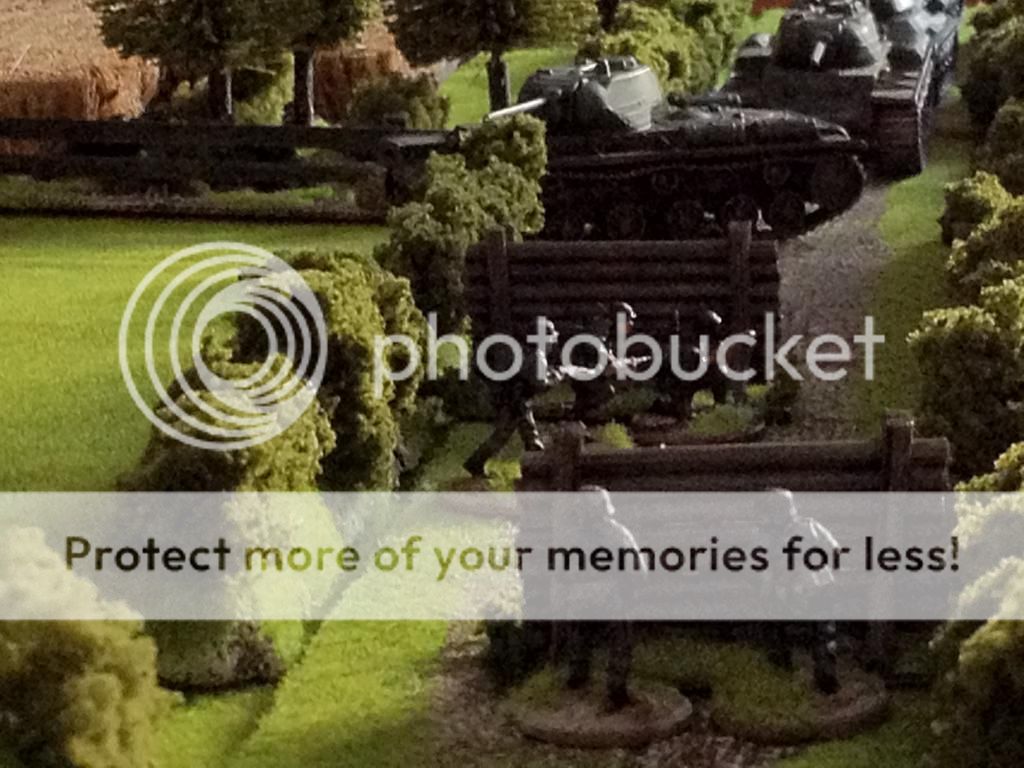


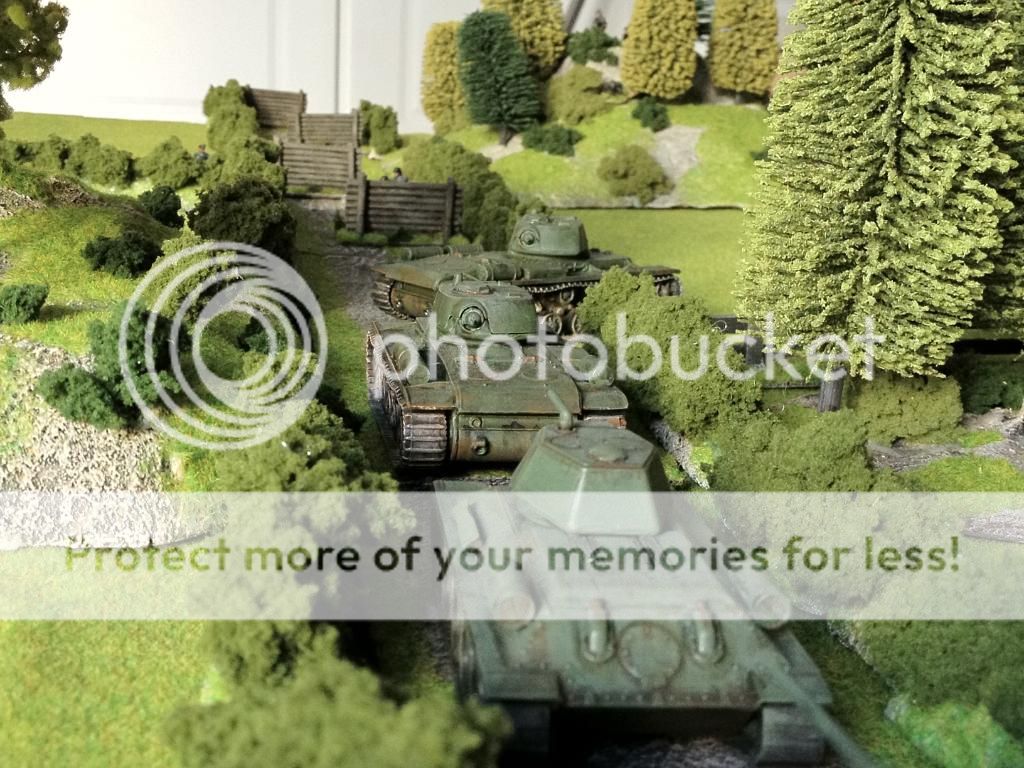
However, that didn't mean that the Germans haven't thought of that possibility. After all, those were the ones that placed the obstacles in the first place....

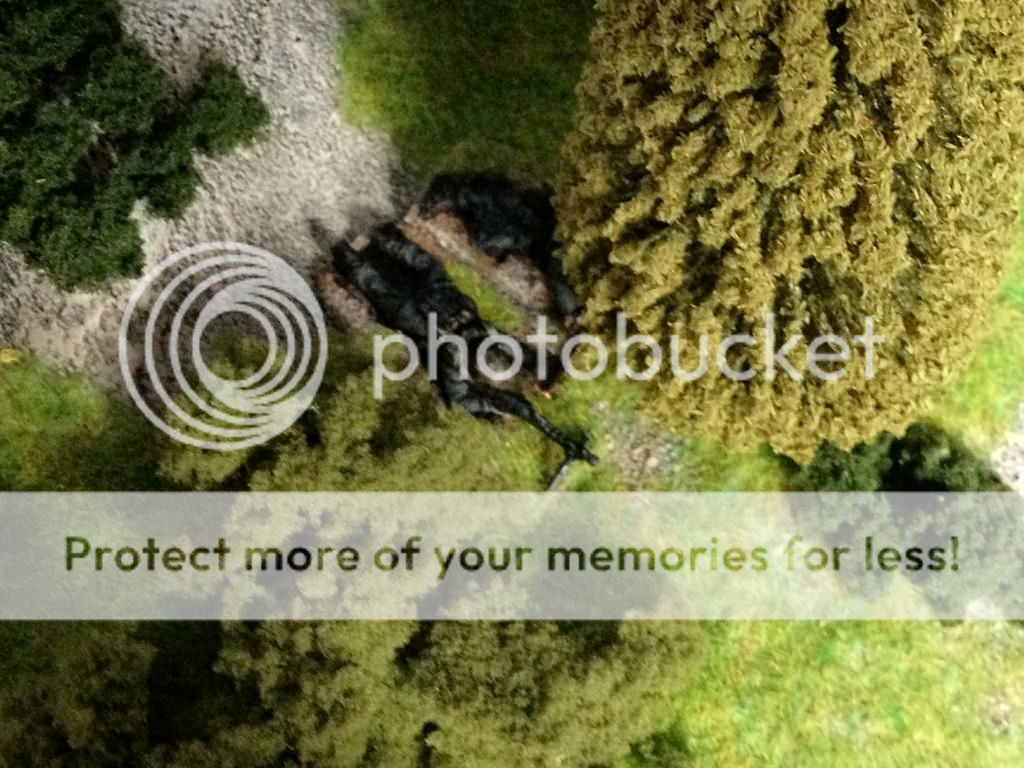


Poor Russians..... will they get through? Or will they fertilize the soil of the Motherland with their bodies?


I hope you found this mini tutorial - semi A.A.R, interesting. As you see, it wasn't very difficult to make these little models.
If you have any further queries, please do not hesitate to contact me.
Have a good one (w/e) guys! :-)
T.