

Hi everyone!
Hope you are all well.
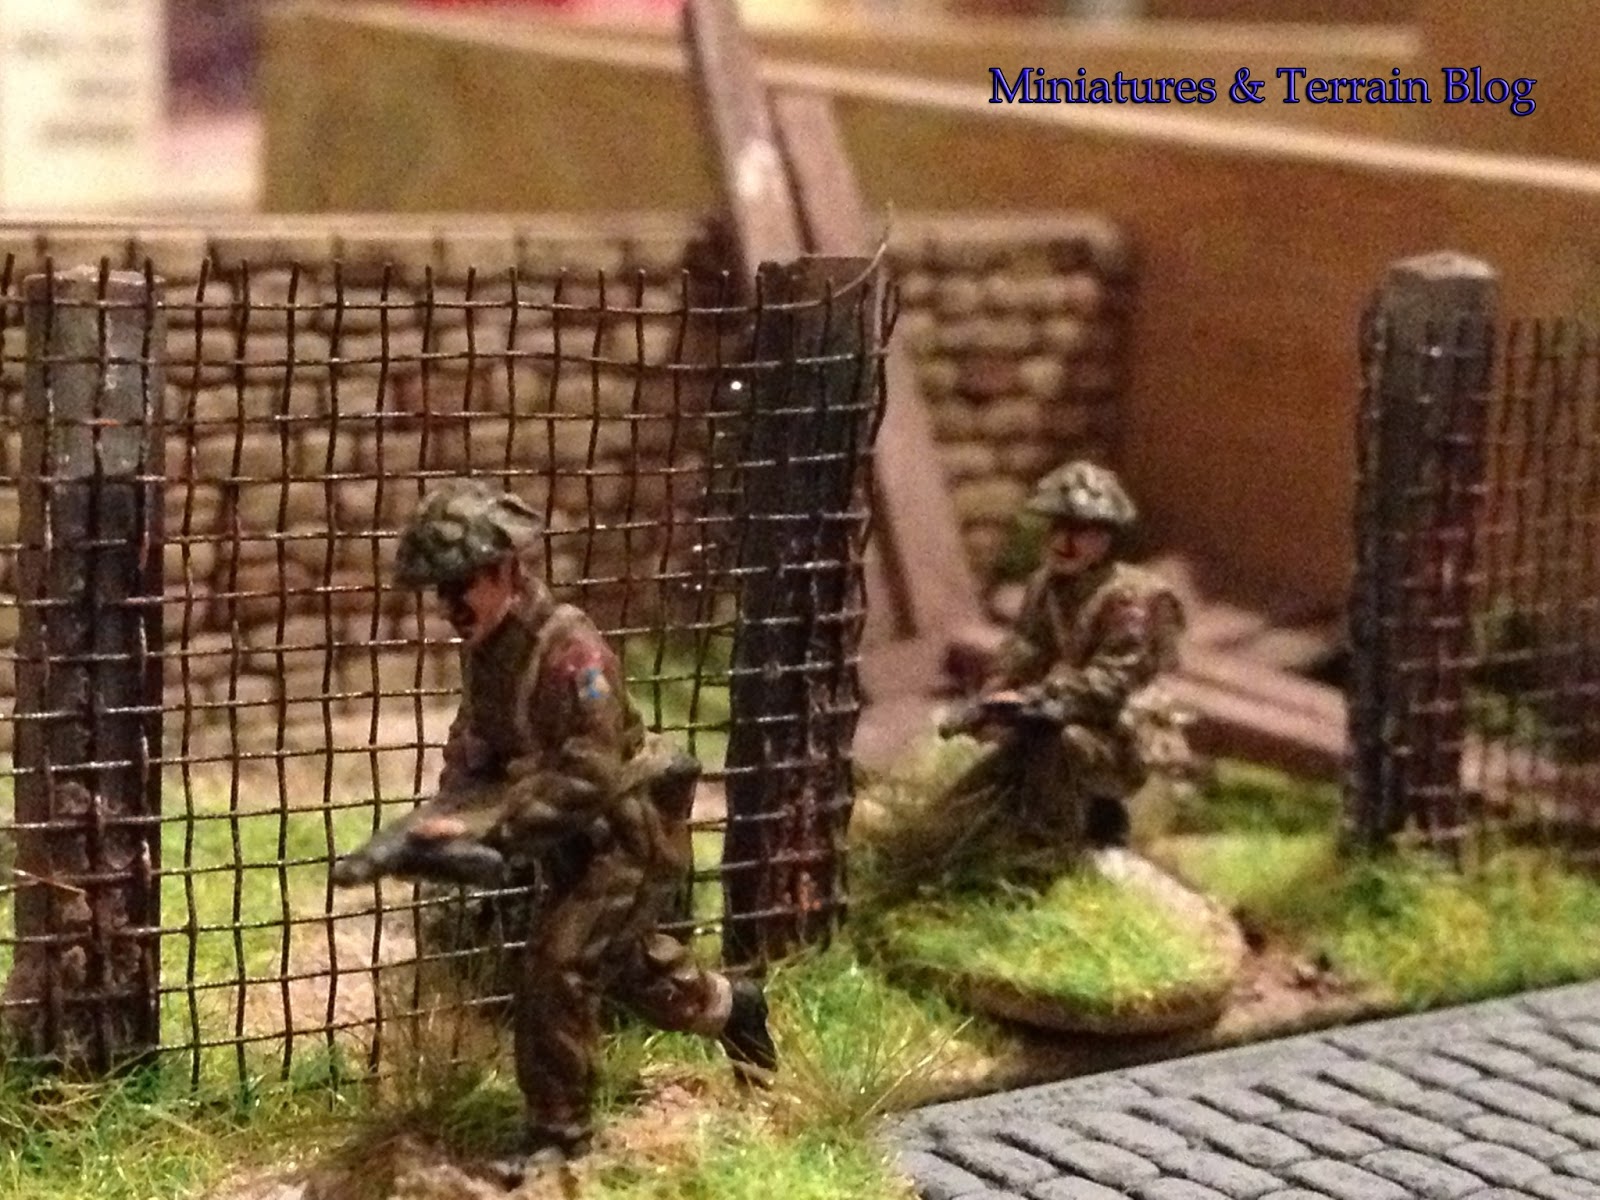
My today's post is about small yards, and how you can make them. These yards, are meant to be used in between buildings for aesthetical reasons and to give diversity to the townscape. In this tutorial I made two models, since it was very easy to make them both in a very small amount time. However, the materials I used were the ones I had available, it doesn't mean you should do the same. My goal is to give you an idea of how you can enrich your terrain with some cheap solutions.
Materials needed:
1. Two small bases (6cm x 10cm) from plastic. I used pieces from vinyl tiles
2. Two wall pieces. I used Busch's #6014 Stone Wall with Gate (you can use any other type of all suits you best)
3. Eight rectangular pieces of plastic (L: 2.5cm x W: 0.3cm). Their height figure is up to you - no restriction about that.
4. Two pieces of wire mesh (L: 9.5cm x W: 2.5cm).
5. Thin strips of balsa wood
6. PVA glue and sand (optional: Vallejo White Pumice - my preference for speed results)
7. Static Grass
8. Pieces of foliage cluster (optional)
The method:
1. The materials needed in full display

2. Apply Vallejo's White Pumice on the bases


3. Apply Grey primer on the plastic rectangular pieces


4. Apply Army Painters Skeleton Bone spray on the wall


5. Applying Black primer on the wire mesh


6. Paint some stones, with different shades of brown, for ''breaking'' the base colour. In reality you cannot find a wall with the same colour on its stones from end to end.
7. Apply GW Devlan Mud on the wall. Then take a piece of tissue paper and wipe off the wash on the top of the stones, leaving the dark brown colour of the wash in the recesses.


8. Apply some watered Vallejo's Russian Uniform on the walls recesses. The goal there is to put some ''mold'' on the wall, no need to overdo it. Some few colour touches applied
9. Apply GW Badab Black on the plastic beams. Let them dry
10. Paint the base(s) with earth colours. I used a brown colour and then I drybrushed a light sand colour on them.


11. Glue the wall and the plastic ''beams'' on the base(s)


12. Glue the wire mesh on the plastic ''beams''


13. Cut the wire mesh in the middle and ''wrap'' their ends around the plastic ''beams''


14. Drybrush some Vallejo's Panzer Aces 301 Light Rust on the wire mesh (weathering)


15. Apply some static grass and pieces of foliage cluster on the models


16. In one of the bases, I used some thin strips of balsa wood to represent a pile of stacked wood. After I glued them, I applied some GW Devlan Mud wash on them


17. Finito!


17. Finito!


As you saw (those you managed to read the whole post, and didn't get bored in the meantime), it was very easy to make these models. IMHO, the most basic element in modelling (and in other things in life, but I am not the expert to say that), is consistency. If you break down the steps and be consistent in the procedure, is almost impossible to go wrong.
Modelling can look daunting in the beginning, but in reality, it is just another procedure. If you follow its basic principles, you can always deliver (at least up to a certain degree - after that, talent takes over, and makes sth from mediocre to great).
I hope you find this tutorial useful.
Have a great Monday night everyone!
T.


Bloody good work Thanos!
ReplyDeleteExcellent work Thanos!!!
ReplyDeleteA great tutorial, Thanos. Thanks for all the good ideas and examples that you give to the hobby. I am definitely stealing some of these ideas and saving them for when time permits.
ReplyDeleteMP
Great tutorial of another great creative modeling project to make one's very nice gaming scenery even better! Thanks, Mr. T.
ReplyDeletegreat work Thanos, and a really nice idea
ReplyDeleteThose sir, are really useful bits.
ReplyDeleteWe need more of this sort of simple & effective tutorial!
Carry on.
Wonderful work, definetly will use it in future projects.
ReplyDeleteFF
Nice idea- will try something similar myself I think.
ReplyDeleteCheers,
Pete.
wonderful! great work on the models and a nice tutorial to boot. thanks
ReplyDeleteGreat tutorial T, thanks for sharing!
ReplyDeleteThis is really useful, thanks Thanos
ReplyDeleteNice results Thanos!
ReplyDeleteYou are a clever boy Thanos. Lovely mate.
ReplyDeleteExcellent blog! Do you have any recommendations for aspiring writers?
ReplyDeleteI'm hoping to start my own blog soon but I'm a
little lost on everything. Would you advise starting with a free platform like Wordpress or go for a paid option?
There are so many choices out there that I'm totally overwhelmed .. Any suggestions? Many thanks!
my web site ... Biotechnology and Bioengineering
Great idea, very well executed. I'll be having a go at some of these in 10mm scale.
ReplyDeleteAll the best
Airhead
Simple but very, very effective. Well done.
ReplyDeleteI agree - simple but effective.
ReplyDeleteThank you for the tutorial.
Tony