
First of all I would like to thank you all, for visiting my blog. I feel very privileged to be in contact with people like you, with who I share the same interests.
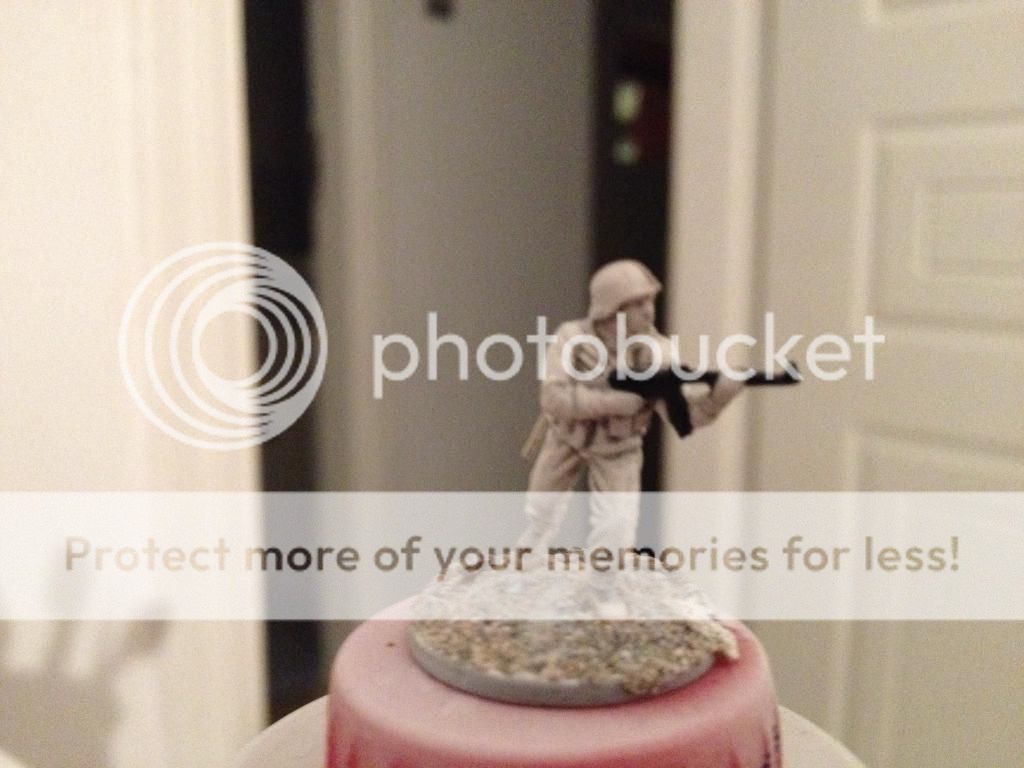
These past couple of days, I've been painting some Germans in winter clothing (aka white) for an Ardennes game I might play one day (I have to build all the terrain pieces as well, so you get to imagine how long this would take....). :-)
Before I do that, I thought I should post a tutorial of how I paint figs in winter clothing to show you how easy it is in reality.
So, there we go - get prepared for a big post full of photos!
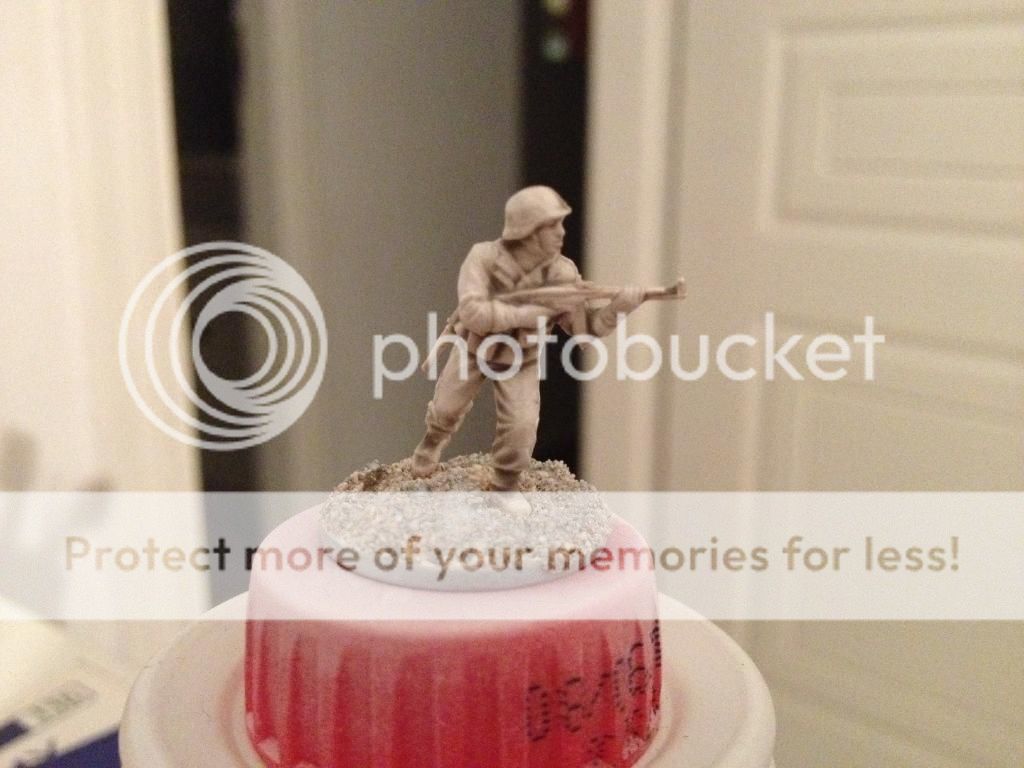
Step 1.
Glue the figure on a coin.

Step 2.
Apply some wall puty on the base.

Step 3.
Apply some PVA glue and common sand (I got it from a beach last summer).

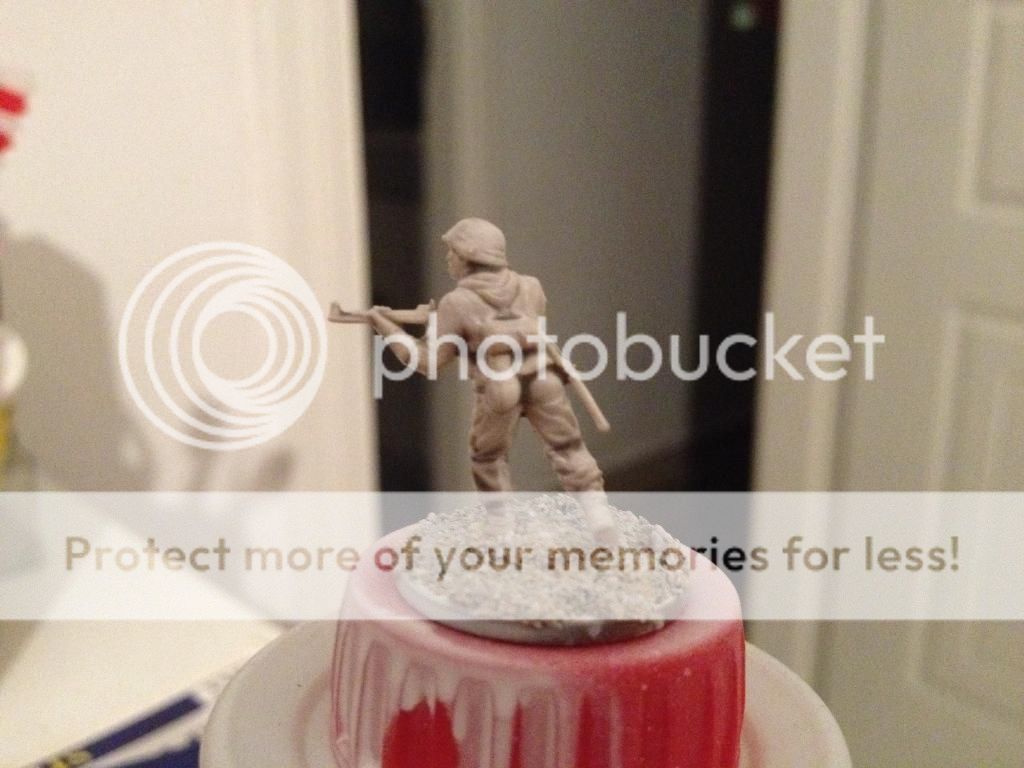
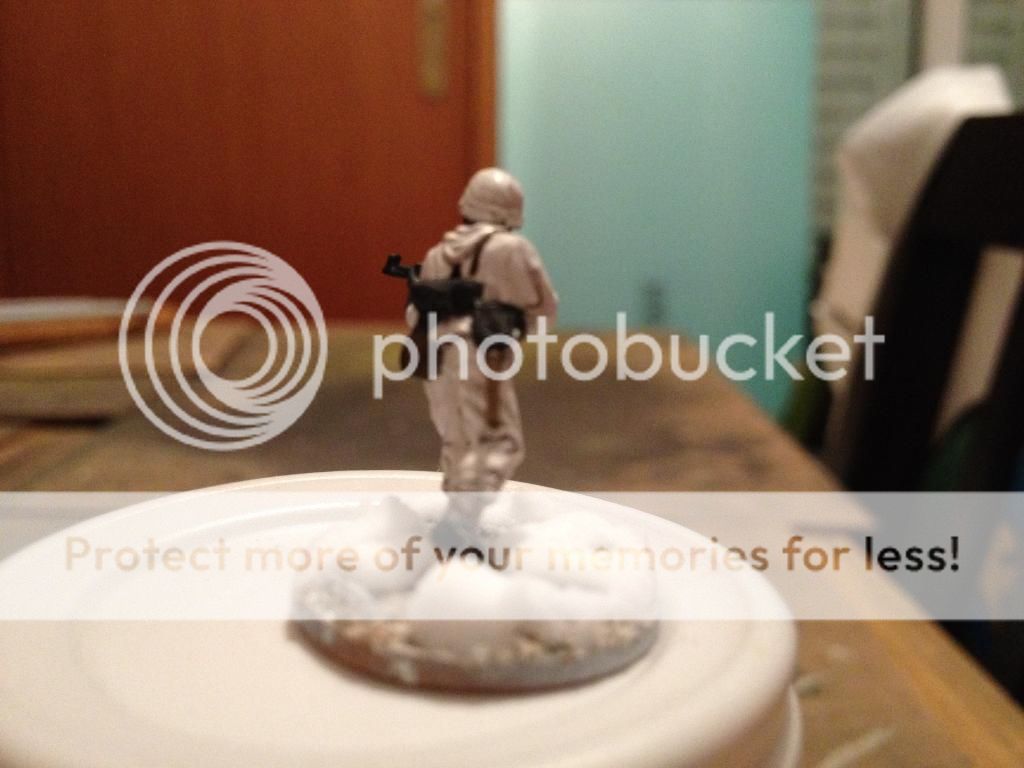
Step 4.
After gluing the fig on a a base (coca cola cap), spray it with a white Primer (AP White Primer).


Step 5.
When that is dry, apply some Vallejo's wash (73202 Pale wash). This wash is simply terrific. Its consistency is quite about right, and when applied it goes into the recesses and makes the folds as realistic as the clothes we wear.

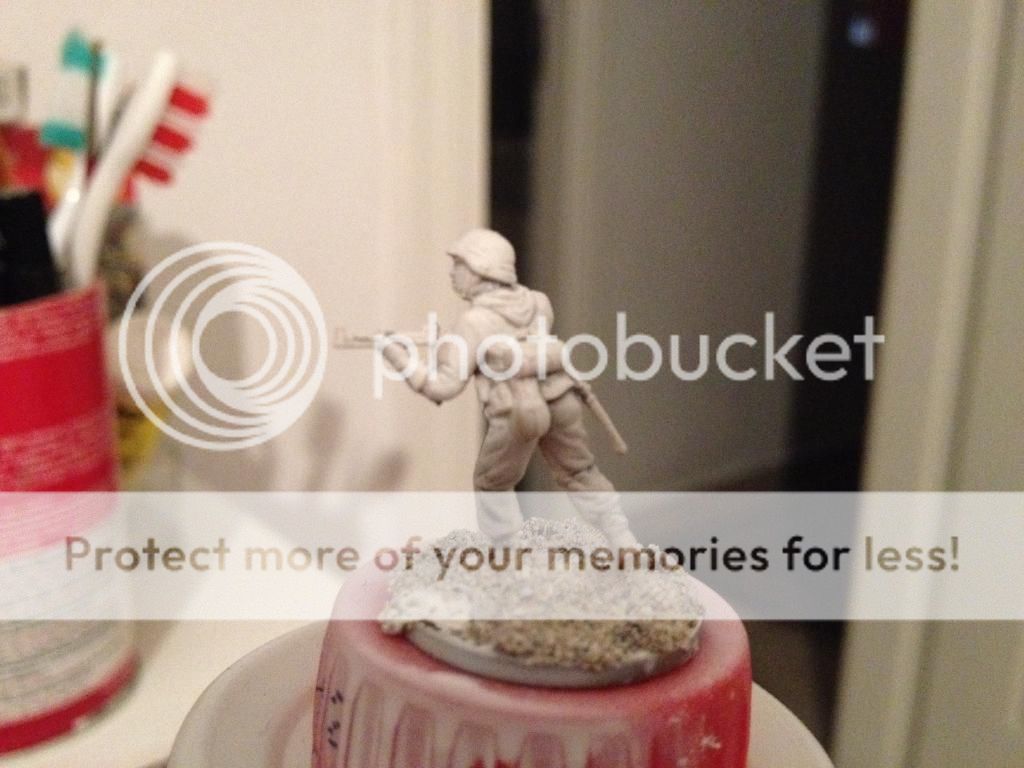
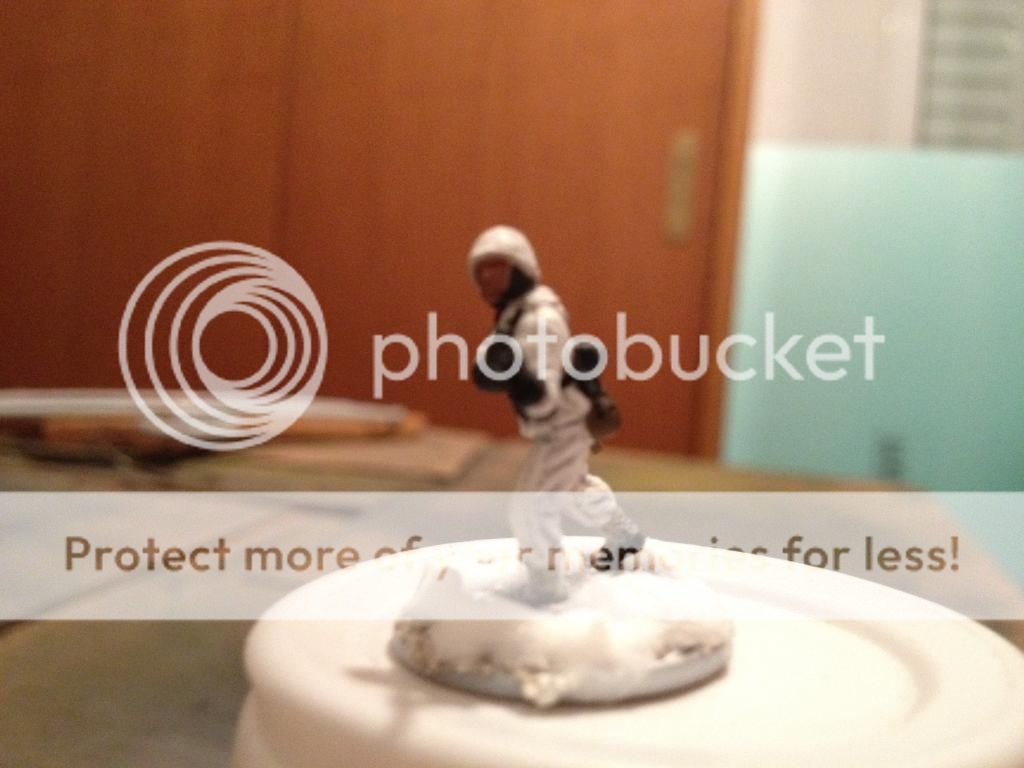
Step 6.
Leave the wash to dry, and after that use Vallejo's MC (70.820 Offwhite). Simply drybrush the paint on the figure so as to make the clothes' recesses visible.


Step 7.
Continue, by using some VMC 70.820 Offwhite, with a fine brush and paint the extreme folds of the uniform. This way you will complete the ''white'' contrast.


Step 8.
Use some Vallejo's MC (70.995 German Grey) for painting the weapon (Stg.44), the gas mask canteen and the flask's lid.


Step 9.
Use some Vallejo's MC (70.873 US Field Drab) to paint the flask and the shovel's handle.


Step 10.
After that use some Vallejo's MC (70.992 Neutral Grey) to paint the gloves and the balaclava. Be careful when doing this and dont paint grey over white, or you'll spend additional time in repainting white over the uniform.


Step 11.
Use some Vallejo's MC (70.804 Beige Red) for the face (flesh colour).

Step 12.
Use some Vallejo's MC (70.880 Khaki Grey) for the canteen strap and the gaiters.


Step 13.
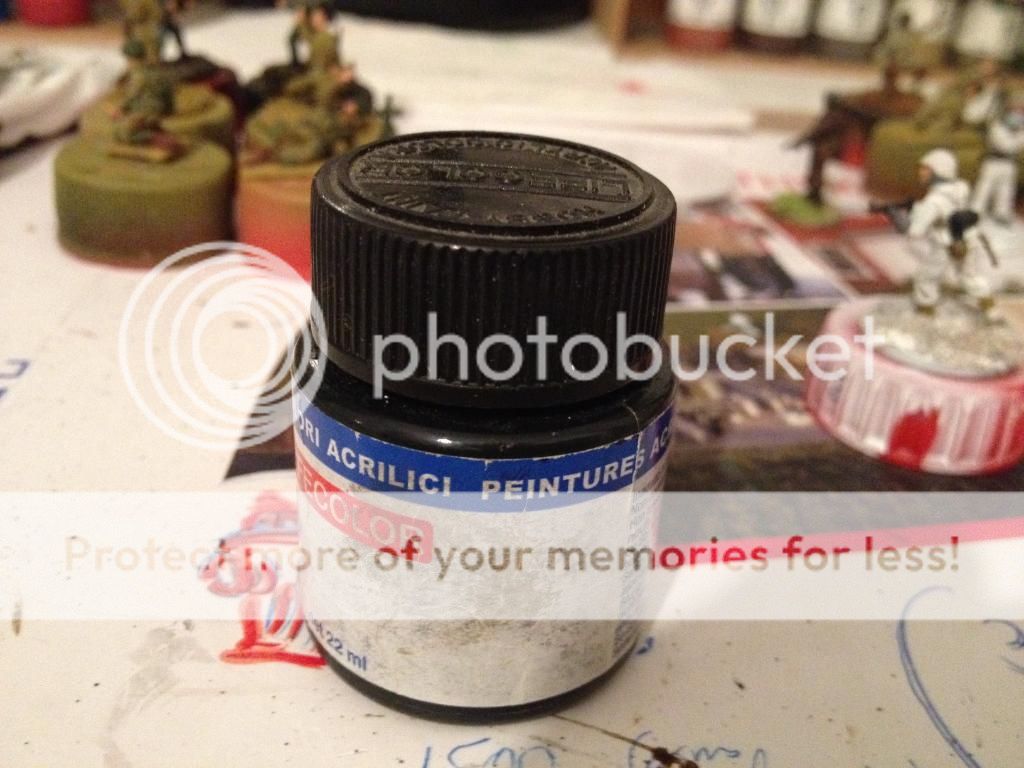
Use some black colour (any black would do, as long as it isn't gloss) and paint the ammo pouches, the straps the spade case and the boots.


Step 14.
Use some Vallejo's MC (70.862 Black Grey) to highlight the black parts (boots, straps, spade case and ammo pouches) & (70.863 Gunmetal) to paint and highlight the weapon and the spade.


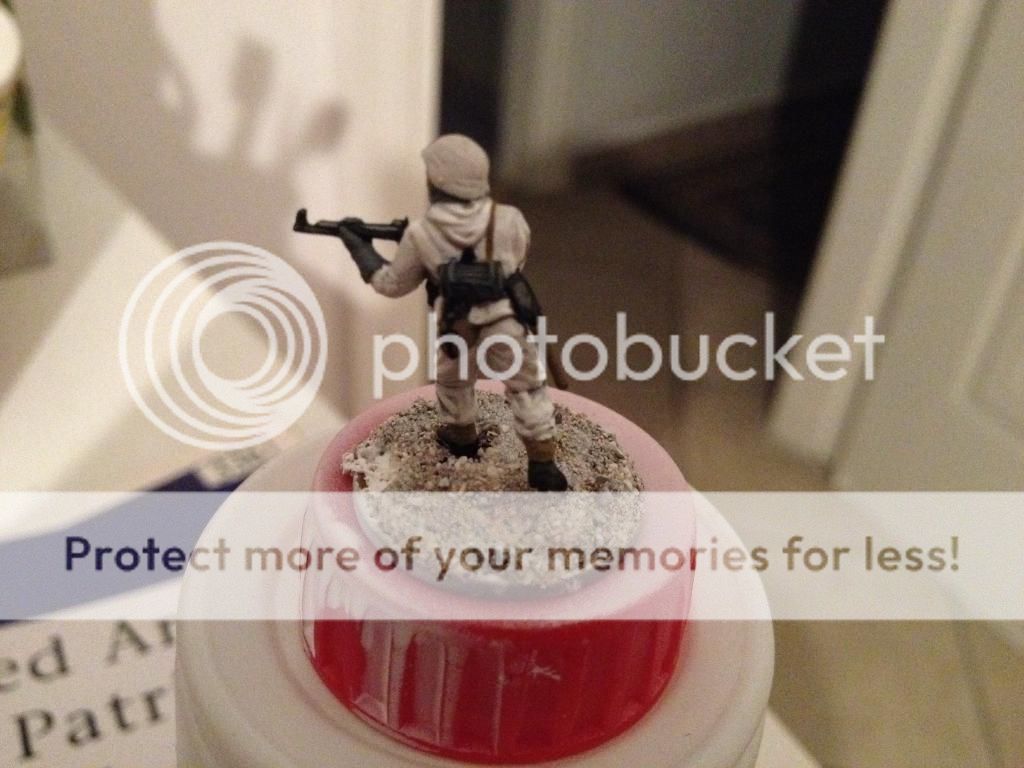
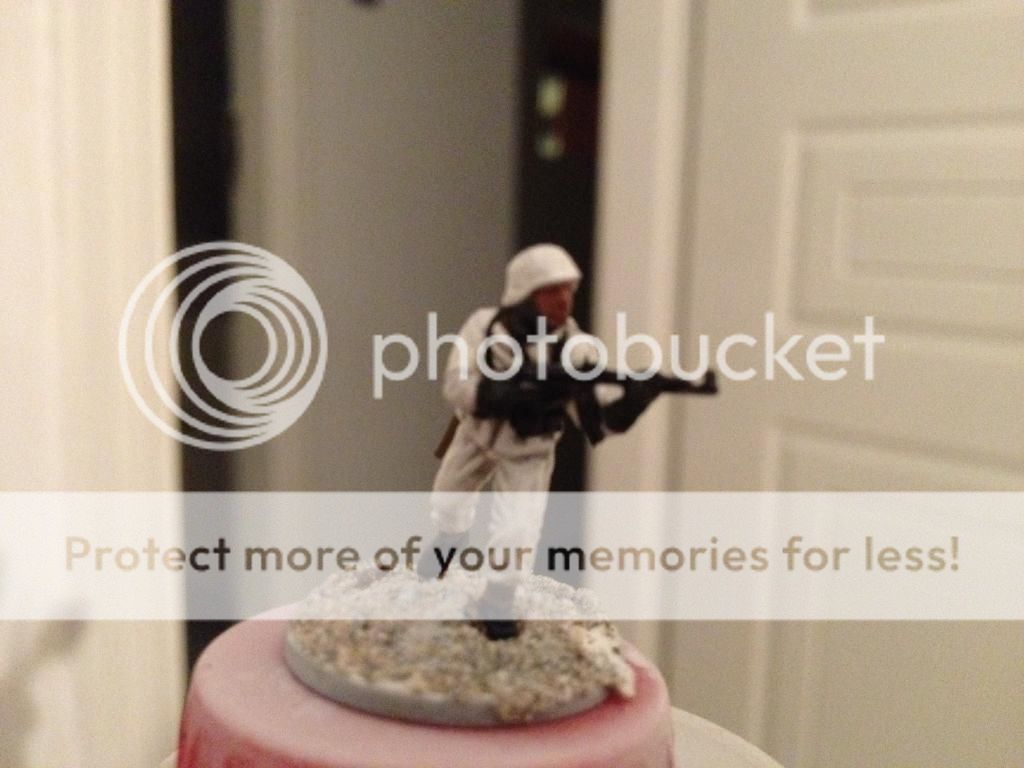
Step 15.
Use some GW Washes (Badab black and Devlan Mud), and apply some: Badab black on the grey balaclava, gloves, weapon and gas mask canteen, and some Devlan Mud on the face, the gaiters, and the flask.


Step 16.
Apply some baking soda on the base (with some PVA glue). That's about it really - easy wasn't it???


I hope you found it easy (after all I don't consider my self a good painter). From start to finish (with the photo taking) it took me about an hour to paint it. Not too bad I reckon..... :-)
Good luck guys - if you need to ask anything please do not hesitate to ask.
Taaaa!
T.


Wonderful! That Vallejo Pale Wash is going on my shopping list right away.
ReplyDeleteNext step: do you have any clever ideas for making the snow suit look worn and dirtied? I paint Finns for the Winter War, where the soldiers have spent a month in the same trench under constant fire.
http://upload.wikimedia.org/wikipedia/commons/0/0e/Talvisota_Summa.PNG
http://upload.wikimedia.org/wikipedia/commons/0/0e/Talvisota_Summa.PNG
Thank you Thomas!
DeleteI would apply some black or brown wash directly on the soda. I think it would make a stain on it, and make it look dirty. Try this out and send me a photo! :)
Excellent post. Very well explained and good photos too. The Vallejo Pale Wash is going on my shopping list too.
ReplyDeleteThanks for this nice tutorial!
ReplyDeleteThe result is great !
Cheers
Monty
Thank you! :)
DeleteThanks T this was a very detailed tutorial, great work!!
ReplyDeleteThank you GReg! :)
DeleteExcellent tutorial. Thanks for posting.
ReplyDeleteGreat tutorial.
ReplyDeleteWhat coin are you using to base the minis?
Thank you Rob!
DeleteI usually use 1,2 and 5 cents coins.
You've done a good job there, excellent work and a well explained tutorial....
ReplyDeleteExcellent tutorial Thanos! You make it look so easy; will definately be adding a couple of new colours to my shopping list as a result.
ReplyDeleteThanks Michael!
DeleteThe Vallejo wash is really good!
Excellent tutorial and painting. Some minor comments;
ReplyDeleteIf the figure has the MP40 or MP44 ammo pouches, use Khaki (or a similar colour) for them as well, since they were canvas and not leather. It's hard to tell what this figures has though.
If you are doing early battle of the bulge, there hadn't been any snow yet. Of course it snows later during the battle so the snow suits are not out either, but I would paint some of the figures with reversed suits showing camoflague, or even mix them on some of the figures so they have white trousers and camoflagued jacket, or vice versa.
Thank you Laffe!
DeleteThank you for your comments. The fig seems to have wrong ammo pouches (leather ones for rifles), but your suggestion of painting it in a canvas colour may seem more practical!
As about the camouflage colours, I am too lazy (and lack of time) to start painting it.... I don't exclude it for the future, but for now...only white! :)
Great post, I didn't know about the Vallejo wash! Can I get rid of the GW inks then??? Huraaahh!!!
ReplyDeleteYes, my great general!
DeleteThank you for your kind words!
Good post, very handy. i was talking to a bloke down my wargames club about German uniforms and how given the choice we would go for winter over that lovely spring camo look anyday.
ReplyDeleteThank you Henry!
DeleteA good tuturial and a nice blog!
ReplyDeleteThanks a lot and cheers Darkbirk
http://arewenotmen.blogspot.com/
Thank you Mr. Darkbirk! :)
DeleteExcellent tutorial. I put myself some of those Vallejo washes on my shopping list to.
ReplyDeleteGreetings
Peter
http://peterscave.blogspot.com/
Thank you Peter!
DeleteGood post T.
ReplyDeleteYour secrets are out now!
Well done.
Regards Paul
I don't have secrets from my friends! :-)
DeleteKnowledge should be spread after all.
Thank you Paul!
An excellent post, thanks for sharing your technique!!!!
ReplyDeleteThanks Ray! I m glad you liked it! :-)
DeleteGuess I missed this post...
ReplyDeleteThe figure looks great! If I ever get to paint some Winter-Germans, I'll come back here :)
Cheers, Mojo
It is considered to the start of the Arab Spring and would go a long way in forcing the politicians to effectively
ReplyDeletegovern the country. Indeed, internet is the best source of
because it is easily accessible and fast. The reliable reviews on business and
forecast about products and services.
Feel free to visit my homepage ... please click the following internet page
you'll be able to choose out your funny image as per your want and interest. One of my favorite ones is where the thanksgiving turkey is hiding from a guy, who apparently wants to get him in the oven, by placing a lampshade on his head and standing on a dresser so he looks like a lamp. It is also time to start thinking about how you want your My - Space page to look for the holiday.
ReplyDeleteHere is my page :: Highly recommended Internet site
It improves blood and oxygen flow to the muscles
ReplyDeletethat are recovering from the prior hard workout.
If you weigh yourself everyday or every other day and
see that you've gained weight, your motivation may go down and you'll be
likely to give up. These tips are followed by every pregnant woman all around the world but
remember whatever you do, you should first check with your gynecologist so that there is no complication in your pregnancy.
Also visit my site - fun fitness tips and facts
But it's always wise to check in with a doctor before you start using a supplement regularly. What you should do is to focus or target a particular group of muscle for once or even twice a week. Just like with the above diet tips, you want to make sure that each fitness tip you incorporate into your routine is doable.
ReplyDeleteHere is my page - http://www.unisoncreations.ca/index.php?option=com_blog&view=comments&pid=678&Itemid=0
Far too many children become the victims of abuse, neglect, or abandonment and then sadly, often they become wards of the court who will eventually determine their fate.
ReplyDeleteBoth the content and presentation of news are drastically different from what it used to be.
It the radio was the only one that used to deliver the days news and weather
updates.
my weblog - Latest Daily News
I constantly emailed this web site post page
ReplyDeleteto all my associates, for the reason that if like to read it then my
friends will too.
Look into my blog post fitness tips of the day
The fitness tips for motivation we've been discussing can be very powerful if you use them. One last thing that isn't mandatory but recommended is to set up a Pay - Pal account to process your payments.
ReplyDeleteMenopause weight gain is not inevitable, but it can be more difficult to maintain a healthy weight as your metabolism slows.
Feel free to surf to my website mouse click the up coming internet site
For centuries, man has been exploiting biology to make food products such as bread, beer,
ReplyDeletewine, and cheese. It happens when our body cannot
excrete sufficient insulin or when cells cannot react with insulin and subsequently glucose inside our
blood is being accumulated and excreted from urine.
"The Kenexa solution has enabled our people to remain focused on drug discovery and development"
said Grossman.
Also visit my web page; Biotechnology and Bioengineering
" Forum Threads " Blog Comments " Corporate Blogging " Social Network Profiles
ReplyDelete" Link Baiting. It’s interesting how stars get annoyed when the paparazzi takes pictures of them. However, today, the wedding photographers capture photographs of moments that are precious and that you would cherish all your life; and, when you least expects the wedding photographer to capture you.
Feel free to visit my website latest celeb news
Moderate to strong winds blowing from the
ReplyDeletesouthwest to south will prevail over northern and Central Luzon and coastal waters along these areas
will be moderate to rough. Office goers and people who are travelling often do not get
time to read news from the newspaper or watch it to get good
information they could subscribe for sports
SMS alerts. Due to the recent horrifying terror attacks and other
such couple of events people want to be aware and alerted of the whereabouts of the nation.
Check out my webpage ... http://theconservativebook.com
Cheers for this tutorial! I'm just about to start painting up some 'winter grenadiers', so the tip about the pale wash will be a life-saver!
ReplyDelete