

Hi everyone,
As promised, today I am posting a tutorial of how to make a guard
checkpoint.
I was inspired by an Italeri’s kit (1/72Battlefield Buildings #6130), and from Rich’s post (his blog is this one,
from a forum I am a member of (www. bennosfiguresforum.
I couldn’t find it in my local store, so I
decided to go my own way and make one out of my own materials and ideas.
This is Rich's work:

Basically, what I needed was a piece of a vinyl
tile (as a base), some balsa wood, some pieces of plastic (strips), some PVA
glue (and sand), and a metal file.
Below there’s the group photo.

So the ‘’how-to’’ procedure was the following:
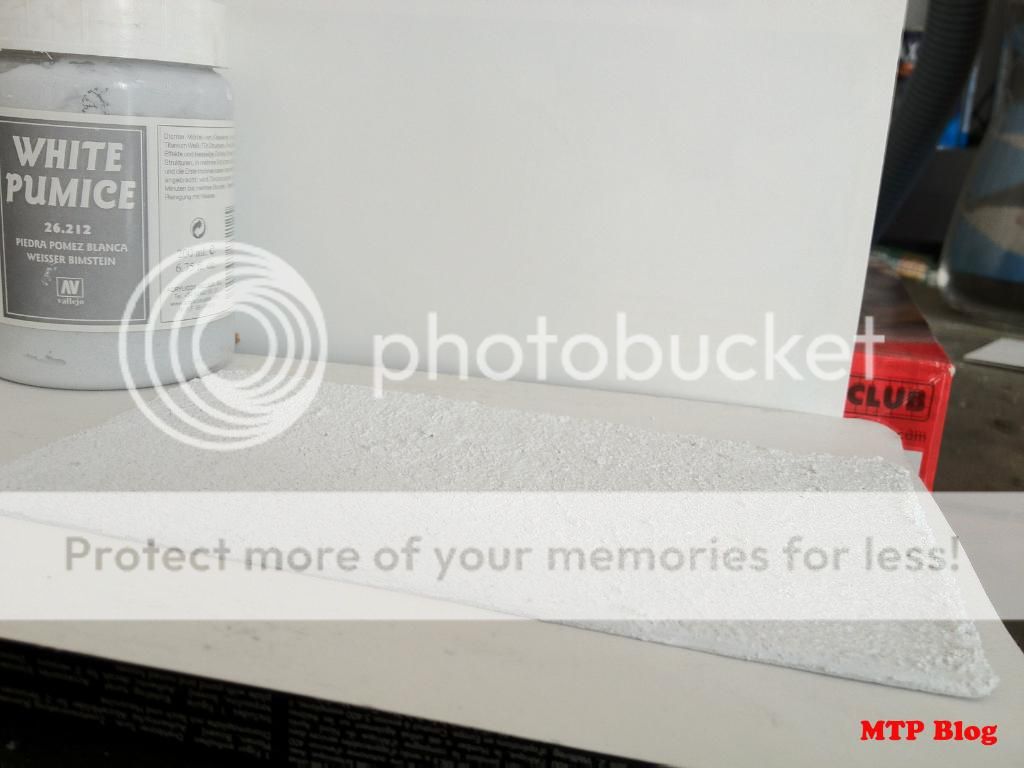
Step 1.
Apply some ‘gluesand’ mix on the base(10cm x 17cm). In this occasion I used some
Vallejo’s white pumice paste, to save some time (I tend to choose ready made
stuff, when I can afford them). Let it dry.


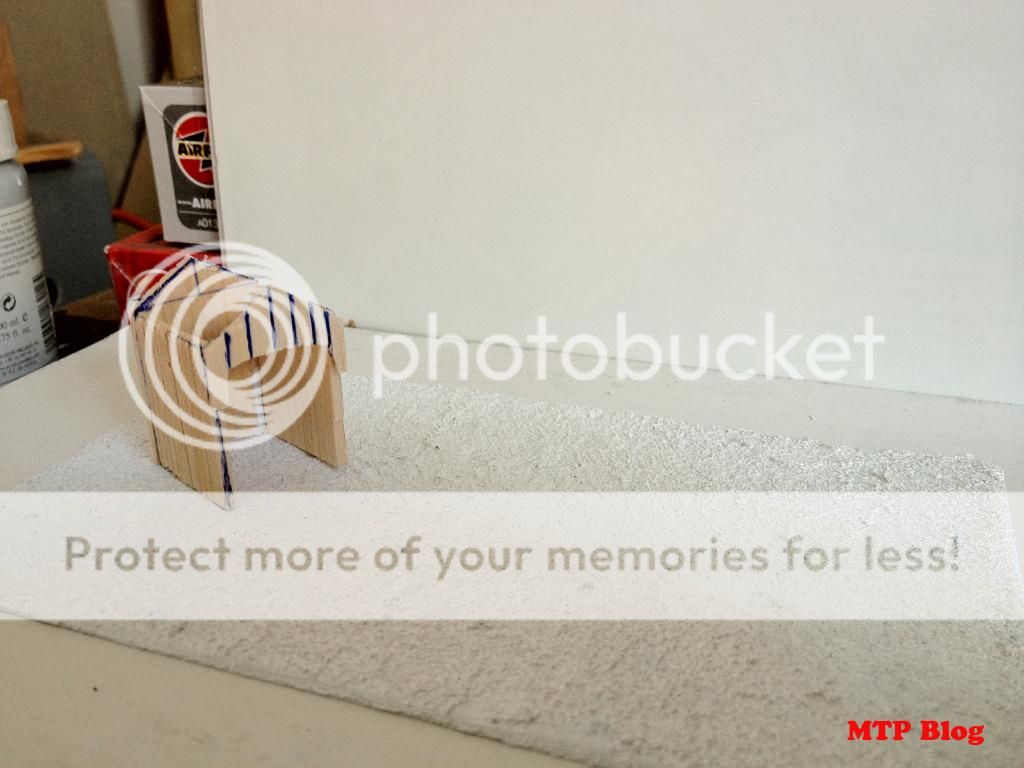
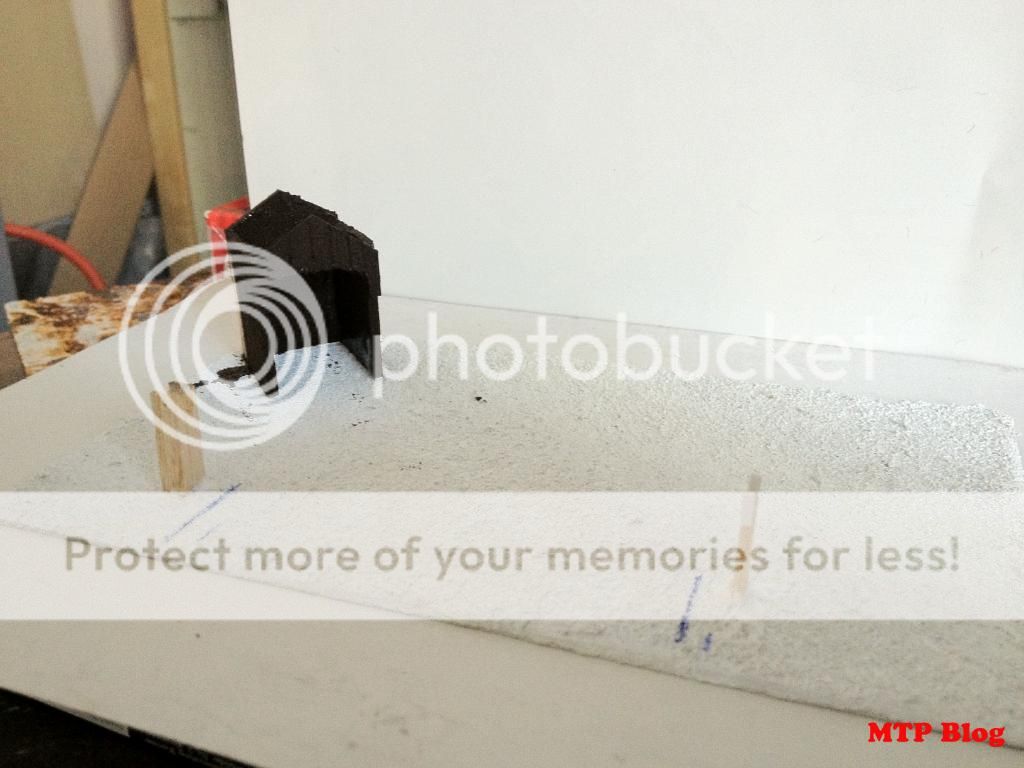
Step 2.
Cut out (from a 0.5 cm balsa wood sheet), four
small pieces and glue them together in order to make the guard post. Their dimensions
were:
The front and back pieces:
W: 0.5cm, L:2.5cm, H:3.8 cm.
The front piece
was cut in a way in order to have an entrance for a figure. Photos below will
explain adequately, I hope. The side pieces:
W: 0.5cm, L:2.5cm, H:3cm.
The roof pieces:
W:0.5cm, L:3cm, H:1.8cm.


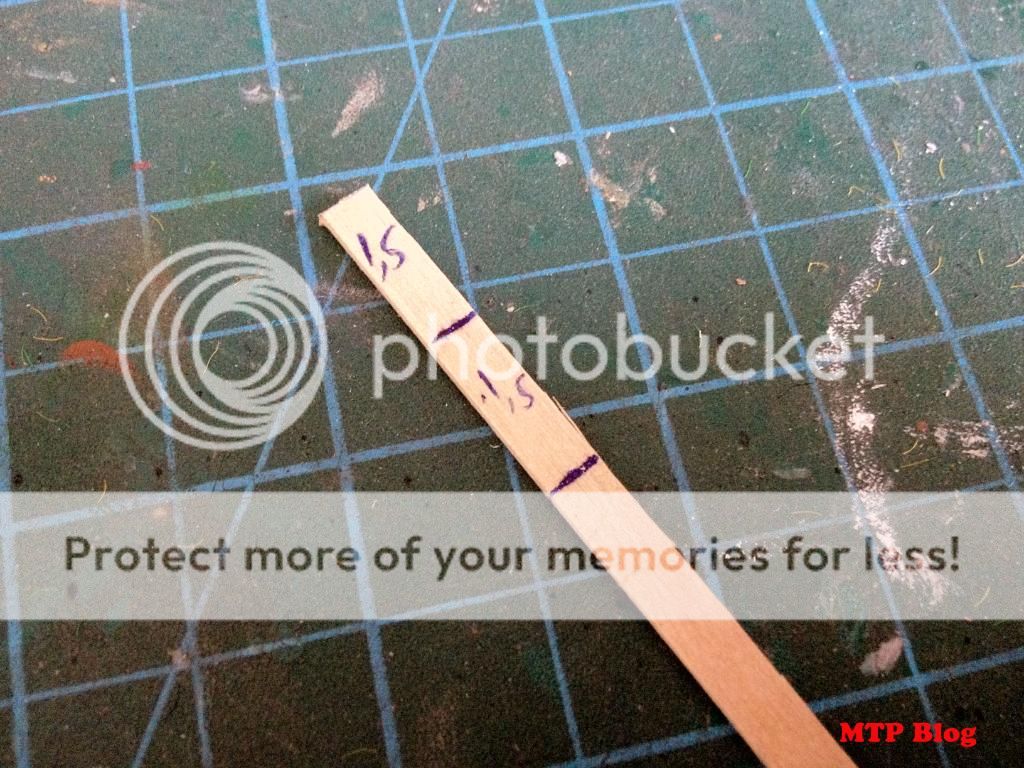
Step 3.
Take some balsa wood (0.5 cm) and cut a small
piece of 1.5cm. Then place two small pieces of plastic strip (1cm) on its
sides, like horns! :-)
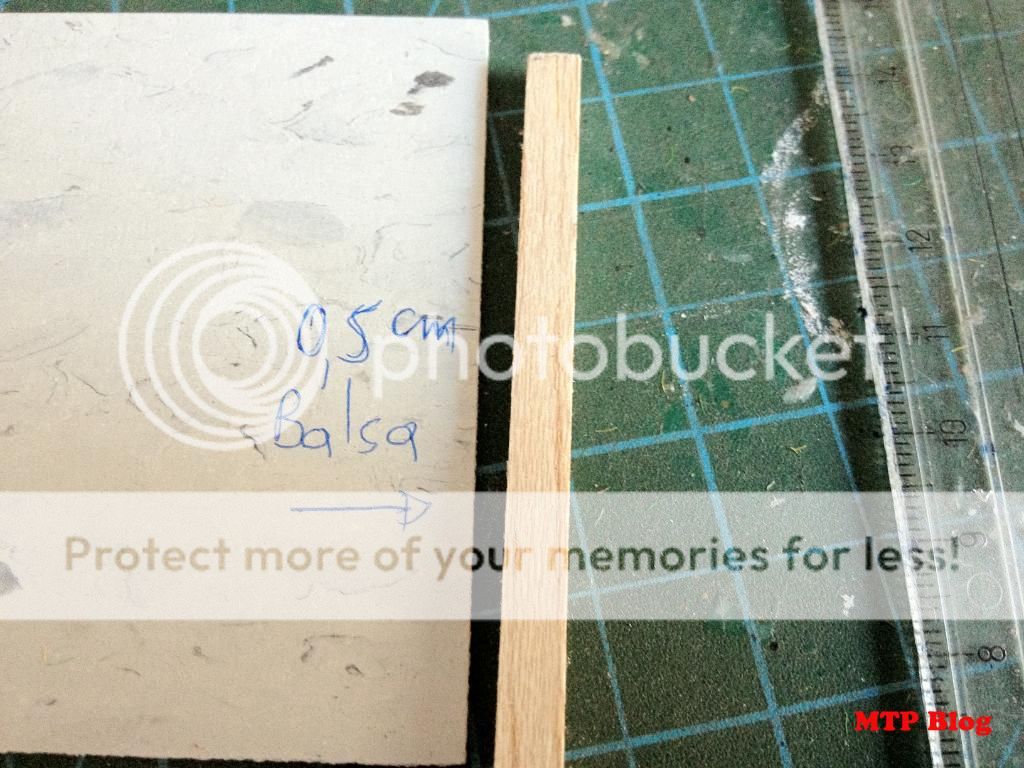
Step 4.
Take another piece of balsa wood (0.5cm -0.5cm
strip) and cut a piece of 2.3cm. Then, take the metal file and make a ‘V’ gap
on its upper side.

Step 5.


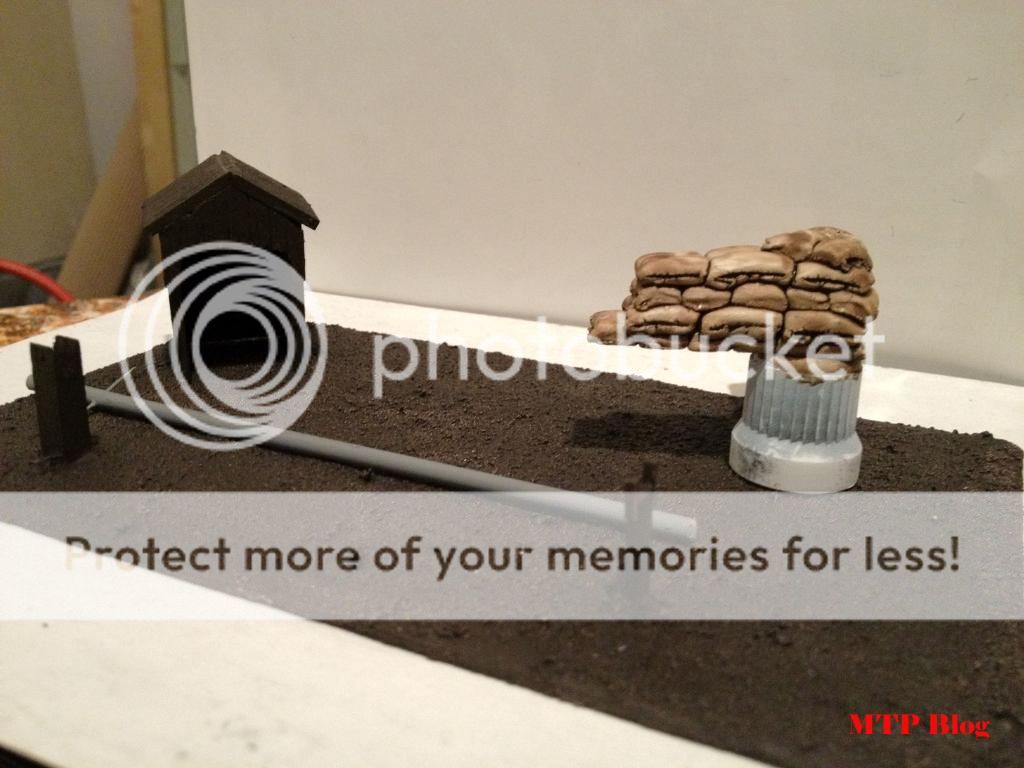
Step 6.
Glue the parts (except for the sandbags that
need a different method of painting – see here)
on the base. The checkpoint has a width of 8.5 cm approximately. After that,
paint the whole lot in a dark brown colour. I use simple emulsion paint, by the
bucket.


Step 7.
Drybrush the base with a lighter brown colour,
and then follow the same procedure with a lighter brown colour (close to buff
colour).


Step 8.
While letting it dry, take a round piece of
plastic (strip) and cut a piece of 10.5-11 cm (what suits you best, to be
honest). Make a hole with a pin all the way through it. Paint it grey.

Step 9.
Paint the guard post and the checkpoint’s
wooden components in the same way I painted my wooden barriers (see relevant
post here).
Step 10.
Glue all the parts on the base.
Step 11.
Paint the round plastic strip and paint it with
two colours: red and white. One part red, one part white and so on.
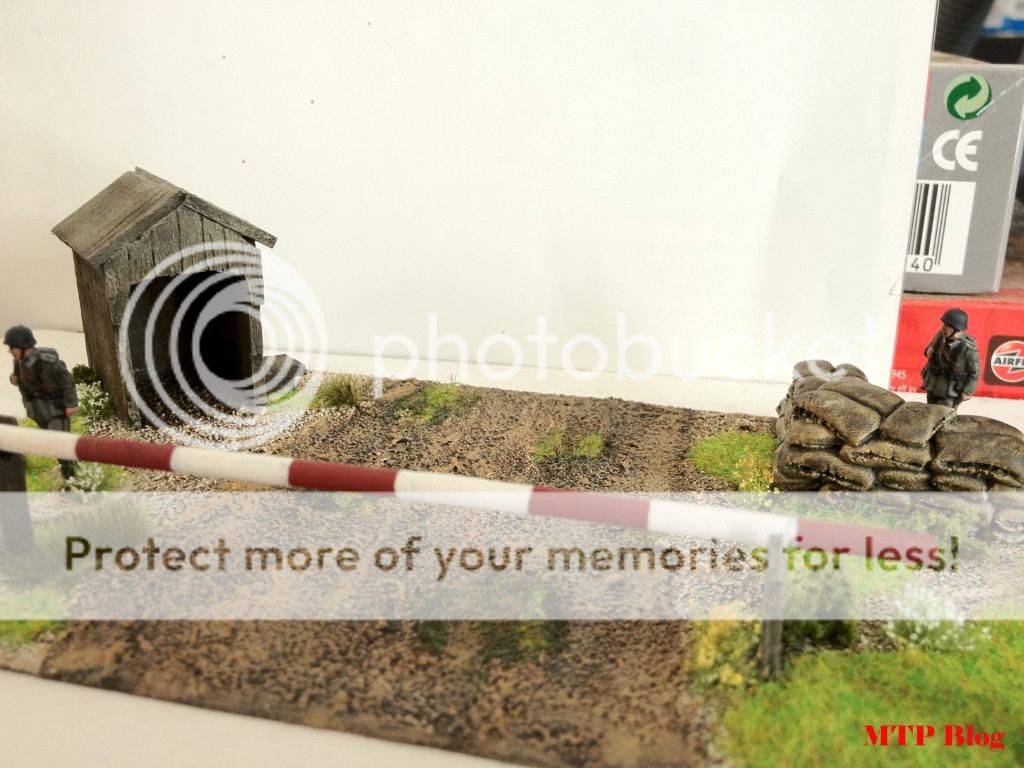
Step 12.
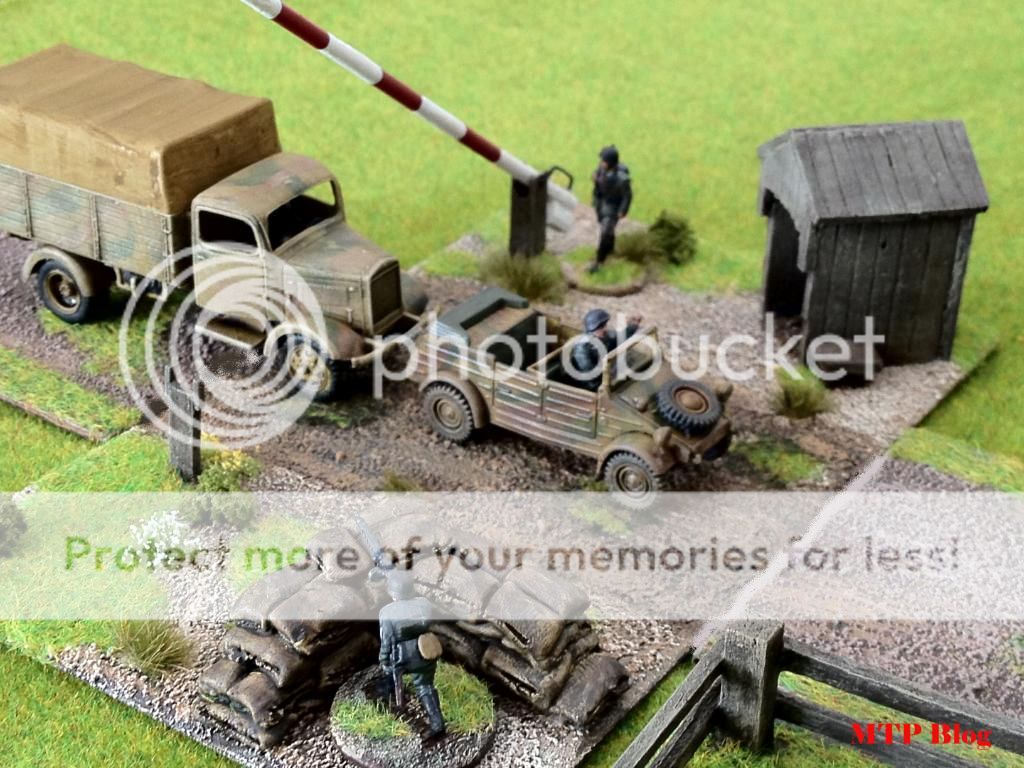
Put some greenery on the base (static grass,
clump foliage and so on…) and you’re pretty much finished. Except for the last
detail that make the piece stand out (in terms of colour). :-)


Step 13.
Step 13.
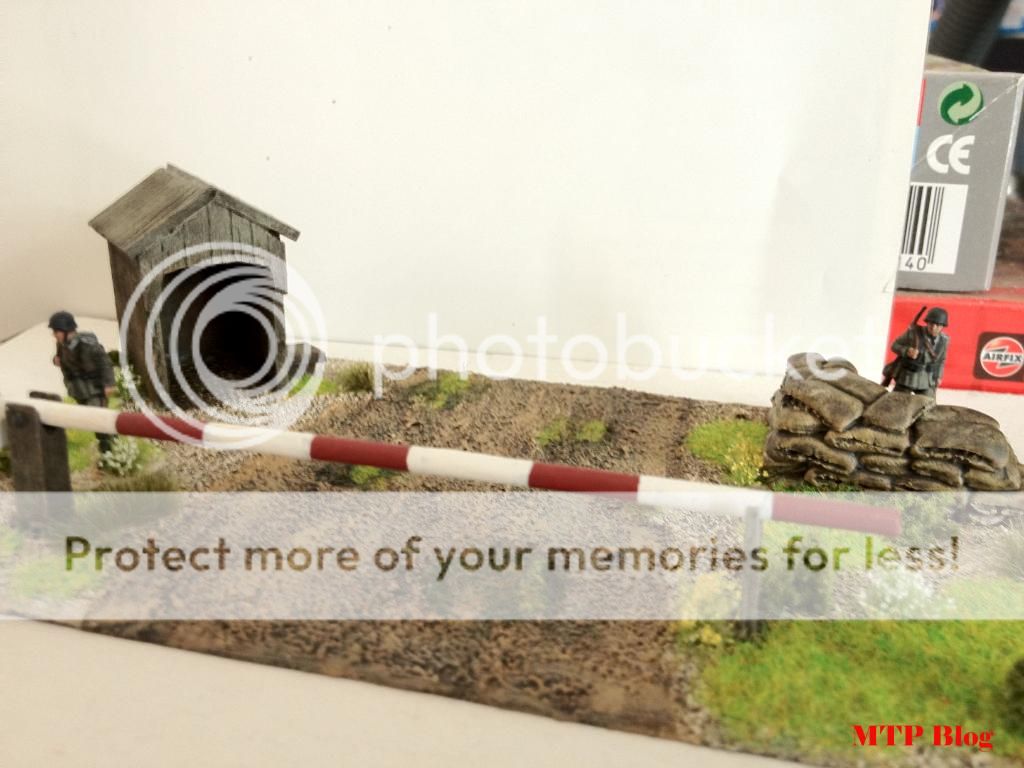
And now the tricky part. Take a pin and make a
hole on the left wooden handle, then pass the pin through the round piece of
plastic and then finish the procedure, by making a hole on the far end of the
wooden handle. The upper 'ring' on the red/white plastic strip was made by a small piece of a paperclip, that was bended accordingly.
As you can see, I made it movable. The therapists, may call this as O(bsessive) C(ompulsive) D(isorder). I don’t care. :-)


As you can see, I made it movable. The therapists, may call this as O(bsessive) C(ompulsive) D(isorder). I don’t care. :-)
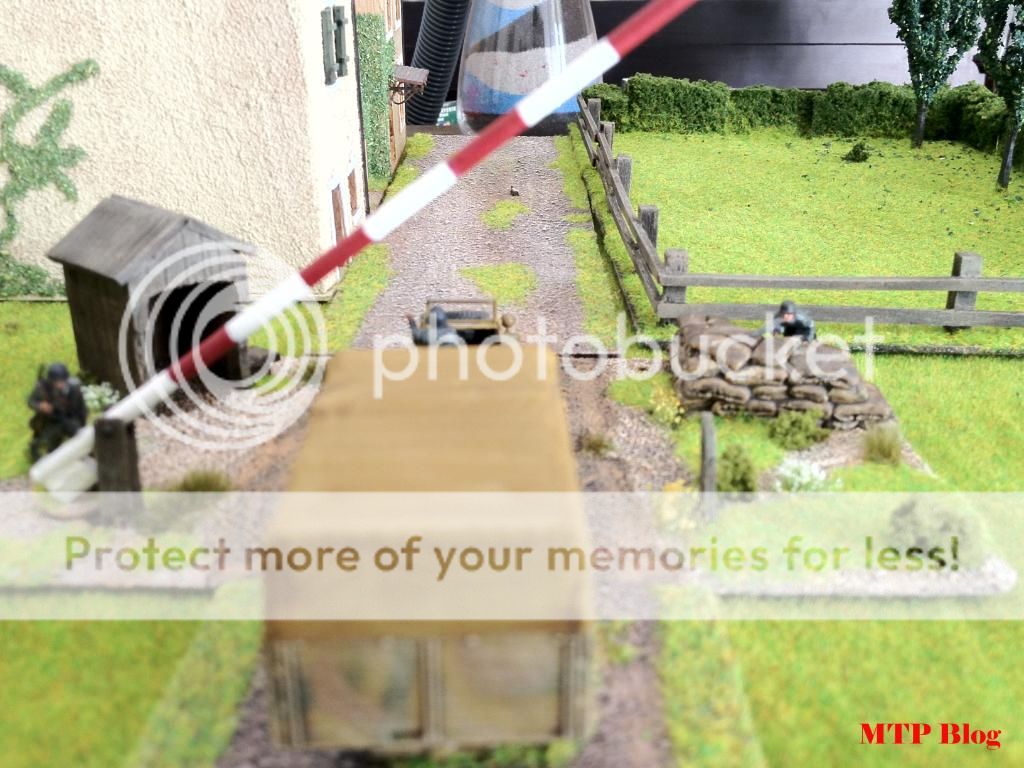
Now, we can call it a day! :-)
It may not look as clean cut as the model from
Italeri does, but that’s what you get when you make something with your hands. After
all, crude is one of handmade pieces major attributes.
The total cost of this terrain piece didn’t
exceed the amount of 3 euros. Not too bad I think.
I hope you found this tutorial useful for your
projects. Thanks Rich for the idea! :-)
Any C&C are more than welcome.
Have a nice day! :-)
T.


Some of your pictures didn't post Thanos. It could be my computer so you might want to ask someone else to look at it.
ReplyDeleteI can see most of it however and must say it looks brilliant in it's setting. The entry pole really finishes it off. And again, thank you for the tutorial.
Thanks Anne. Thank also the internet, that's what gives me the ideas! :)
DeleteFantastic work, Thanos! Very inspiring mate ;)
ReplyDeleteThanks Monty! :)
DeleteI can echo the comment about it being inspiring, that's really great work Thanos
ReplyDeleteSome basic modelling materials and a lot of patience. That's what I used.
DeleteThank you Tim for your kind words.
wow!!! you are a machine friend! Great work
ReplyDeleteThanks agaphte! :)
Deletegreat simply work!
ReplyDeleteThanks Master! :)
DeleteThat Thanos is brilliant! What a great build and tutorial.
ReplyDeleteIt was Rich's work that got me inspired. Thank you Michael.
DeleteI can see all but the second pic now Thanos and I must say in it's totality this post is epic!
ReplyDeleteThanos, a nice copy of Rich his work, but I prefer scratch work, so I take my hat of for this masterpiece!
ReplyDeleteThe sandbags look also so realistic, I might copy those one day!
Always a pleasure to see how you make your groundwork, love it!
Thank you Remco, your words give me a good pat on the shoulder to keep on doing terrain pieces! :)
DeleteSuper good job, Sir. Thanks for the tutorial, and IMO, handmade is far superior to plastic kit.
ReplyDeleteThank you Jay! :))
Deletethat is very good and I also thing that hand made is best. infact this tutorial could not have come at a better time as I am about to start making the entrance to the underground embassy carpark! thanks so much, I will make mine slightly differenct of coarse it being moderns and latin nor WW2 and german but still great and hopefully useful tutorial, Ill report back (here or on my blog) about how useful this was in practice later!
ReplyDeleteBTW I just went to the tutorials section and found this was not there, I am sure that its either by design or a mistake but it might help me in future if I need to look for this again, which I might when it comes to the front of the embassies. just a point still great post
DeleteThank you Gowan. I am very happy that you found this post helpful for your projects. I'll be visiting your blog to see your work. :)
DeleteT, great work. The satisfaction in making it from scratch is indescribable. Your piece is even more attractive than the commercial version, well done!!
ReplyDeleteThanks Greg. The problem now, is that I don't have any free space to store them. I begun filling my kitchens' cupboards with them! :)
DeleteThat is brilliant. Which I had this sort of skill with terrain
ReplyDeleteIf I can make sth like that, everyone can do it. Honestly. It just needs practice over practice and for the finishing bit, more practice. :)
DeleteWonderful work T. That would make a great addition to any battlefield or even as a diaorama.
ReplyDeleteI think it's great to see you making your own terrain items rather than just buying something off the shelf.
Thank you John. It's a matter of a tight budget that gets me moving.... :)
DeleteImpressing! Thx for sharing, Thanos!
ReplyDeleteThanks for visiting signore Kukuruza! :)
DeleteFantastic. Thanks for the tutorial.
ReplyDeleteGracias senyor Verd! :)
DeleteThat's an inspirational piece of work! I really must get down to some modelling again, too many real-life distractions!
ReplyDeleteThe work on the base and road in particular is fantastic and really makes it work as a whole piece.
Thank you Alan. Real life distractions get in the way all the time...you're right.
DeleteThe road was done with simple diluted (in a lot of water) brown emulsion paint, on the already painted base. :)
Whou! I almost missed that post!
ReplyDeleteWhat a brilliant job you did! I'm really impressed!
Keep it coming!
//Mojo
Thank you Mojo! :)
DeleteHello
ReplyDeleteI am Portuguese, my name is Miguel.
Love to see your ( very good ) work!!!
Lots of good ideas.
Keep up with this excelent page.
grettings from Portugal
This is really awesome work! Thanks for sharing this tutorial with us!
ReplyDeleteGreetings
Peter
http://peterscave.blogspot.be/
Outstanding Dude. Really well done I love the way you blended in the ground/base work.
ReplyDelete