

Good afternoon everyone!
While waiting for some products to come from
England, in order to make my WW2 British Artillery section, I thought that
instead of sitting like a sleepy duck, to create two small terrain pieces for
my eastern front battlefield. Instead of showing you the finished pieces, I
thought to make a two-part tutorial post to share my idea with you, in case you
want to create something similar for your little men.
So, on we go with the first part!
Step 1.
In the photo below you will see the materials
needed for this little project.
Mainly, you will need some balsa wood and
wood/PVA glue. Additionally you will be needing, a modeling knife, a simple
pen, a small piece of plastic and a bit of patience (an indispensable material
none the less).

Part 2.
Plasticard (I used some vinyl tile pieces)

Part 3.
A strip of balsa (0.5 cm * 0.5 cm)

Part 4.
A sheet of balsa wood (0.5 cm * 0.5 cm)

Part 5.
A sheet of balsa wood (0.3 cm * 0.3 cm)

Part 6.
A sheet of balsa wood (0.1 cm * 0.1 cm)

Part 7.
I began by using 0.5 cm balsa sheet and I cut
four pieces of it (Dim.: 4 cm * 1 cm)


Part 8.
I then cut some ‘triangle’ pieces on the top of
the four pillars, in order to ‘fix’ the rectangular balsa strips of 0.5cm (part
3.)


Part 9.
I cut two pieces of balsa (0.5 cm * 6.5 cm)
from the long balsa strip (part 3.).

Part 10.
I cut two small bases of plastic (vinyl tiles)
– 2 cm * 6 cm.

Part 11.
I cut four pieces of balsa from 0.5 cm balsa
sheet (Part 4.) (Dim.: 1 cm * 6.5 cm)

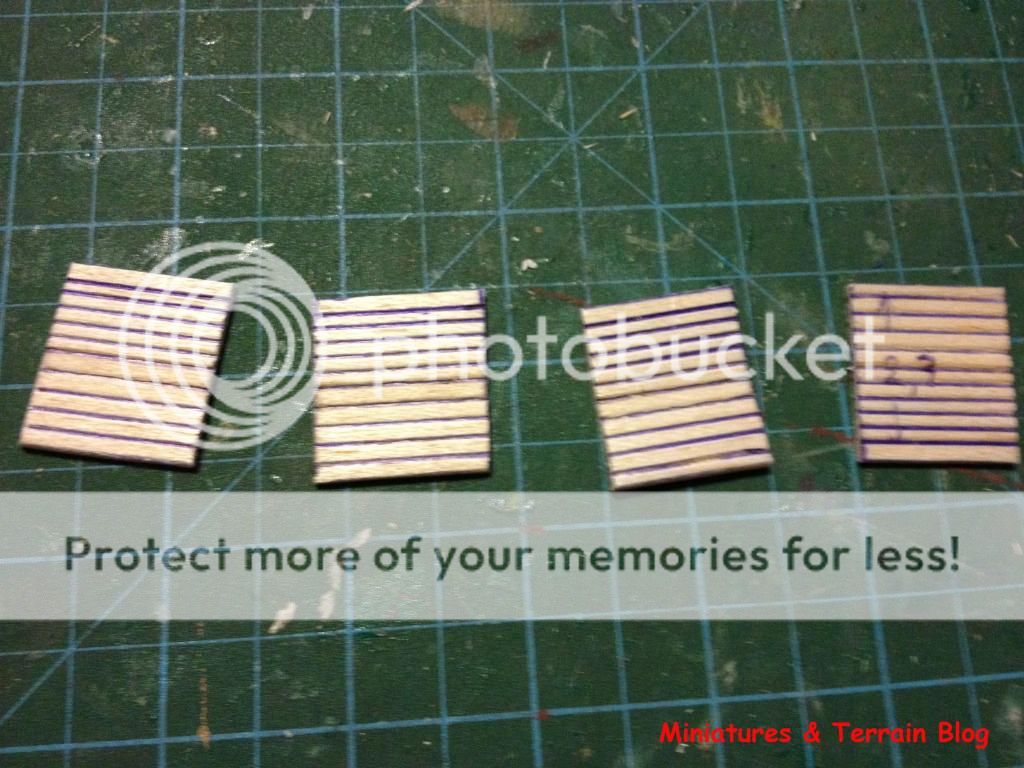
Part 12.
I cut four pieces (gates) of balsa from 0.5 cm
balsa sheet (Part 4.) (Dim.: 2.7 cm * 2.5 cm)

I then marked them (wood grains) with a ruler
and the pen.
Part 13.
I cut four balsa strips (wood shingles) from
0.1 cm balsa sheet (Part 6.) (Dim.: 1.2 cm * 7 cm)


Stay tuned for the second part!
I hope you like them!
C&C are welcome! :)
T.


I'm looking forward to seeing you you put this all together. I'm making my first house and am not sure how to make the shingles for the roof that I envision. Trial and error will be my method.
ReplyDeleteI noticed that you're almost at 100,000 pageviews Thanos!!
Thank you for the tutorial!
Trial and error...reminds me of sth.
DeleteIt's a rather cumbersome procedure Anne, I'd go for ready made plastic sheets, when it comes for a whole roof. Wills models, provide some good alternatives, perhaps you could check these out.
Thank you! :)
What a wonderfully in depth tutorial, but I need more! Looking forward to part two.
ReplyDeleteThx Michael. I just uploaded it!
Deletenice tutorial. I may use this later
ReplyDeleteThx Gowan! :)
DeleteI too can't wait to see the final product. Your work is always of a high standard.
ReplyDelete@ Anne if I may be as bold as to direct you to my blog http://gregswargamingblog.blogspot.com/search/label/Roof
Thank you Greg. I wouldn't call my works of hugh standard, I'd say that they are adequate for wargames purposes. :)
DeleteGo Thanos, go! :)
ReplyDeleteDanke Herr Mojo! :)
DeleteBodging genius Thanos....
ReplyDeleteIm not sure what that means, but I appreciate it Fran! Thank you! :)
DeleteGreat stuff Thanos. looking out for part two.
ReplyDeleteThanks Rodger! :)
Delete