My photo
Being a modeller for quite a few years now, I decided to explore the endless possibilities that the world (through internet) offers, and come up with a series of ways of building, modelling and painting fast (but not hastily), to create the worlds I was seeing in history books since I was little. . .If you care to join me. . . This is the place to be! And, I promise you to find the way (or ways)!!

Friday, 20 July 2012

Artillery & Reconnaissance: An army's foundations.

Good day!

Now that the weather has come back to normal (in terms of temperature) for the season being and since we are in the last ten days of this month, and I still have money left from my salary (that's new....), I visited my local hobby store ''Fasma Models'', and I bought two kits for my British Army. Basically an idea was running through my head, that was a creation of WW2 armies that they were going to have the basic elements an army of WW2 had in reality (in much smaller scale though). That means: Artillery, Reconnaissance forces, Trucks, A/A & A/T guns, AFV, Infantry etc...

With so many blogs in the internet related to our hobby, I had the chance to visit a blog runned by Jack - (Jacksarge's Wargames Rumblings), who lives in Australia (if I am correct). Jack among his other works, is creating a British Armed force for WW2, more especially 43rd Wessex Division, which was one of the most famous army units in the British Army during WW2. Being astonished by his work (if you haven't visited his blog, please do - link), I decided to follow his track and try to make a little 43rd Wessex Division for me.  I hope you don't mind Jack! :-)
Fingers crossed I started yesterday, with the acquisition of two kits, one from Airfix (#1314 AEC Matador & 5.5' Gun) and one from Revell (Ex-Matchbox #3223 Humber Mk II). 


Eager to start playing with my new toys (late at night - when all the good things happen usually) I managed to build Airfix's kit and prime it with its basic colours. Next post will be for the finished models, so stay tuned.

One quick question (I am asking all my friends): can you suggest any figs for the guns (crew), that may be ''budget-friendly'' (if they're in plastic, that would be even better)? I know that AB figures make some excellent figs for the 5.5'' guns, but gosh..they're a bit out of my budget. With a rough calculation, I have to give almost 80 quid, to provide a 4piece artillery battery with crews. I'd better give them for beers... :-)

Have a great day!
Cheers,
T.

Tuesday, 17 July 2012

US 105mm Howitzers

Hello everyone.....

It's been a long long time since my last post (more than a month dare I say). 
The temperature here in Athens was escalating in heating terms, this past thirty days and my appetite for painting was somehow wrenched....
I wasn't sitting on my buttocks though. Even though I didn't feel like painting, I managed to read four books, visit Norway (for my work), and I tried to begin writing a book (in Greek, so no worries boys and girld, you won't feel appalled by a possible lewdness to your nice language). For this project (they are piling up once more), I bought (after a long argument I had with my bank account) a new laptop!!!! I'm now, in what you call 'stalemate'...but the muse will visit me again (soon I hope)! I can use it for my hobby though (now...I have to learn to use Photoshop....hmmm).

Anyway, enough with my excuses. I tried to visit as many blogs I could (even though I didn't comment much) and I noticed that you've been busy painting and modelling. Bravo!! :-)

Below you will find some photos, showing US 105mm howitzers. I bought these models (metal ones) from RAFM Miniatures (link) for quite a bargain price for each. For the crews, I used Waterloo's #038 American 75mm Mountain Gun figs, which (in my opinion) are very well sculpted. If you are looking for US gun crews in plastic, don't look any further, this is the kit you were looking for!

So....on with the photos!


I hope you like 'em!
C&C are always welcome!

T.


Friday, 8 June 2012

Wooden Road Obstacles

Good day guys!

In case you haven't noticed, today it's Friday!
Because of that, I was in the appropriate mood yesterday night to finish my scratch built wooden road obstacles from bamboo skewers.
Below you will find the photos that deal with the painting of these model pieces and in the end, you'll find some additional photos of them, used in real time on the field of battle (well, it will be in 20mm scale, but you know what I mean - I hope). :-)

So,

in my last post, you saw these road obstacles in their prime phase, only assembled and glued.


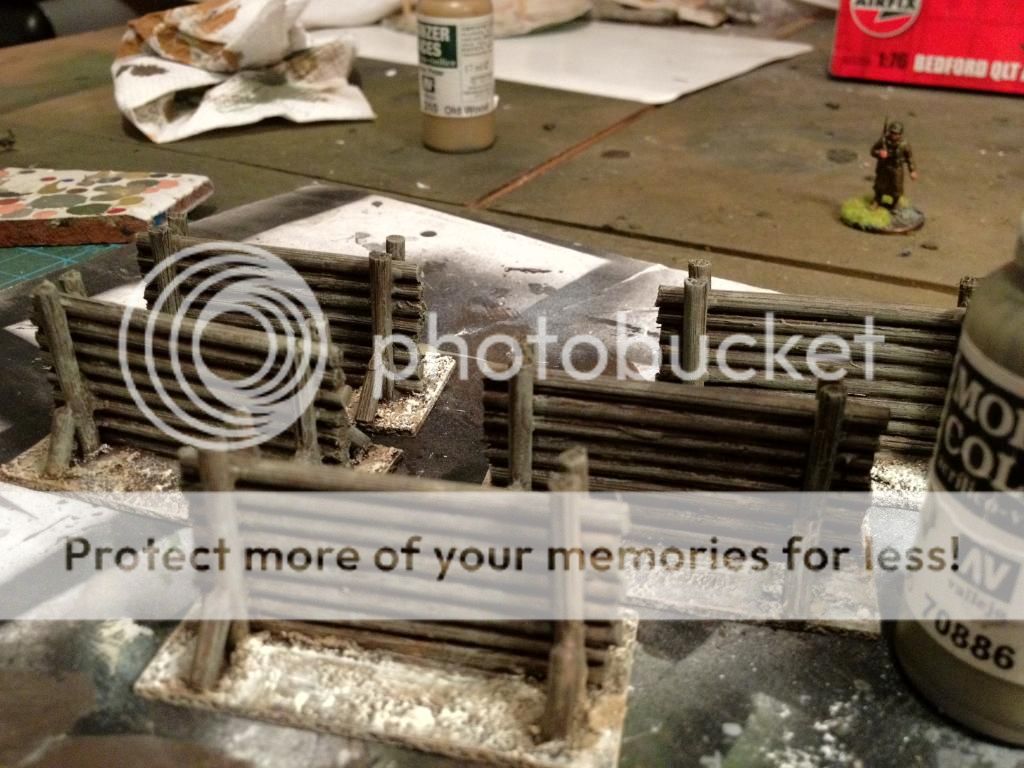
In the next phase, dark brown emulsion paint was applied on the models (and their bases too). The bases (vinyl tiles) were covered with PVA glue and fine sand (I don't have a photo - I apologize for that).


Next, some lighter brown (again emulsion) paint was applied on the bases only, with the drybrush method.


After that, some tan (emulsion) paint was applied again on the bases - drybrush (light).


For the models, I used some Vallejo's Panzer Aces' 310 Old wood paint, and again, by drybrushing them, I started highlighting the extreme surfaces of the wood trunks.


The last and final step of painting the models (dark brown - old wood), was to use some VMC Green Grey. Again with the drybrush method (but only lighter this time), I gave the final highlight on the wood trunks. I repeat, - light drybrushing.


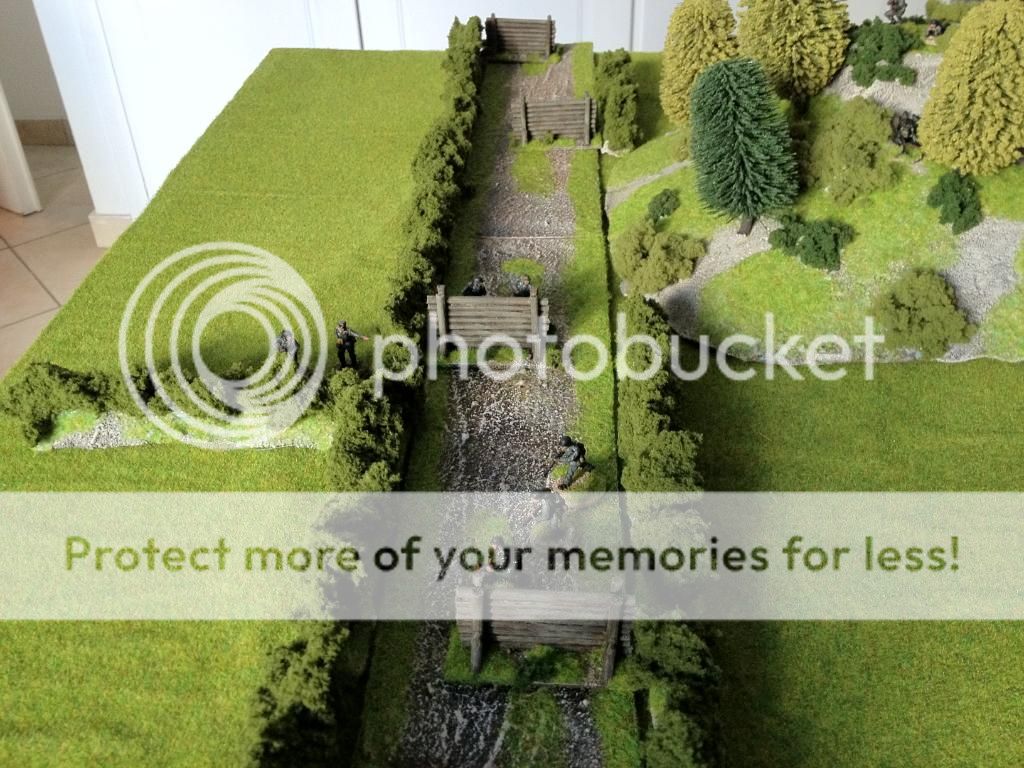
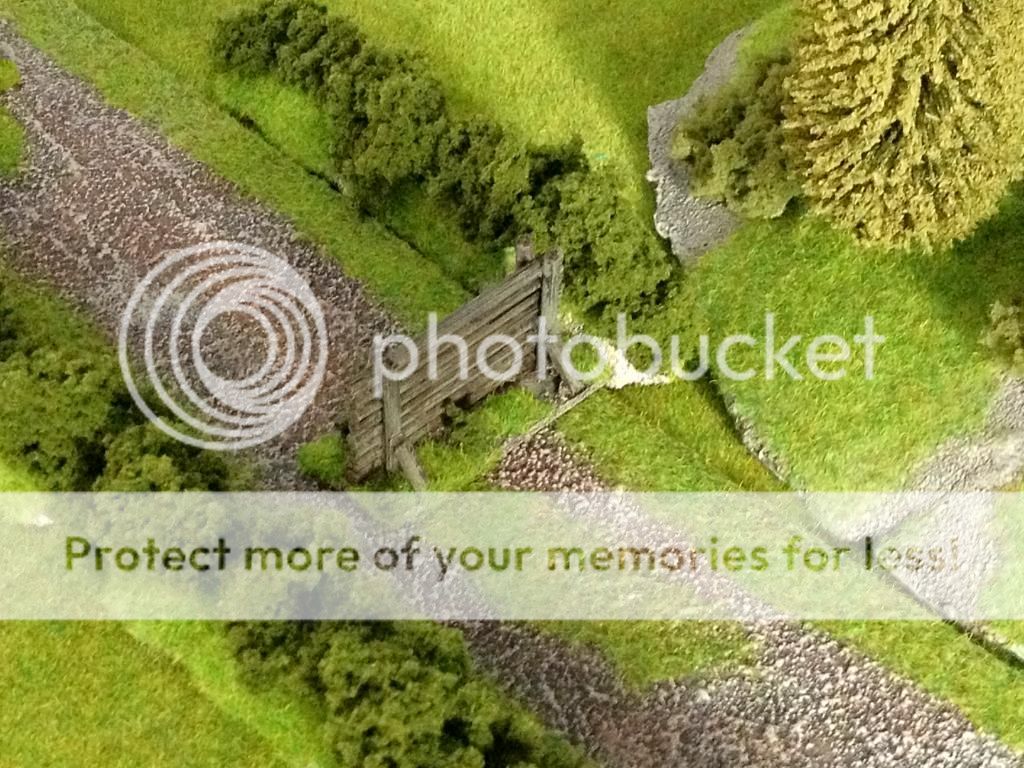
Well, that was it...I now had to add some greenery on the bases and in the end, this is how they turned out:


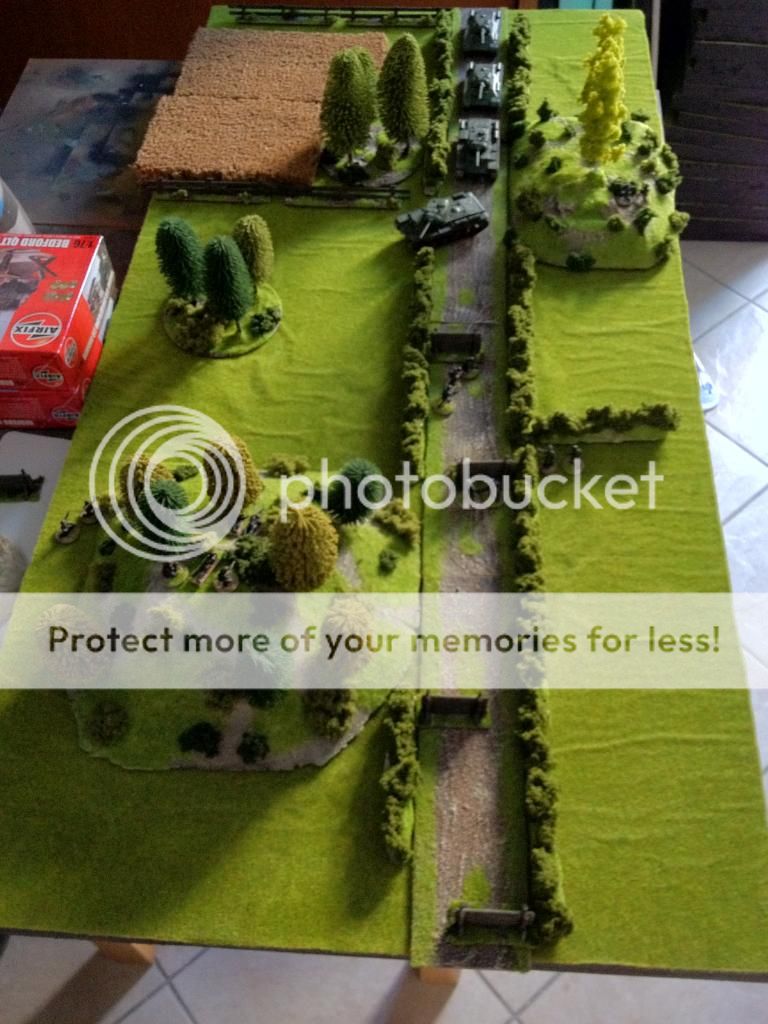
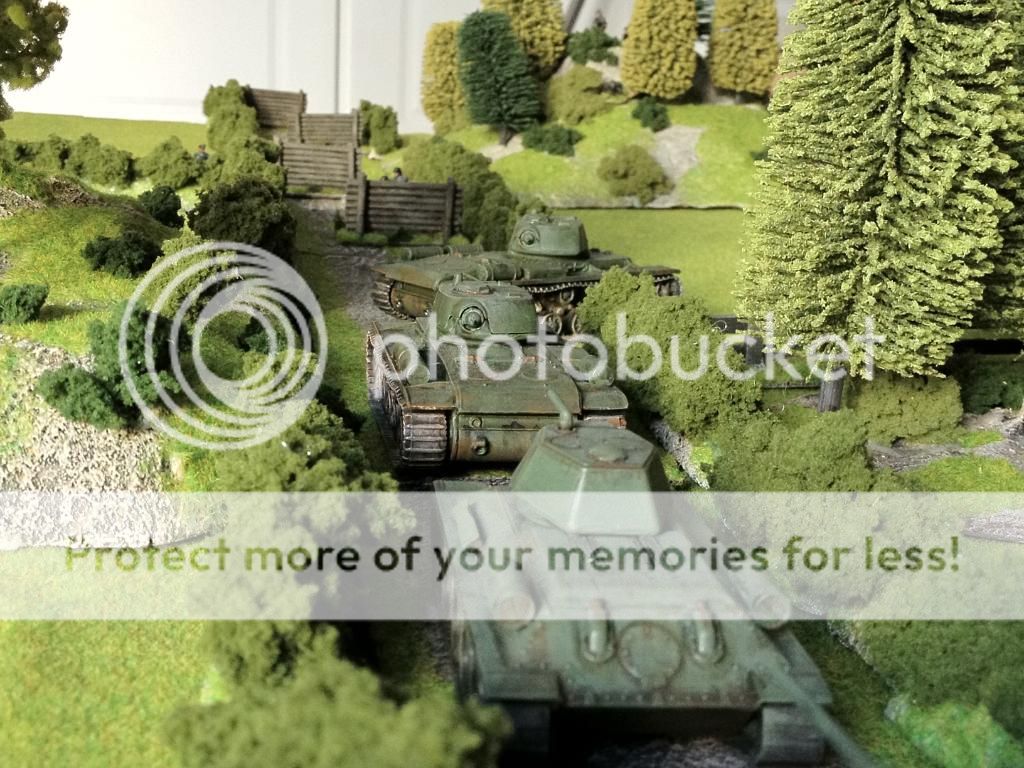
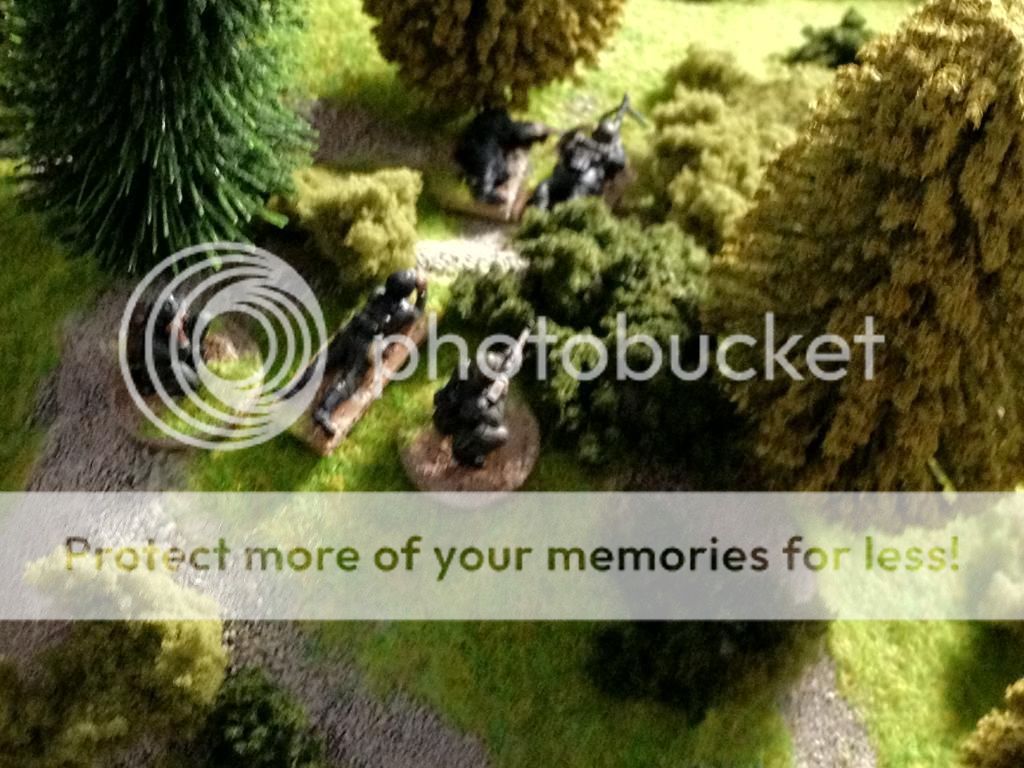
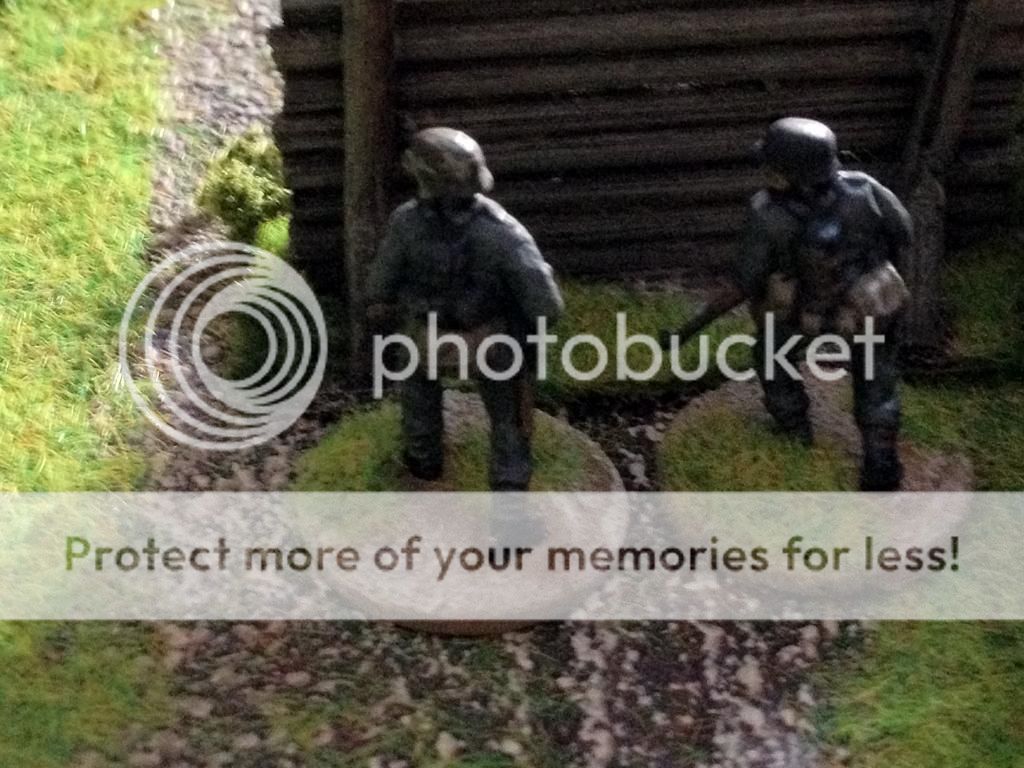
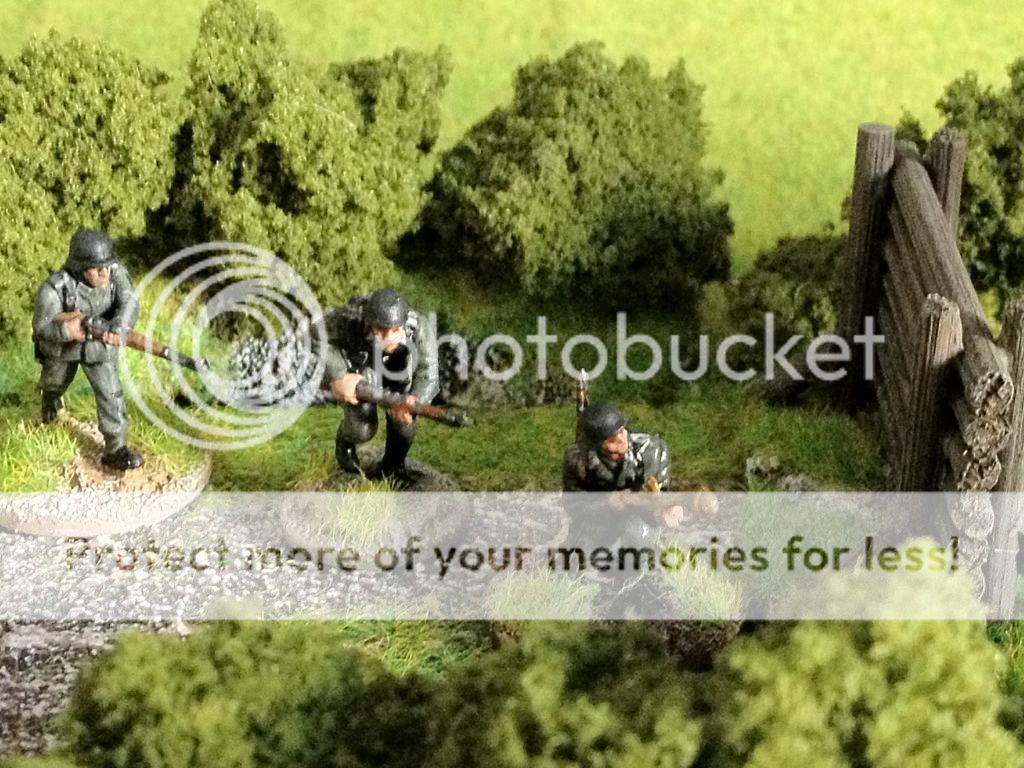
The Germans have placed these obstacles on the road, in order to divert the route of the Russian Armor phalanx. The Russians could perhaps, overcome these obstacles with the KV-1's, alongside with the T34-76's but they didn't want to take the chance of confronting Germans equipped with Panzerfausts....


However, that didn't mean that the Germans haven't thought of that possibility. After all, those were the ones that placed the obstacles in the first place....


Poor Russians..... will they get through? Or will they fertilize the soil of the Motherland with their bodies?


I hope you found this mini tutorial - semi A.A.R, interesting. As you see, it wasn't very difficult to make these little models.

If you have any further queries, please do not hesitate to contact me.

Have a good one (w/e) guys! :-)

T.