My photo
Being a modeller for quite a few years now, I decided to explore the endless possibilities that the world (through internet) offers, and come up with a series of ways of building, modelling and painting fast (but not hastily), to create the worlds I was seeing in history books since I was little. . .If you care to join me. . . This is the place to be! And, I promise you to find the way (or ways)!!
Showing posts with label WW2 Russian. Show all posts

Wednesday, 6 February 2013

W.I.P - A country house and a failed hard disk!

Hi everyone!

I apologize for my absence these past few weeks, but my laptop's hard disk has failed me...completely!
However, I was lucky, because my laptop is made from Dell, and Dell's customer service is the BEST! And I mean it. The guys are simply the best professionals I have dealt with (and trust me, even though I am a polite person, I wouldn't say that if this wasn't the case). They changed it (I managed to save some of my files) in no time! 
If you want to buy a new computer, buy a Dell (and no, I don't take any money from them). :-)

In our subject now, I haven't stayed idle during these days, as you will see in the photo below. I am struggling to make a country house (made from stone). A rather difficult task, since everything is made from foamcore, embossed card and other materials I haven't worked with so far.


So, stay tuned, cause I am going to pest you with new posts in the forthcoming future. I have a new hard disk!! :-)

Cheers everyone!
T.

Tuesday, 22 May 2012

ZVEZDA's Kit 6104 - Soviet MG "Maxim" with crew - Painting Tutorial

Good day everyone!

I am very happy that  you found interesting yesterday's tutorial about painting Zvezda's #6115 37mm Russian A/A gun. It was easy to assemble the model, and as you saw, it was rather easy to paint it as well.

Following yesterday's custom and promise that I gave you, I will show you today, with a similar post the way to paint Russian soldiers, dressed in summer/early autumn uniforms.

For this reason I will use the figs from a kit a I bought just recently - ZVEZDA's Kit 6104 - Soviet MG "Maxim" with crew. I will paint the figs in the same colours, but I will use them for different terrain / battlefields. One (in a way I like to call it) 'Steppes Variant' and one 'City Variant'.

So....here we go!

Step 1.
After assembling the figs, I used some FOW War Spray (German Armour - Late), to prime them.


Step 2.
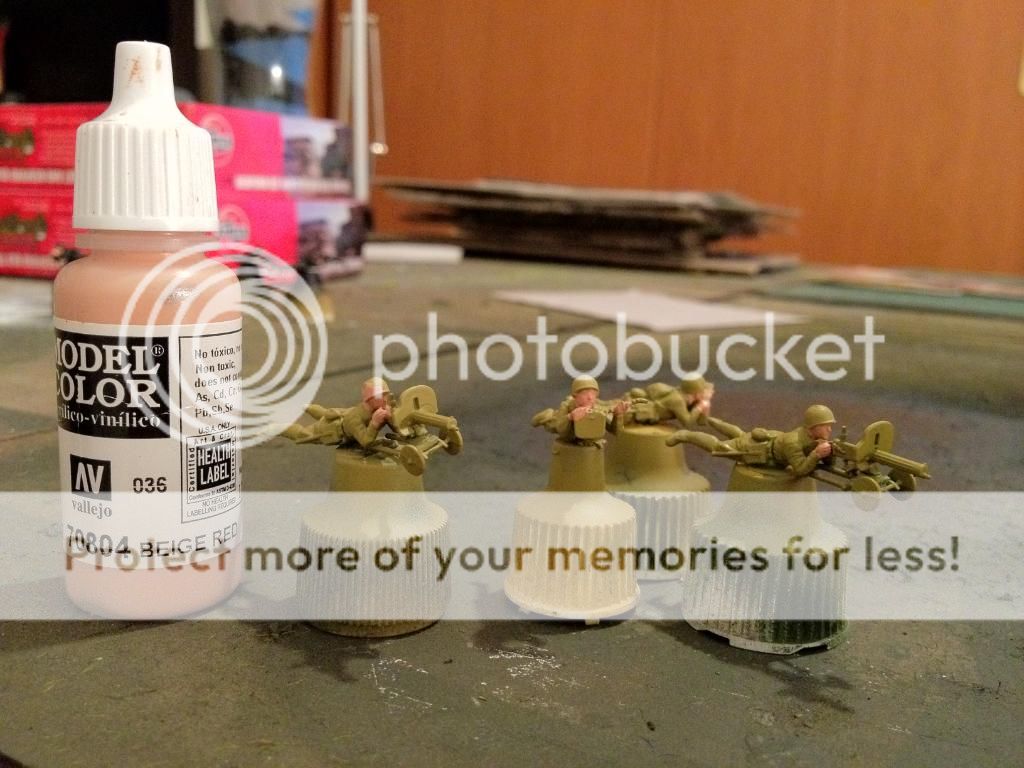
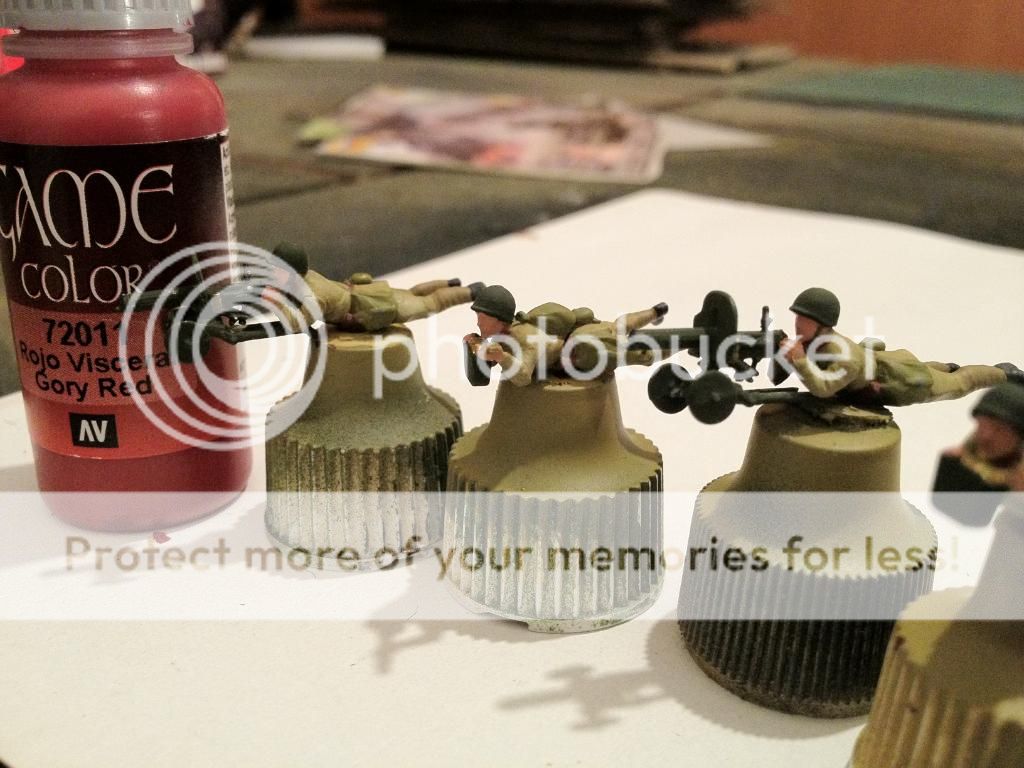
I used some VMC 70.804 Beige Red to paint the flesh parts of the figures.


Step 3.
I used some VMC 70.894 Russian Green for the Maxim guns and the helmets.


Step 4.
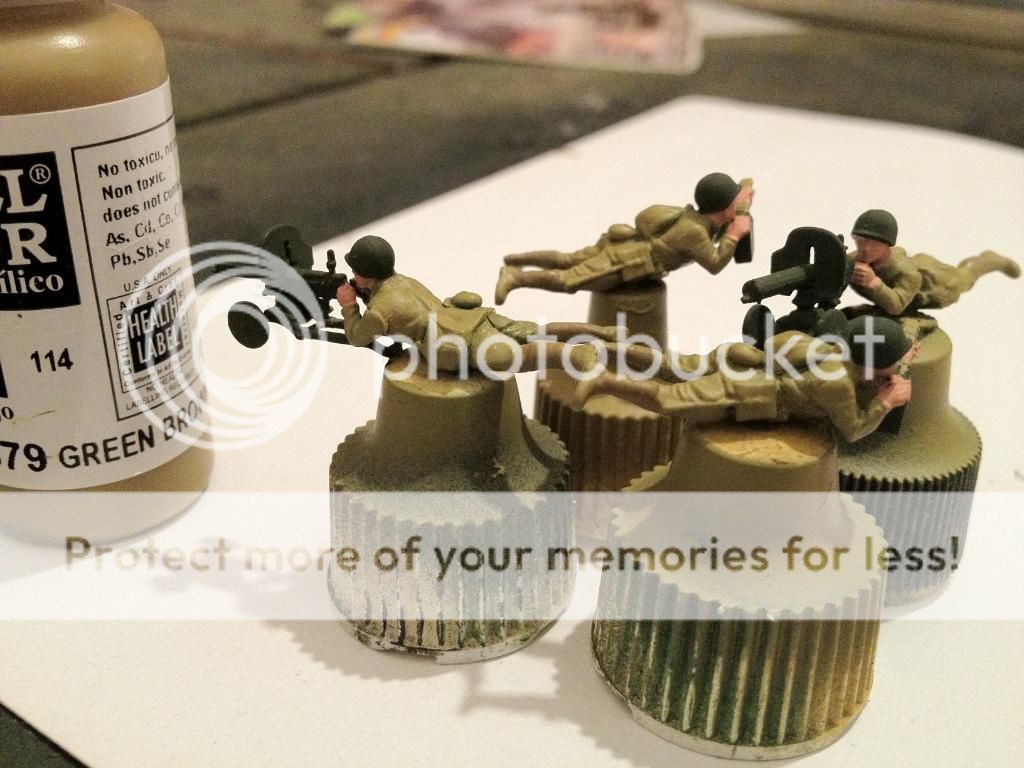
I used some VMC 70.879 Green Brown to paint the puttees.


Step 5.
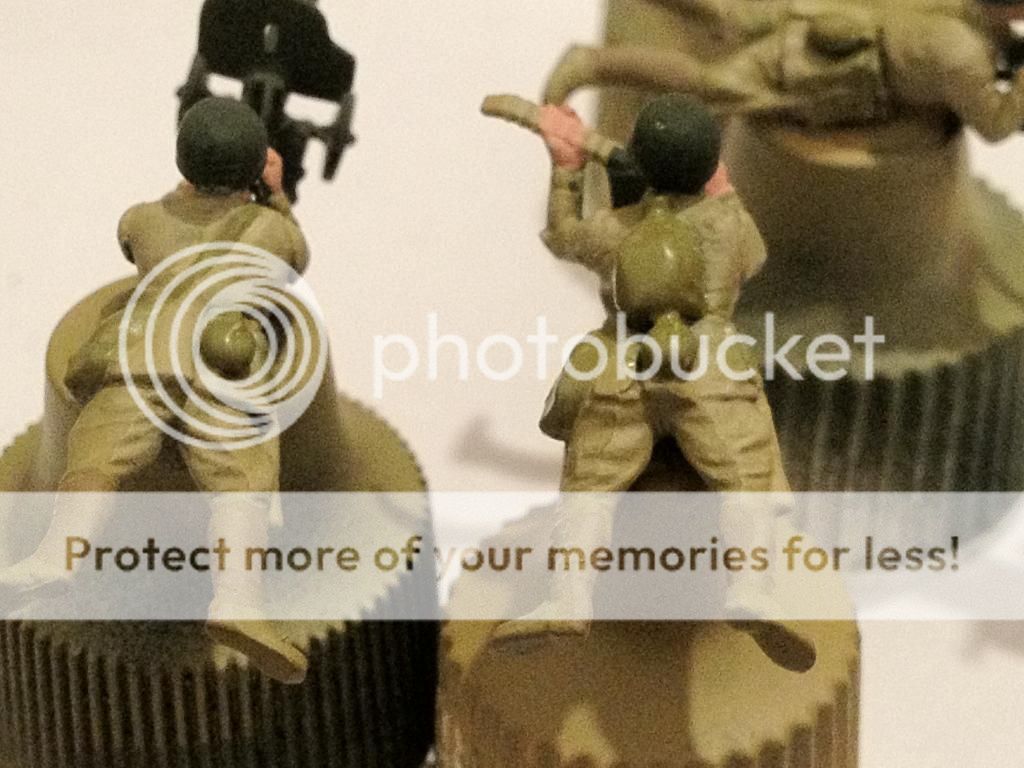
I then used some VMC 70.881 Yellow Green to paint the webbing.


Step 6.
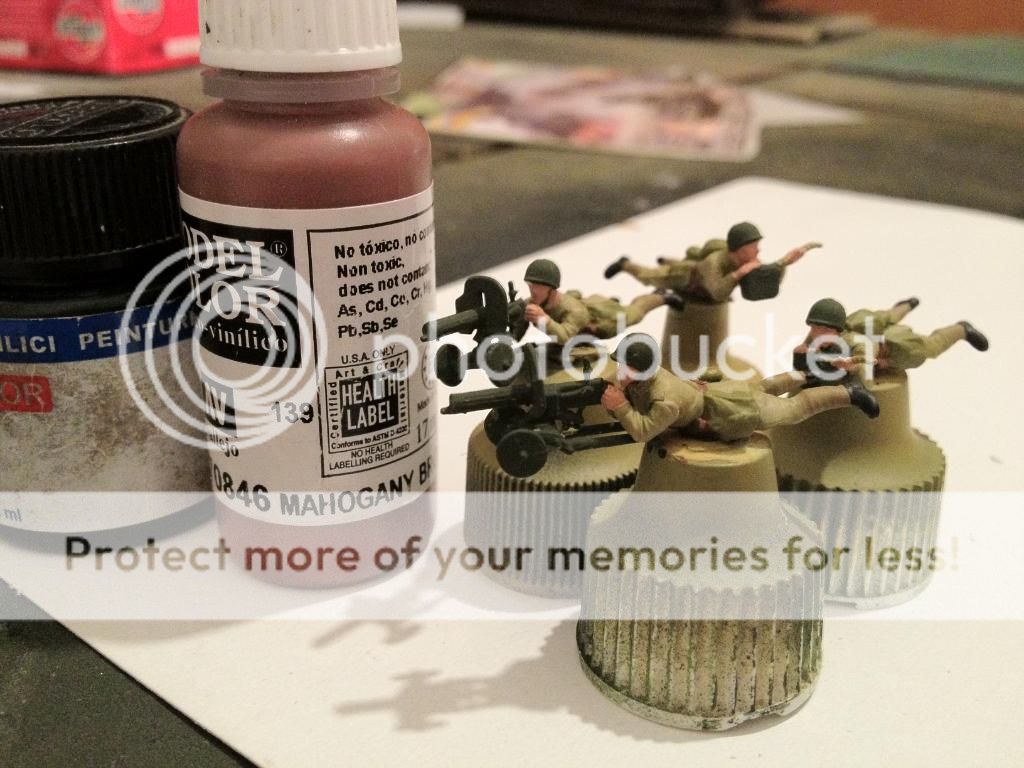
I used some Black (any matt balck would do) and VMC 70.846  Mahogany Brown to paint the boots and the belts accordingly.


Step 7.
I used some VMC 70.801 Brass to paint the ammo rounds.


Step 8.
I then used some VMC 70.862 Black Grey to highlight the boots.


Step 9.
I then used some VMC 70.875 Beige Brown to paint the shovels' wooden parts.


Step 10.
Take some red colour (any dark red would do - I used VGC 72011 Gory Red) to paint the collar pipings of the figures.


Step 11.
After that, I took my never-ending bucket of (water based) wood varnish (brown tone), that I got from my local hardware store - 'Praktiker' and with an old brush I applied the content on the figures. I took the 'excesses' off with a finer (but old nevertheless) brush.


Step 12.
That's about it really.....I then based them (before I applied the greenery) and sprayed them with some Army Painters' Anti Shine varnish.
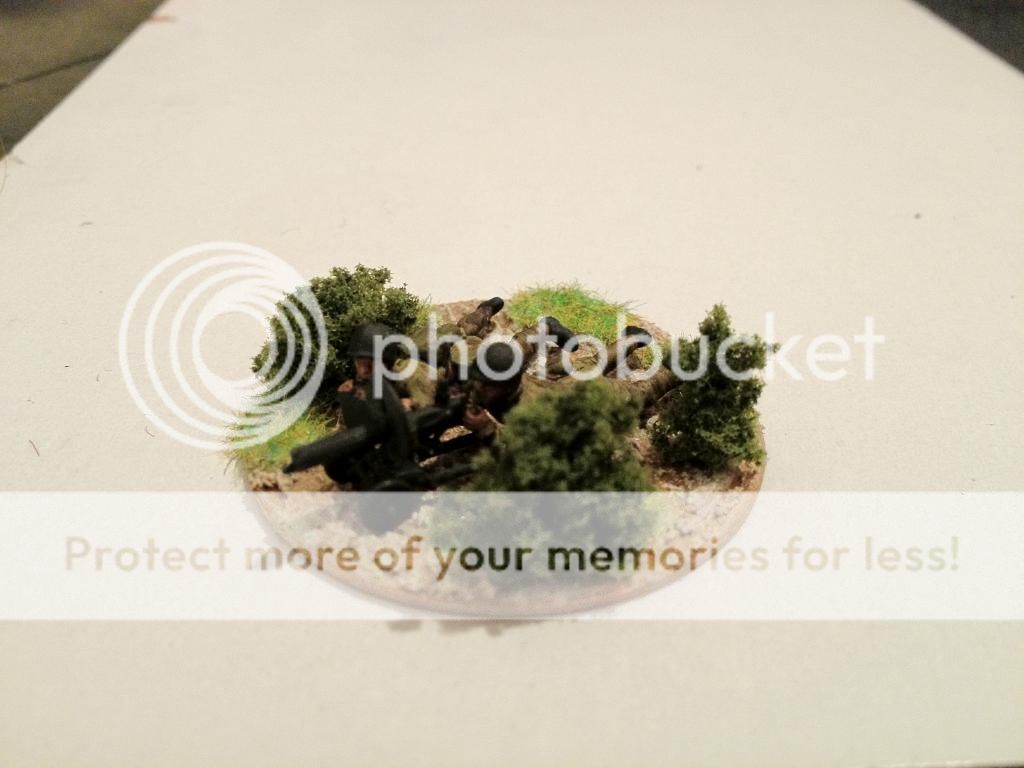
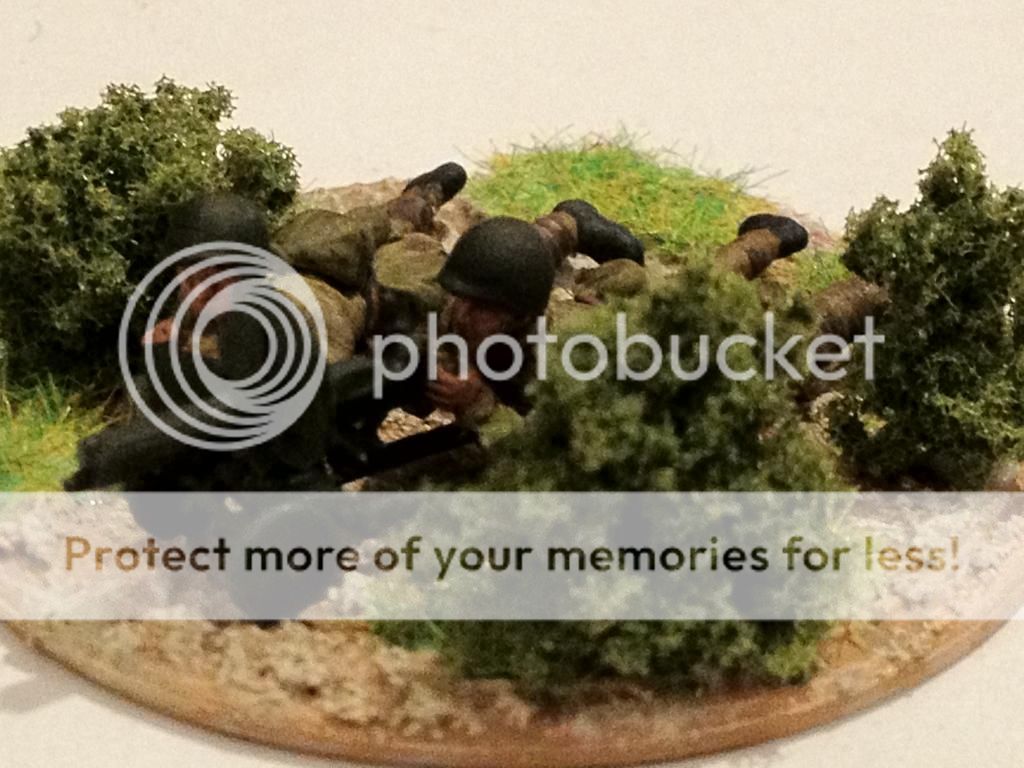
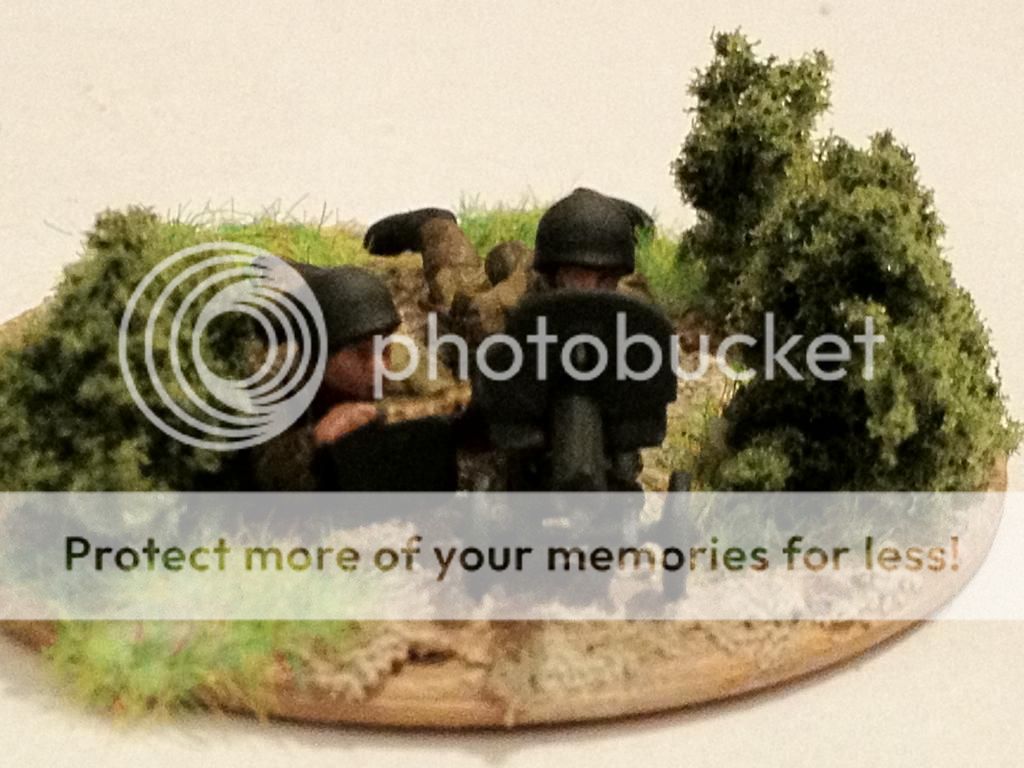
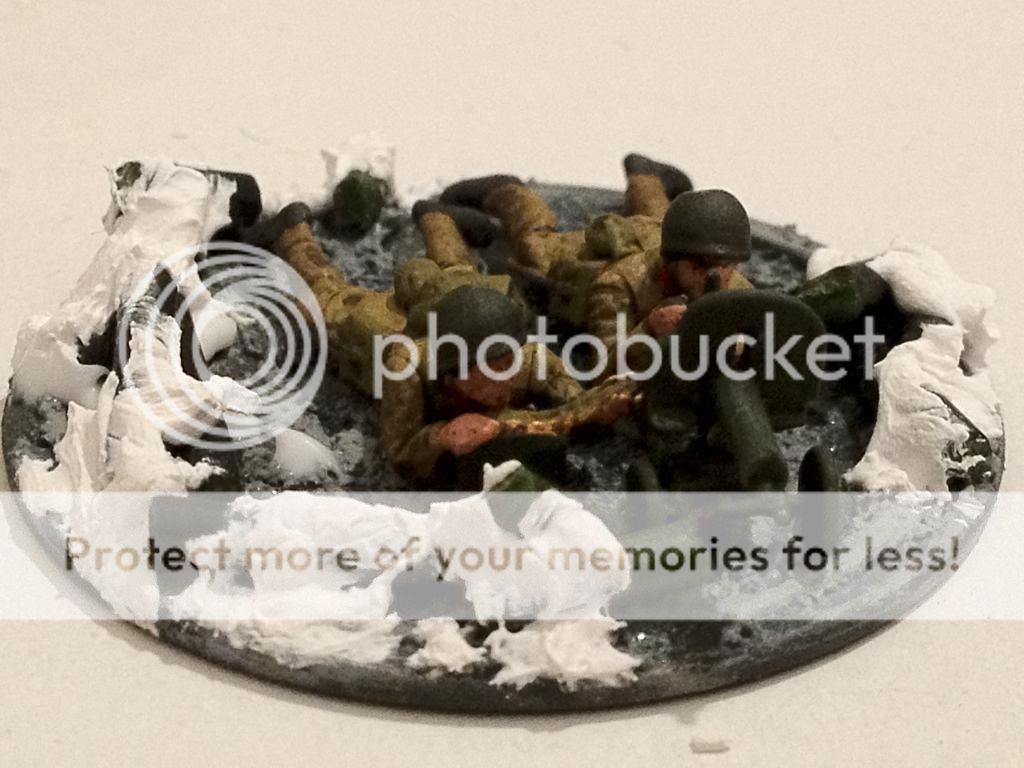
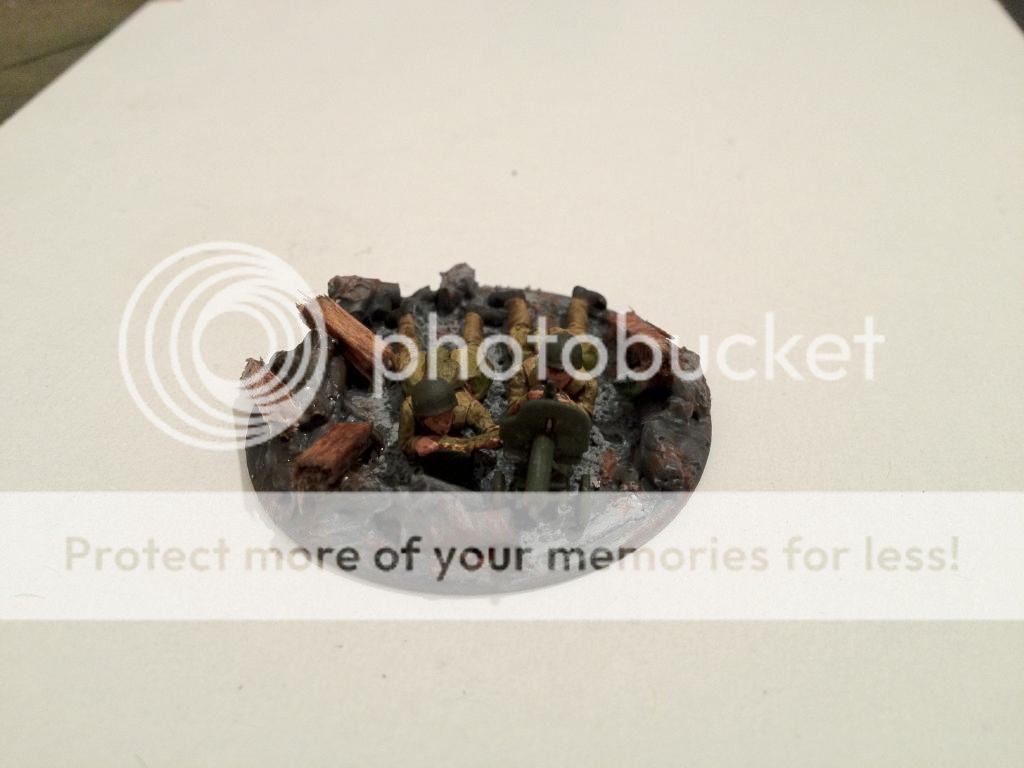
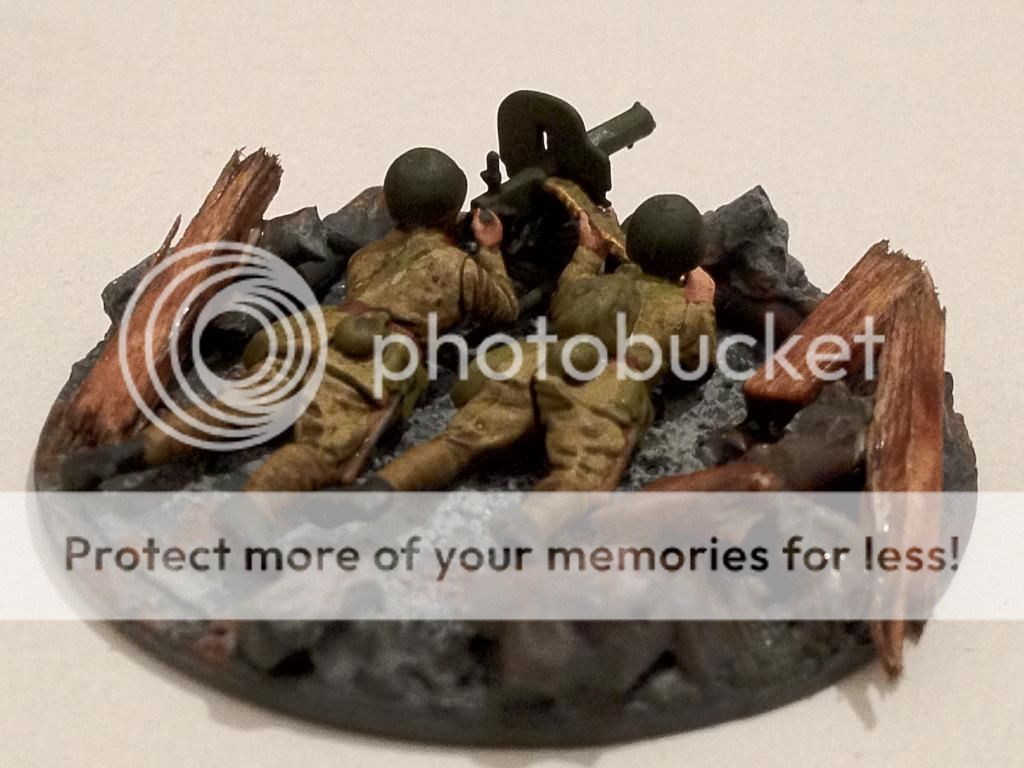
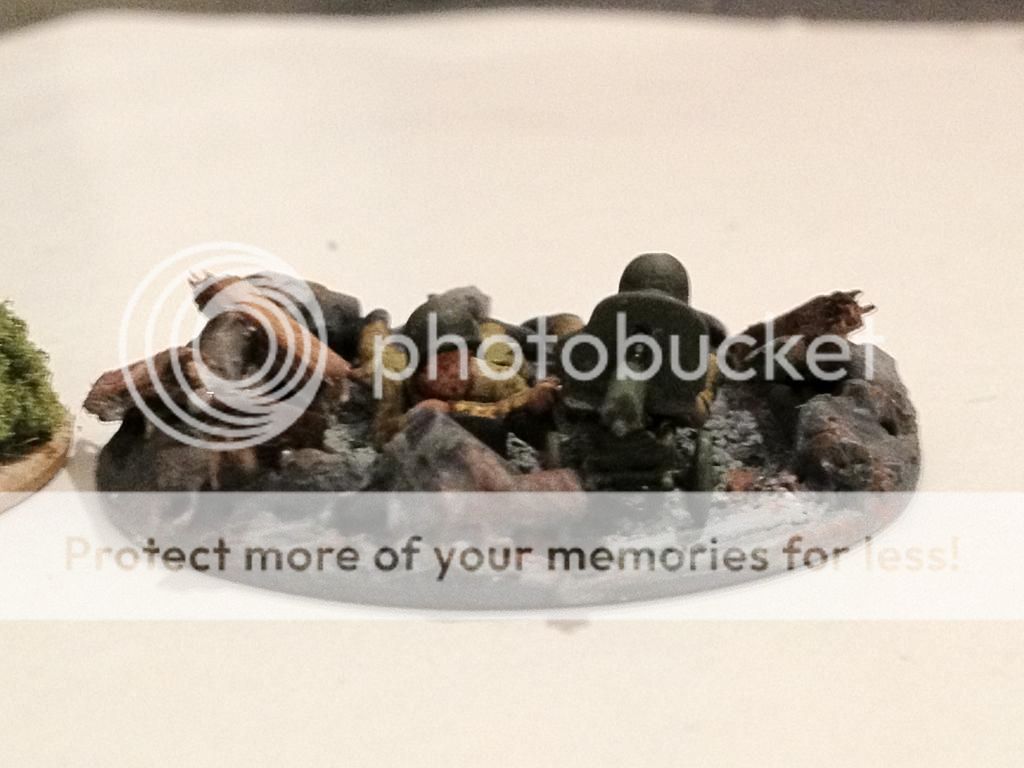
Below you will see the photos with the finished figures based in their two different bases.
The one is the 'Steppes Variant' base, enriched with some static grass and small pieces of cluster foliage (Light Green). 


The other is the 'City Variant', where shades of grey were applied to the base's sand, and some parts of the figs' sprues that were cut, glued on the base and got a good amount of plaster on them, to represent debris.


When this mixture got dry, I used the same shades of grey (one dark and one light), alongside with some Brick Red, to paint the scratch-built debris. After that, I glued some thin strips of balsa wood, on top of the debris, I then used some GW Devlan Mud wash, in order to enrich the debris with some floor/roof wood.


Some group photos for the finale:


As you probably have noticed, by using some lighter tones for the uniforms, I achieved some contrast with the varnish that I used and the bases that I based them in the end.

I hope you like them, and that you found this tutorial useful to use it for your little men! :-)

C&C are (as always) more than welcome.

Have a great day!

T.

Monday, 21 May 2012

ZVEZDA's #6115 - 37mm AA Gun - Painting Tutorial

Good day mates!

A new week has started today (with some heavy clouds above the Athenian sky), with me trying to paint as  much as possible, while trying to run a house, its errants, some extra work and a girlfriend!
From my last post, most of you have seen the kits I bought last week, so these past couple of days were 'washing, priming, painting, weathering, varnishing' and some more! Going mental, to say the least! :-)
Mental I went, but not in vain. I managed to prepare most of them and I actually managed to finish Zvezda's kit #6115 - 37mm AA Gun. In addition to that, while painting it, I took photos in every stage of the process, so as to upload a post with a tutorial to use it as a reference, if you think it may be of any use to you.

So, enough with the talking, let's move on to the photo scroll...


Step 1.
After assembling the model, I used some FOW War Spray (Soviet Armour), to prime it.


Step 2.
After the priming, I used some GW washes (Badab Black and Nuln Oil don't worry, it's the same wash - it's the never ending new policy from Citadel - same products, different names, pls don't get me started...).


Step 3.
After the washes, I used VMC 70.894 Russian Green, to drybrush (heavily mannered) the model.


Step 4.
Carrying on with the drubrushing process, I then used VMC 70.924 Russian Uniform, to drybrush the model, in order to start giving 'depth' to the various layers of surfaces of the model. You can see at this stage, that colours are beginning to get more distinctive, and they start to show the details of the model.


Step 5.
For the final part of the drybrushing process, I used some VMC 70. Green Grey, to drybrush (lightly) the model. You can now see, the nearly finished model.


Step 6.
I used some VMG 70.862 Black Grey to paint the tyres.


Step 7. After some weathering (painting some Black and Brown washes), in order to give a 'dirty' look, the model is ready to get on the table and be used (for wargames purposes)!


I haven't post any details regarding the figs' painting procedure - one of my following posts, will be a relevant tutorial for my Russian comrades - so stay tuned! :-)

I hope you found this tutorial useful.

Have a great day guys!

T.