My photo
Being a modeller for quite a few years now, I decided to explore the endless possibilities that the world (through internet) offers, and come up with a series of ways of building, modelling and painting fast (but not hastily), to create the worlds I was seeing in history books since I was little. . .If you care to join me. . . This is the place to be! And, I promise you to find the way (or ways)!!

Thursday, 9 August 2012

5.5’’ Gun Ammo Crates tutorial


Hello everyone!

Since I took the decision to build a respectable British armed force for my Normandy campaign, I thought to give it a try and be as consistent as possible.
With this decision in mind, I started building this army from the actual beginning, which in gun terms meant  the Artillery section. The Brits since the emergence of gunpowder relied a lot on the assistance of artillery during their campaigns, and WW2 could not be a different case. Its firepower had played a significant role in most of the battles the British were involved in, and also gave a huge morale boost to the ordinary ‘’charge-to-occupy’’ soldiers, before every attacking maneuver.

As you (who follow my blog) know, I recently purchased a model from Airfix (#1314 AECMatador & 5.5’’ gun), and up to this day, I am waiting for some reinforcements by post, which are three more Airfix’s Matador kits and some figures, as the crews for the guns. It usually takes 10-12 days to get my orders from England (country of my orders’ dispatch), so there will be coming any day now.

Instead of waiting like a sitting duck for the plucky Brits to show up, I did some research through the net, and found some interesting photographic material showing all sorts of details for these weapons. What I couldn’t find to buy for my 5.5’’ guns, was ammo crates. Well, to be honest there are some excellent models from Accurate Armor, but unfortunately they come out in 1/35 scale, so these models weren’t going to be of much use!

To do what I had in mind, I wouldn’t let some minor implications discourage me. That’s why I decided to make some ammo crates of my own – made by me - M(iniatures) T(errain) P(age) copyright! :-)

And, in order to give you an idea of how easy it is to make some for your arty pieces, I will post a sequence of photos of every step of the making process.
(In the end I will make a book with my tutorials and I will start selling it, but as I come to think of it, they are already available on the net…oh bugger! Chance: missed!) 

We live in a different world nowadays, so I reckon it’s better to drop keys instead of building cages, especially for such an important thing as our hobby. 

On with the tutorial then!

Part 1.
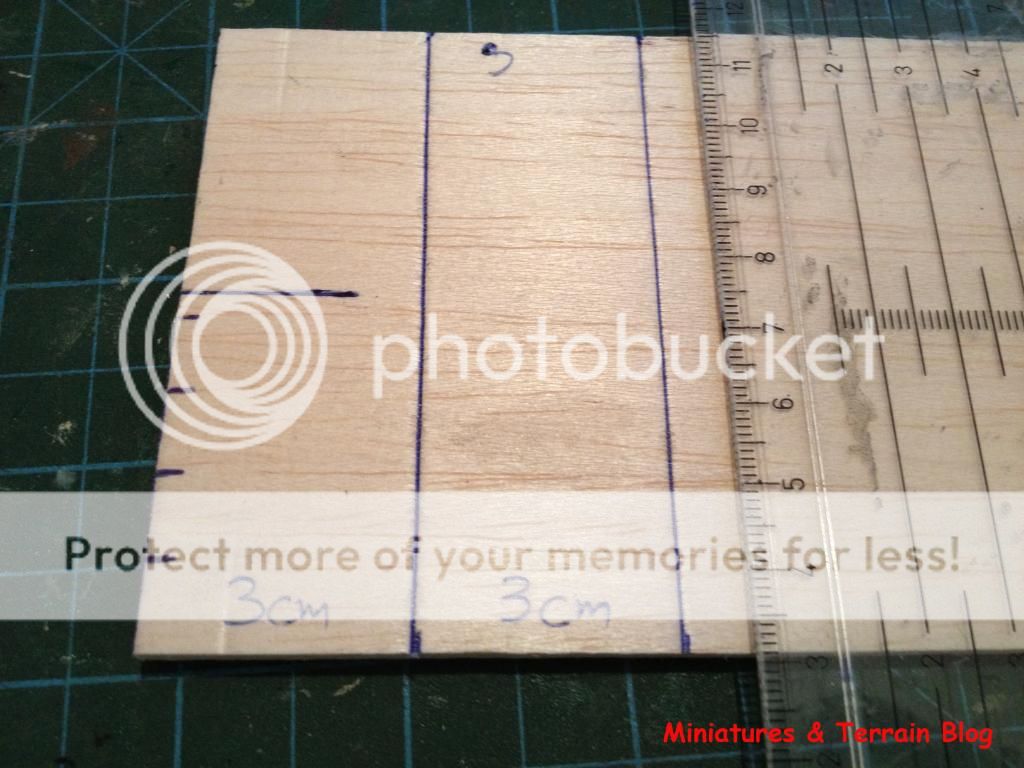
I took a sheet of 0.5 cm balsa, and I marked (with a simple ball point pen), two lines of 3cm width.

Part 2.
I then marked vertical internals of 1cm each (photo explaining). Between each 1cm crate, and with the help of my pen and my ruler, I marked some lines on every one of them, so as to give the impression of wood plunks glued together to make the crate.

 
Part 3.
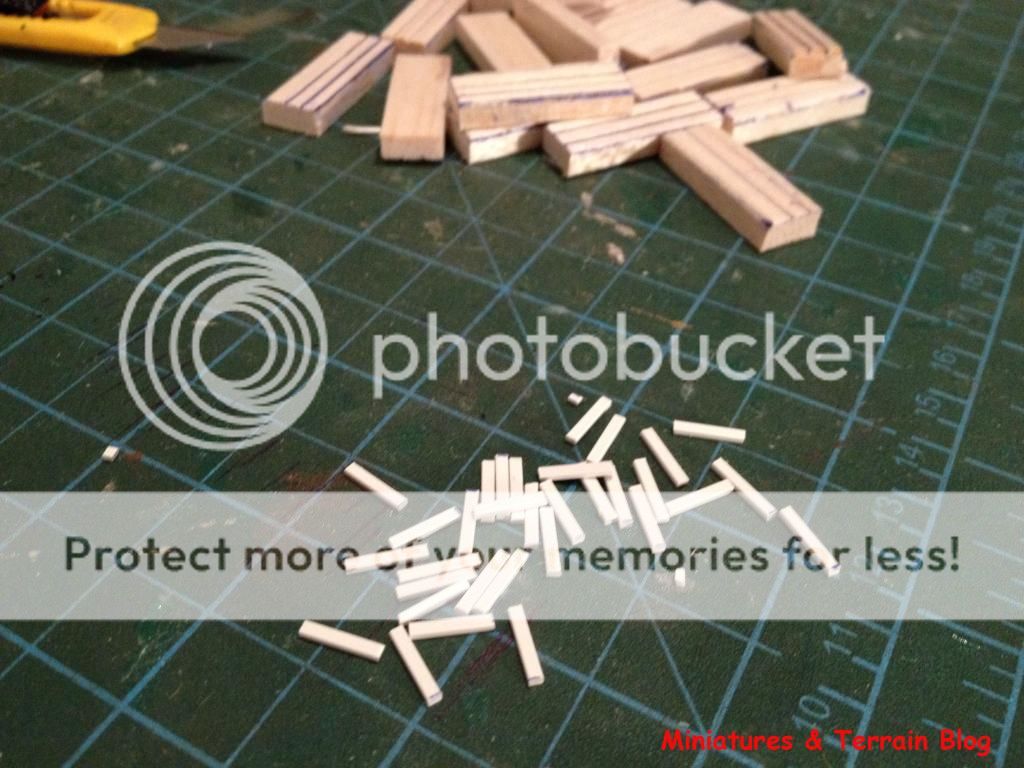
I cut them (you can see the small pile).


I then took a strip of plastic (0.1 cm width) and cut some small pieces (0.8 cm/each) out of it. I was going to use three pieces of plastic for every crate (below you see the pile).

Part 4.
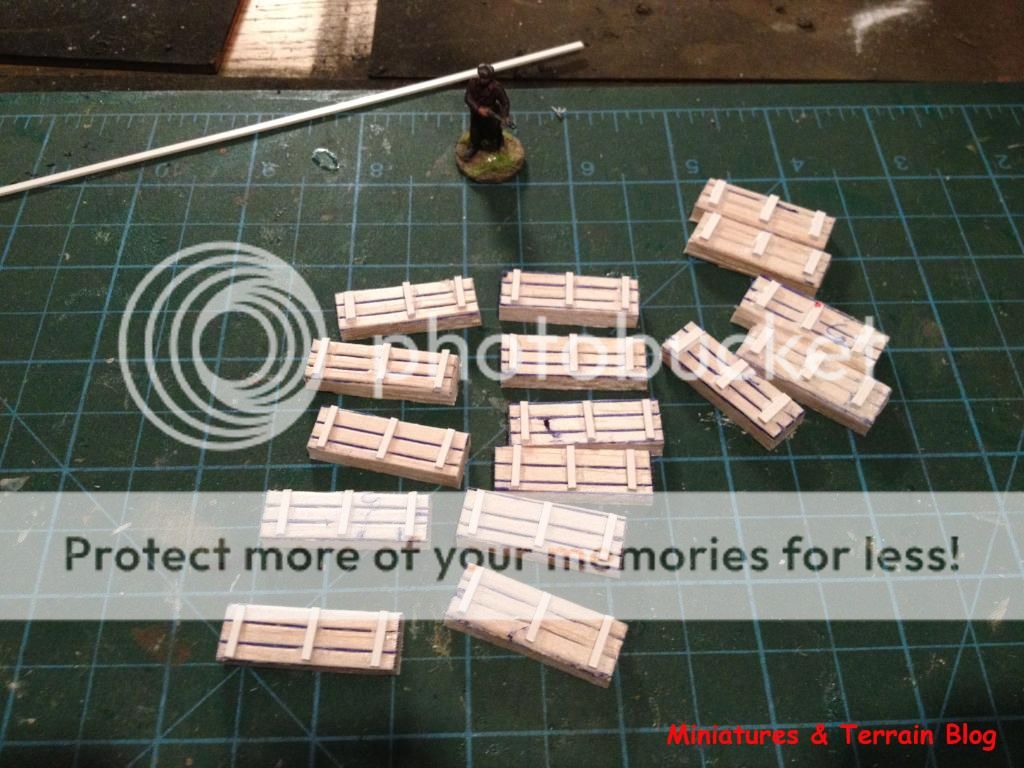
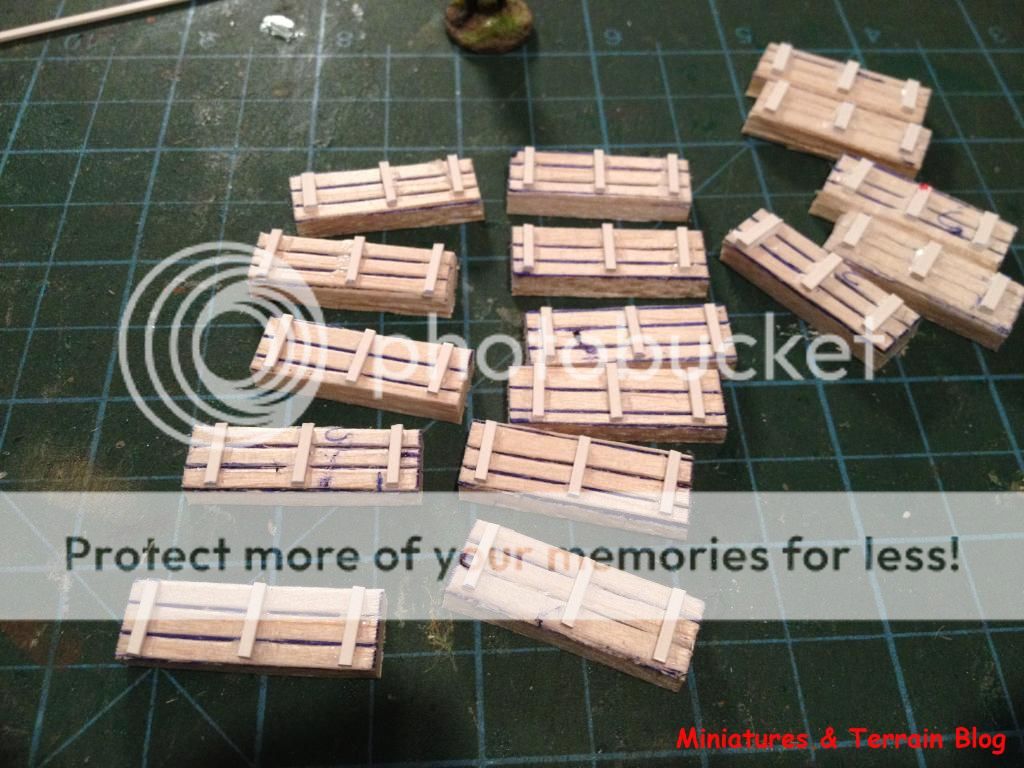
I then glued these fiddly pieces of plastic vertically, onto the wooden ‘crates’ .
Part 5.
I then took a strip of plastic (0.2 cm width) and cut some small pieces (0.4 cm/each) out of it. I was going to use four pieces of plastic for every crate (in the next phase you will see why).

Part 6.
I then glued these fiddly pieces of plastic vertically, onto the sides of the wooden ‘crates’, as holsters .


Part 7.
I then painted the whole lot with a brown colour. When dry, I used some brown wash (GW Devlan Mud) and when this wash got dry as well, I drybrushed the crates with the brown that was used as the base colour.


Part 8.
The crates: considered: finished!
Below you see the full array of these crates. Unfortunately, I haven’t found any brass rods to make small pieces of used cartridges and place them next to the crates, but I think I’ll manage to find some in the future, so stay tuned for perhaps a new tutorial (as if you needed another). :-)
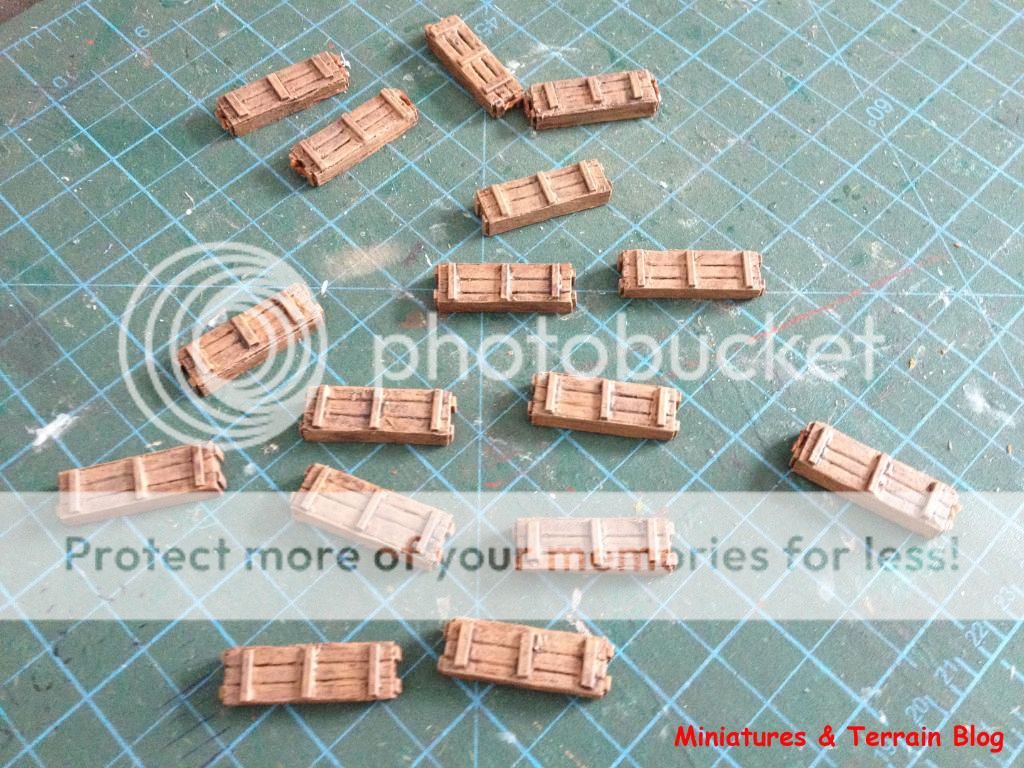


I hope you found this tutorial useful.
C & C are, as usually, more than welcome!
From warm (as usually) Athens, have a good night!
T.

Monday, 6 August 2012

AB Figures BLA46 FOO & Radio operator for Artillery & Mortar Batteries


Hi guys!


It’s been a busy weekend this last one, I must tell you. On Friday afternoon, last week when coming home from work, I found in my post box a little package from Milicast Models. I’ve ordered some British soldiers from AB Figures. These are destined to be part of my artillery battery section I’m preparing these past couple of weeks (among other projects that mingle in the meantime).


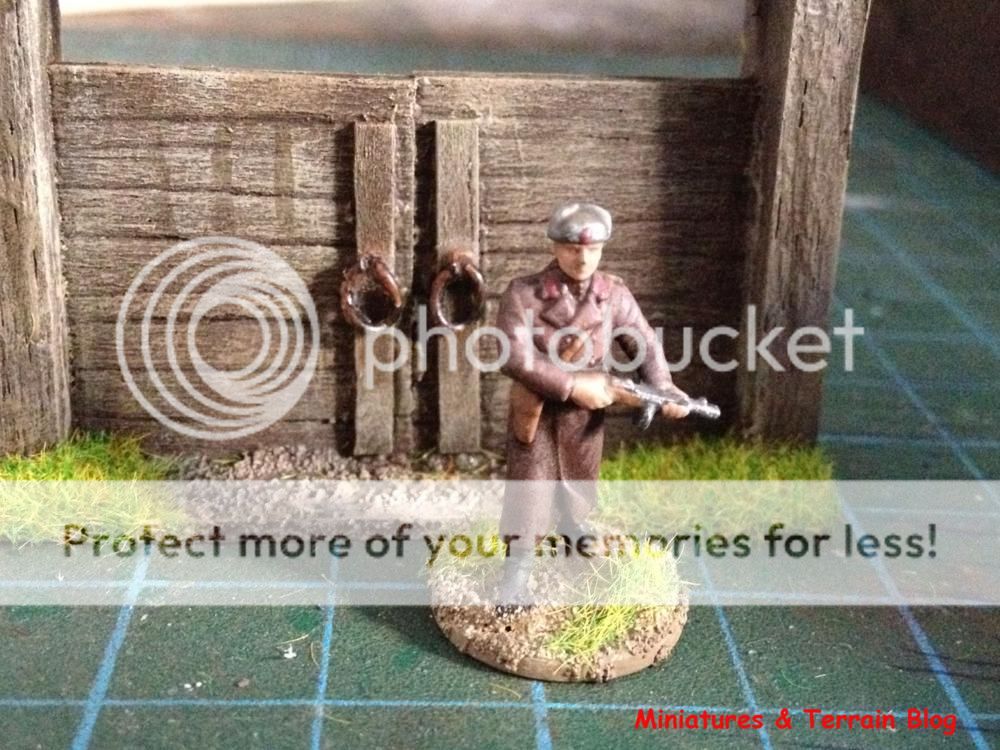
In this post I will show you a pack of two figures that are named ‘’ FOO & Radio operator for Artillery & Mortar Batteries’’. From the title you get a pic of what service they are going to offer to my little 5.5’’ inch guns.


It was the first time I painted metal figures, and, I must admit that these ones from AB, were simply magnificent and if I may say, breathtaking for a modeller. The level of sculpting and the abundance of fine detail engraved on them, are making these figures look spot on! They are a bit more pricey compared to plastic ones, but, since they don’t come in big numbers, they can fill the gap in the section I  like to call ‘’Special Figures’’, such as officers, radio men, AFV and gun crews.


Below you will see the photos of the metal figures after painting and basing. 

This time I ‘’enriched’’ the bases with some Army Painters’ Swamp Tufts and Meadow Flowers. Some more expenses to my increasingly complaining bank account. But, you’ll see that it’s worth it. I think I am going to start basing my other figs in the same way.


Alas, my vanished salary howls in the dark….but to no avail!


I hope you like ‘em.

C&C are more than welcome.

Cheers,

T.
Thursday, 2 August 2012

Eastern Front wooden gates – how to tutorial – Part #2


Good afternoon L&G….
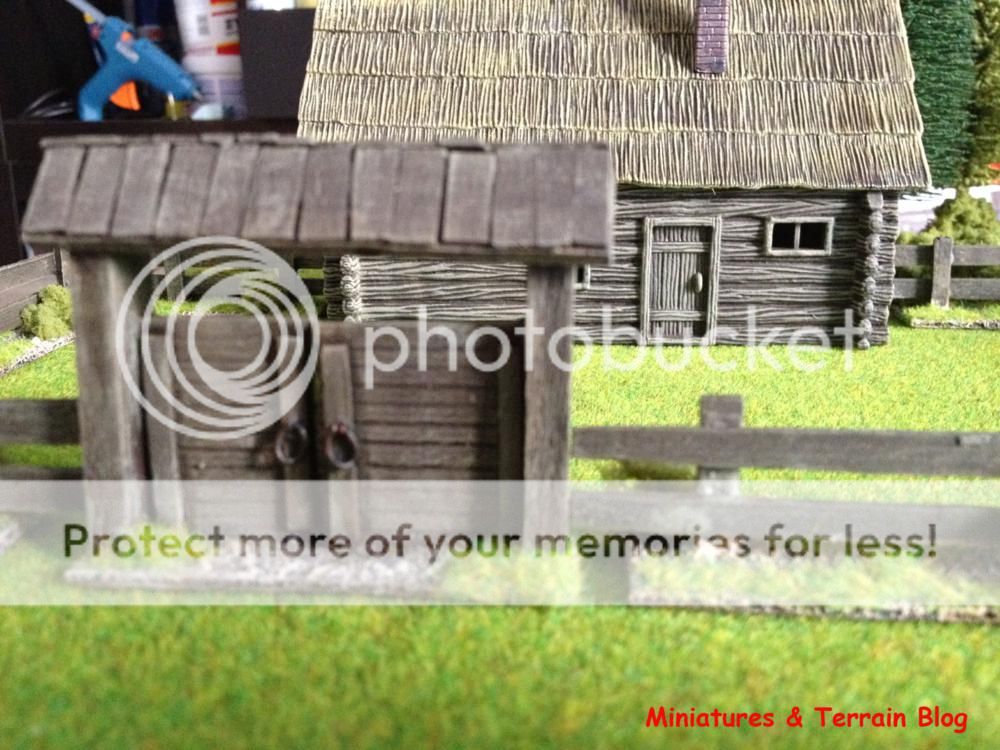


From my last post, we saw the steps I followed in order to build two wooden gates for my eastern front houses. In this post, you will read about the gluing procedure and you will see the finished terrain pieces alongside some other terrain pieces I’ve made some time ago.


Part 14.

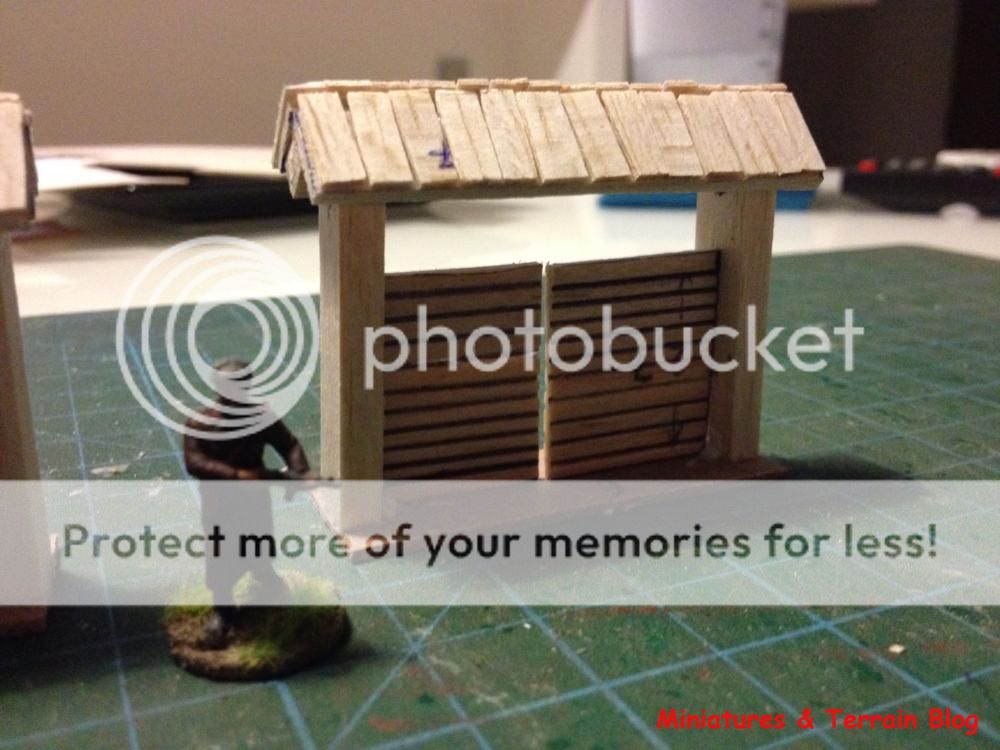
I then glued the thin balsa strips (wooden shingles) on to the four pieces of 0.5 cm. After that I glued two pieces (per gate) on to the 0.5 cm * 0.5 cm balsa strips (Part 3 & 9).


Part 15.

I then glued all the pieces together on to the plastic (vinyl tiles) bases. This is the final result of the building procedure.


Part 16.

Some wood/PVA glue and some sand applied on the bases and then, I waited for them to dry. That’s about it really.


The painting steps are the following (you can find it here also):

1.       Dark brown emulsion paint (base colour).

2.       Vallejo's Panzer Aces' 310 Old wood paint (drybrushing them). By this way I highlighted the extreme surfaces of the wood trunks.

3.       The last and final step of painting the models (dark brown - old wood), was to use some VMC Green Grey. Again with the drybrush method (but only lighter this time), I gave the final highlight on the wood trunks. I repeat, - light drybrushing.

4.       I then painted the bases (Dark brown, Light brown and Tan brown), and, after that I applied some greenery on them.


Part 17.

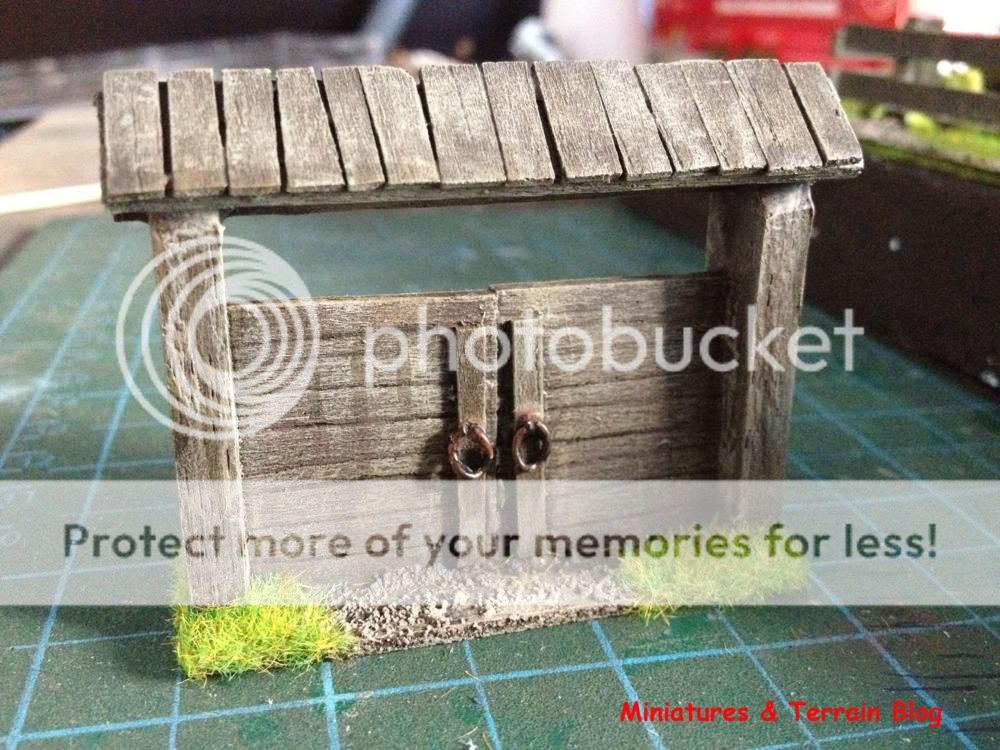
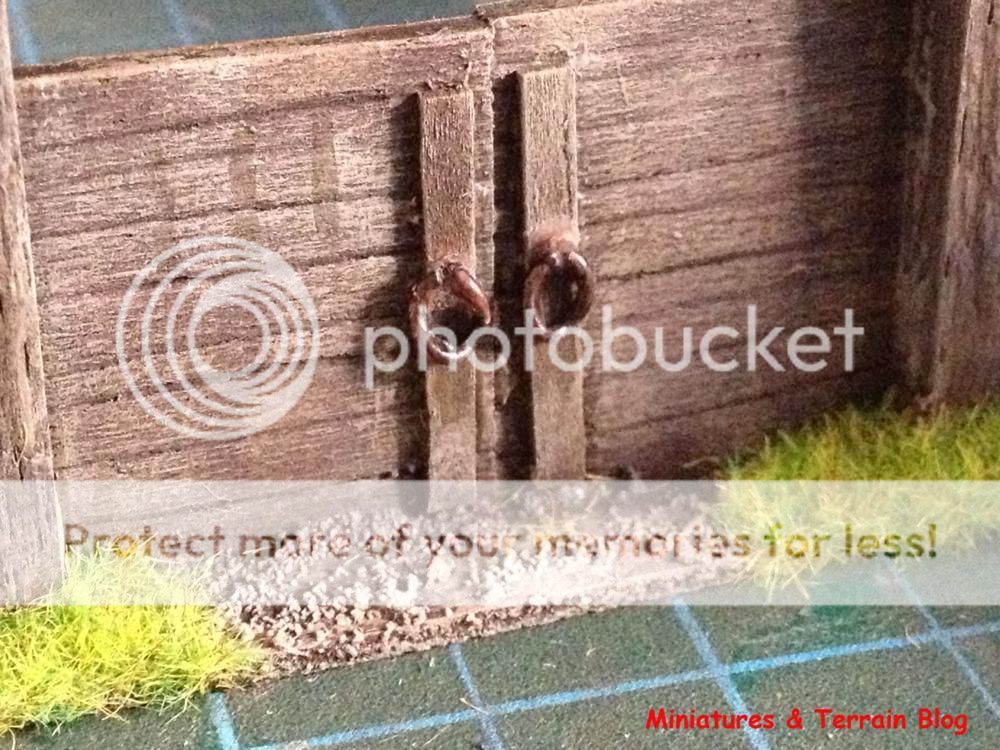
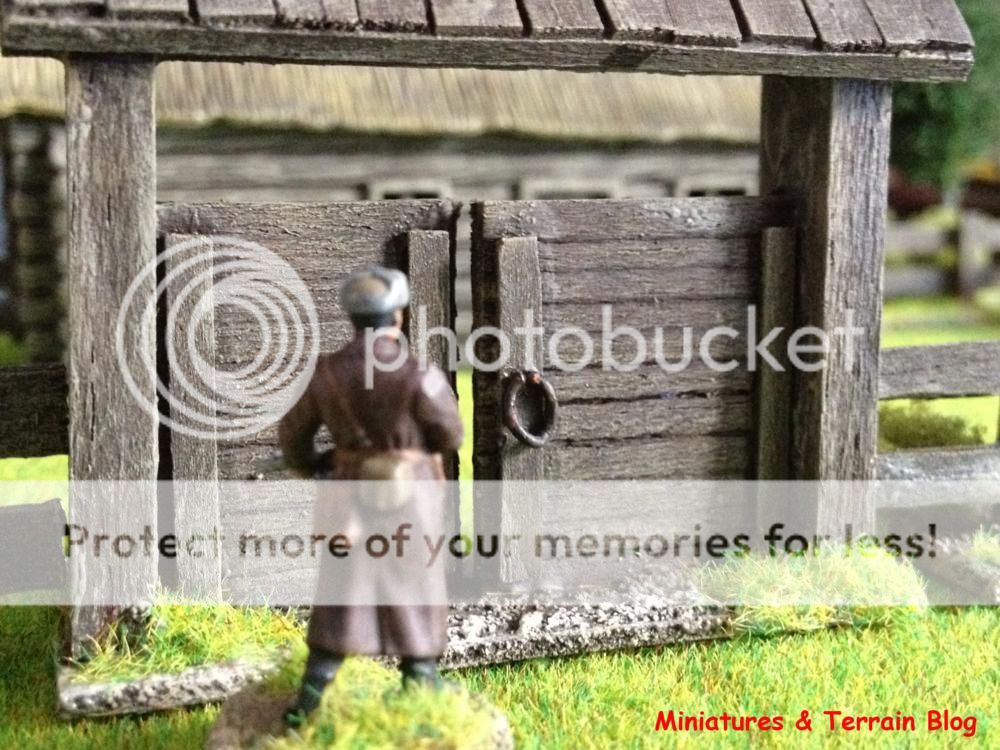
In this last sequence of photos, you will see the finished terrain pieces painted. I reckon they blend well with the other eastern front wooden fences and huts I made some time ago.


I hope you liked the tutorial and you found it useful. You may use these gates in other fields, such as Normandy or Italy, depending on your taste! :-)


C&C are welcome!
Cheers everyone!


T.